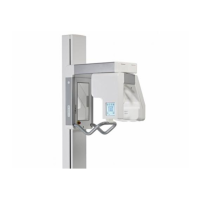
8. Aligning the unit CRANEX
®
Novus e
104 Service manual
8. Aligning the unit
After replacing one of more of the following:
tubehead, collimator, CCD sensor, the alignment of
the unit must be checked and if required adjusted.
8.1 Removing the covers
1. Remove the covers from the unit if they have
not been removed already.
8.2 Checking and Aligning the CCD Sensor
1. Switch the unit and PC on.
2. PC: Open the digital imaging software you are
using and open a patient card where the align-
ment images can be stored.
3. PC: Enable image capture.
4. PC: Make sure that the stillmode in the serv-
ice assistant is still selected.
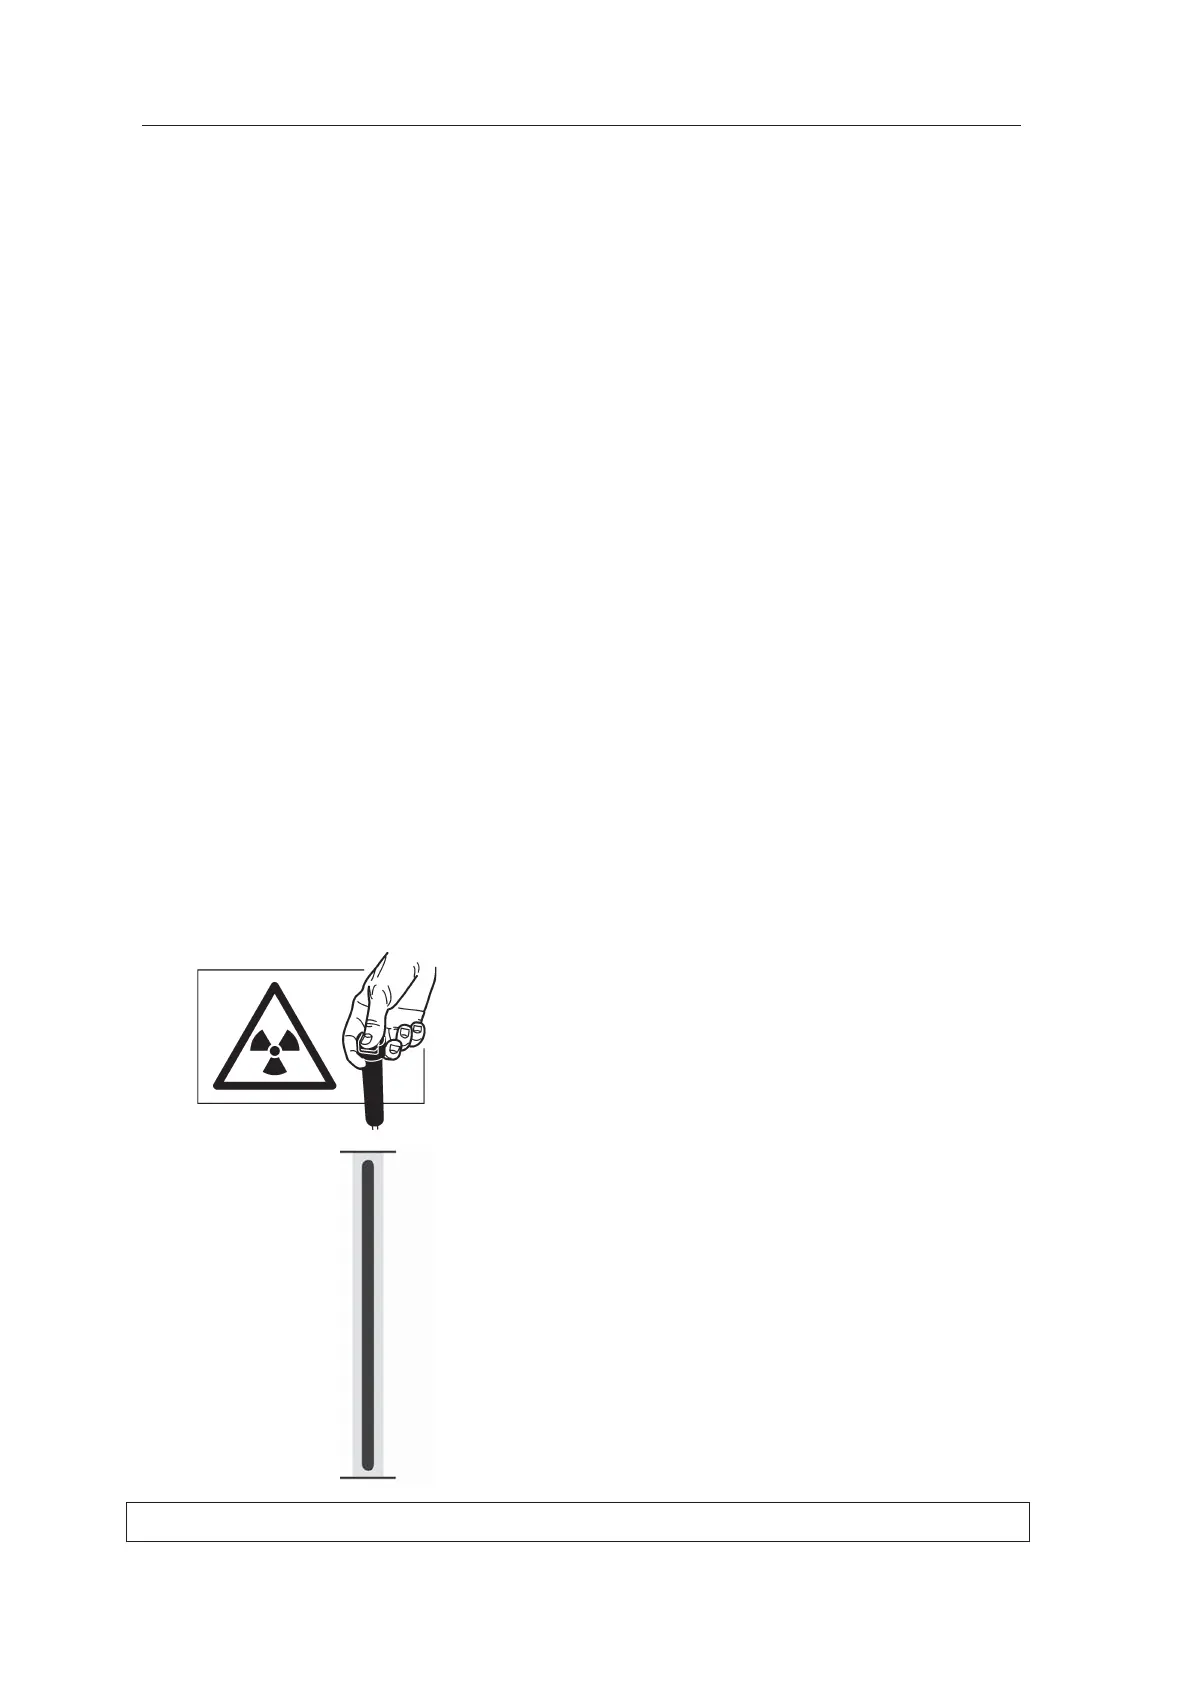
5. Protect yourself from radiation.
Press and hold down the exposure button to
take an exposure.
6. The image should show a vertical black line
(the beam) in the middle of a vertical light gray
area (the CCD aperture). Both the beam (black
line) and the CCD aperture (light gray area)
must be vertical and the bottom edge of the
beam (black line) must be between 0.1 and
2mm from the bottom edge of the image.