6 Installation of the imaging plate system
36 SOREDEX 208396 rev 2
You hear a beep which indicates that the PC is now
sending the IP address the unit.
4. PC: Click OK to connect the PC to the unit.
5. Now connect the other PCs in the network to the unit.
Just enter the IP address into the IP field and then click
OK to connect the PC to the unit (it is not necessary to
hold down the Start key and click Send to Scanner
with the other PCs once the unit has already got an IP
address).
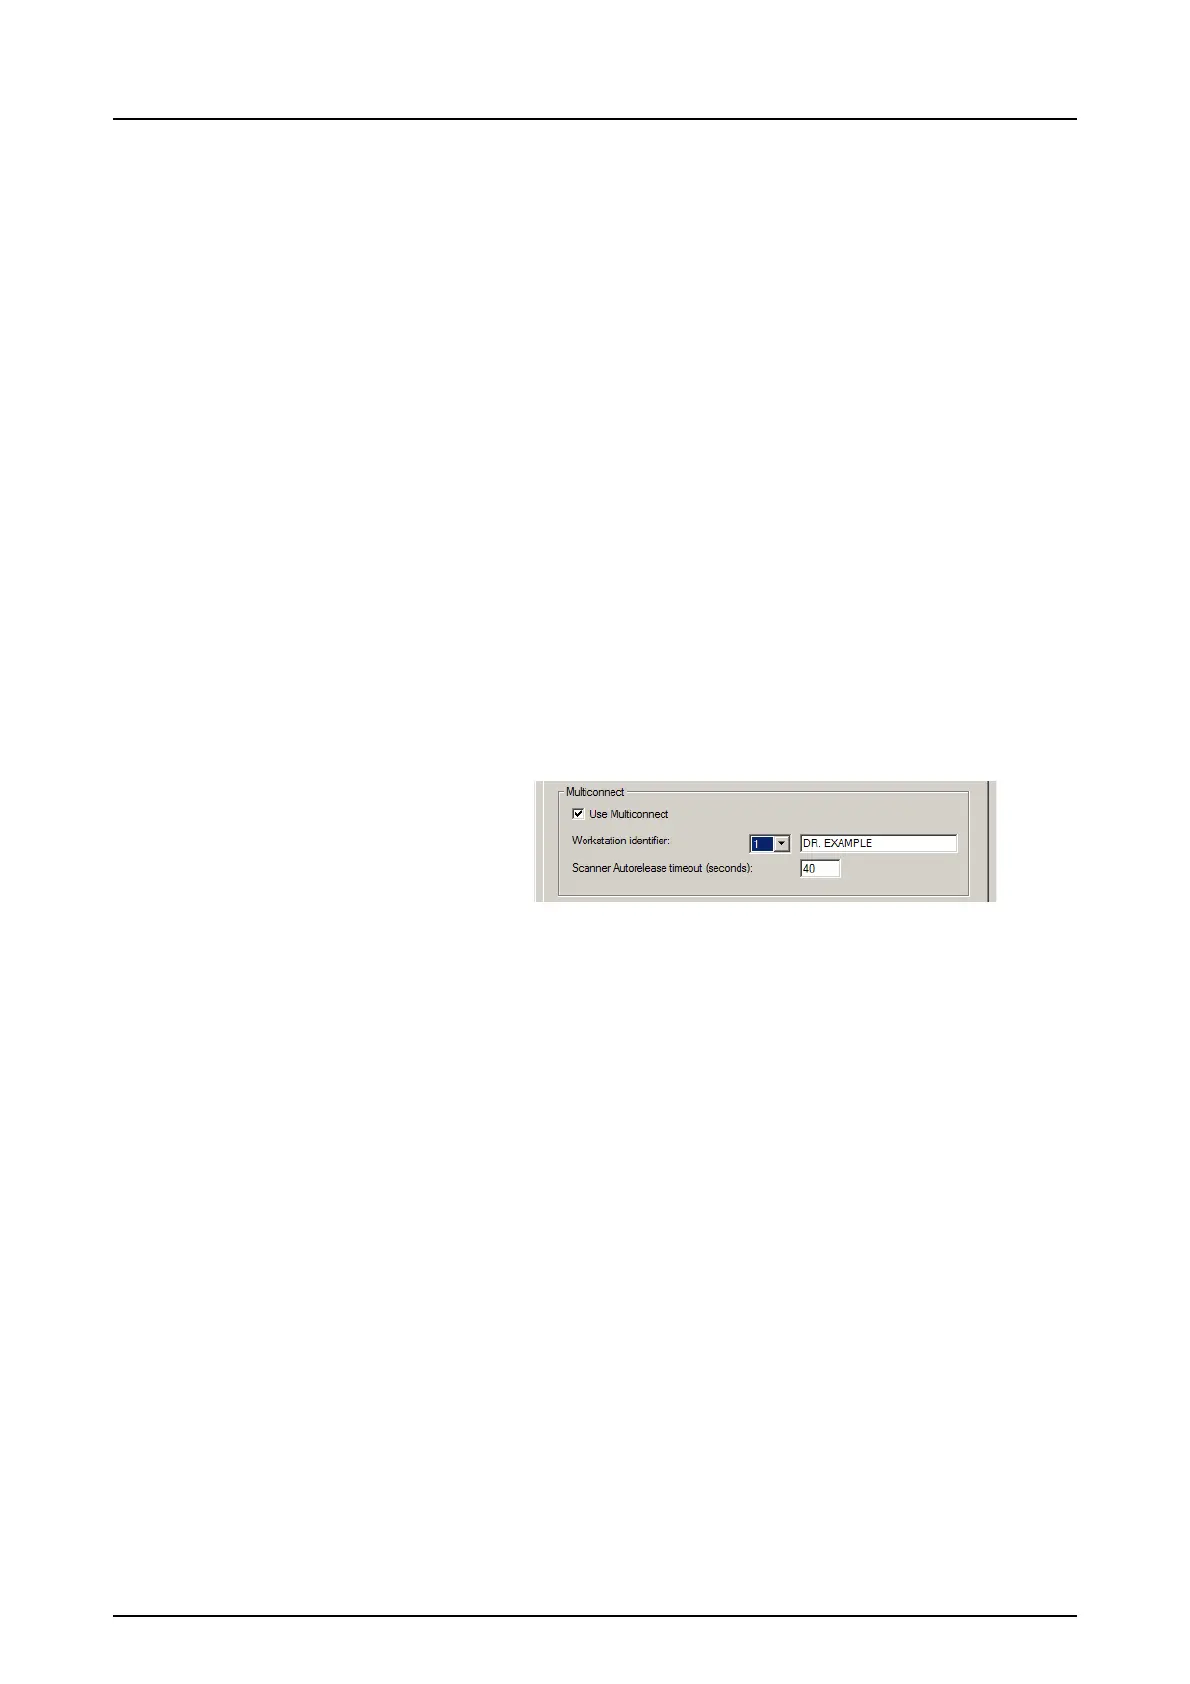
6.3.3 Multiconnect
1. PC: If the unit is to be used with several PCs select the
Use Multiconnect check box and select a unique Work-
station identifier number (between 1 and 4), for the PC
being configured, from the drop down list. Addition
workstation information, for example, user name, loca-
tion etc, can be entered into the field next to the work
station identifier number.
Note! If only one PC is connected to the unit do not select
the Use Multiconnect check box.
The Scanner Autorelease timeout is the length of time that
the unit remains reserved and unused by a PC before the
PC automatically released the unit so that it can be used by
another PC in the system (the scanner can be reserved in
advance from another PC). The default setting is 40
seconds. This can be changed by keying in a new value
2. Click OK to connect the PC to the unit.
Note! An automatic technique automatically locates the
unit within the local area network and connect the PC.
3. Repeat the above process for all the other PCs in the
network. Make sure that you give each PC a different
Workstation identifier.
4. Check the installation by starting image capture using
the imaging application software. If the Use Multicon-
nect was selected the Workstation identifier of the PC
(1 - 4) being used appears on the unit user interface.