STEMCELL TECHNOLOGIES INC.’S QUALITY MANAGEMENT SYSTEM IS CERTIFIED TO ISO 13485 MEDICAL DEVICE STANDARDS.
FOR RESEARCH USE ONLY. NOT INTENDED FOR HUMAN OR ANIMAL DIAGNOSTIC OR THERAPEUTIC USES.
TOLL-FREE PHONE 1 800 667 0322
PHONE +1 604 877 0713 VERSION 02
INFO@STEMCELL.COM
TECHSUPPORT@STEMCELL.COM
FOR GLOBAL CONTACT DETAILS VISIT WWW.STEMCELL.COM DOCUMENT #10000005578
10
3.0 RoboSep™-S Installation
Successful operation of RoboSep™-S requires correct installation. An authorized STEMCELL Technologies
representative will be present to help you unpack, connect, and install the instrument. They will also provide
your laboratory’s staff with training on the proper operation of RoboSep™-S.
3.1 Placement of the Instrument
RoboSep™-S should be placed on a clean, flat surface free of any foreign objects or debris and insulated
from excessive vibration. There should be at least 13 mm of clearance on each side of the instrument to
ensure adequate cooling. RoboSep™-S is not specified for use inside an incubator or cold room. See
section 7.0 for detailed RoboSep™-S specifications.
It is recommended to operate RoboSep™-S
with the lid in place to prevent accidental interference with the
operation of the robotic arm.
RoboSep™-S is designed to fit in chemical hoods and biohazard safety cabinets. To make operation within
such environments easier, the lid can be removed from RoboSep™-S using the following instructions:
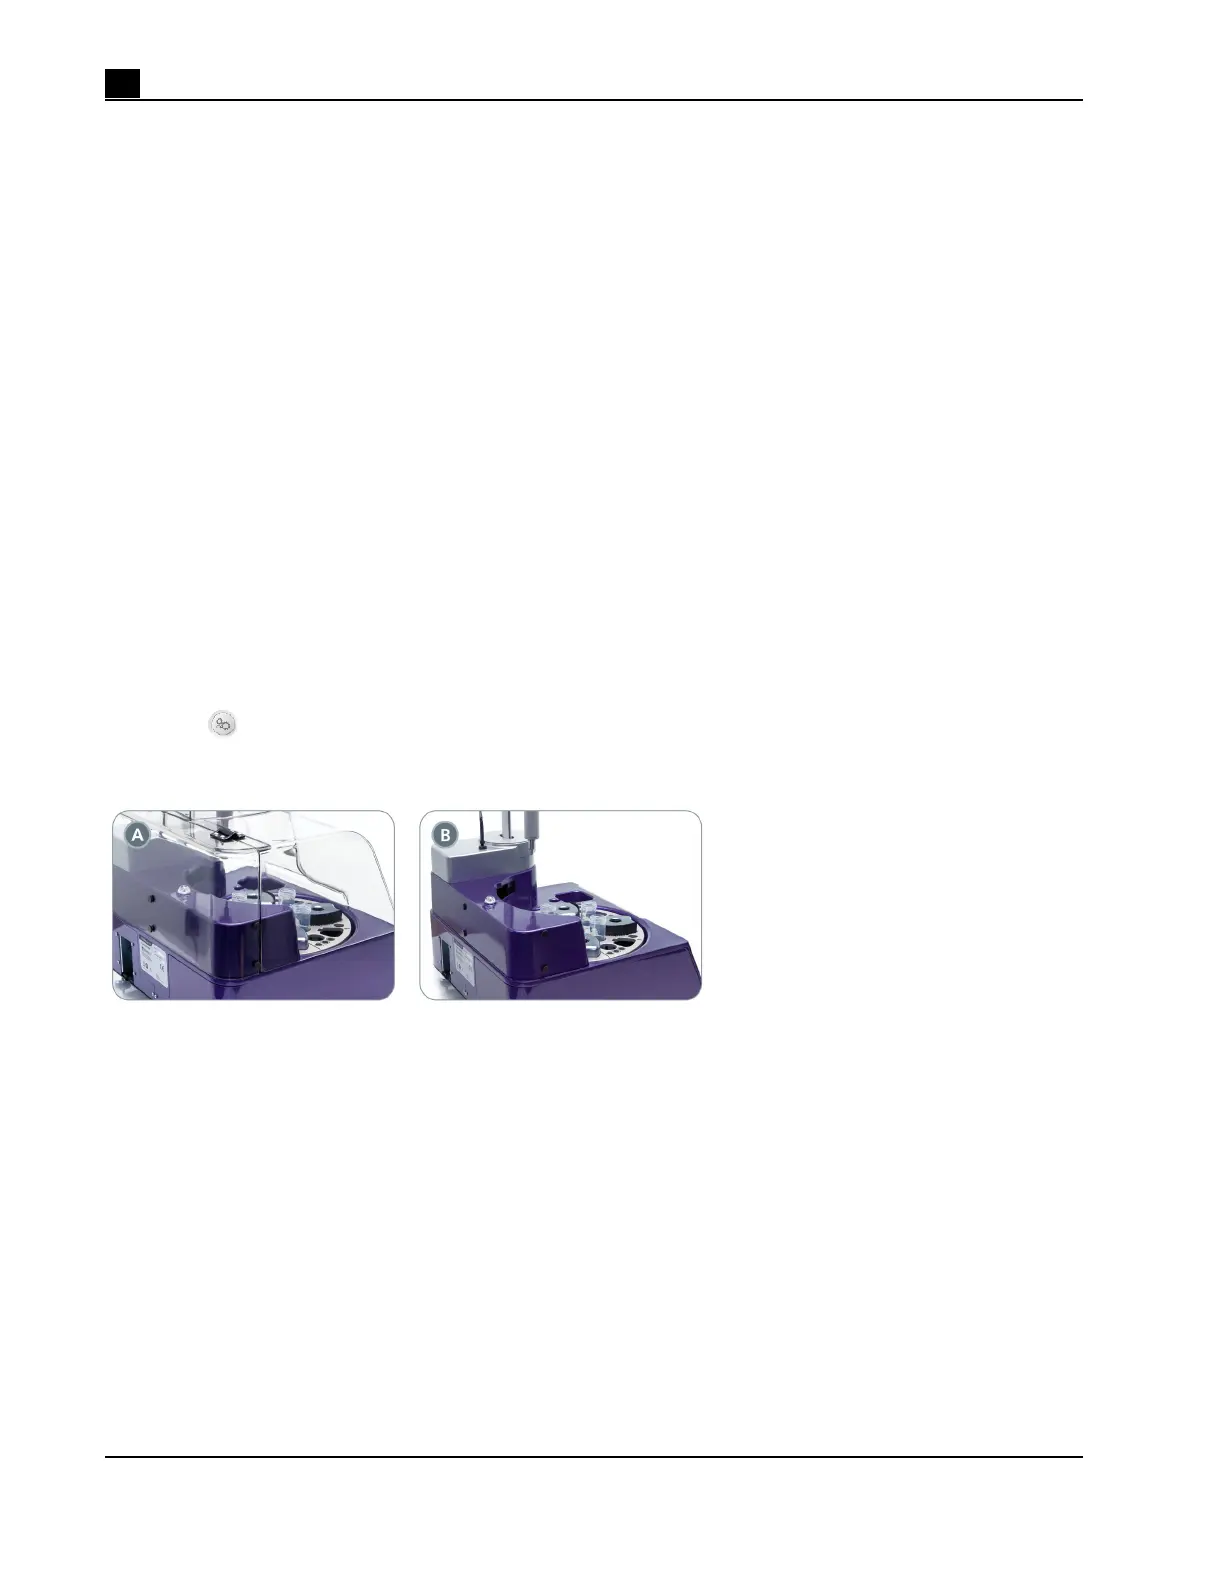
1. Place RoboSep™-S so that you are facing the side of the instrument (Figure 10A).
2. Ensure the lid is closed.
3. Remove the six thumb screws holding the lid in place (two on the back and two on each side of the
instrument).
4. Slowly remove the lid by lifting it.
5. Replace the thumb screws in their original position (Figure 10B) and store the lid.
6. Select
[Maintenance] on the Home screen and deselect Enable Lid Sensor under the System Options
tab.
Figure 10. Removing the Lid. The lid (A) in place and (B) removed. Note that only four thumb screws are
shown in this diagram.