0458-838-8601-A
29
English
9 Adjusting the Trimmer / Brushcutter
► Screw on the nut (1) counterclockwise and tighten it down
until the cutting attachment is properly and securely
attached.
► Remove the stop pin from the hole in the gearbox.
Cutting attachments with more than 4 cutting edges must be
mounted with the cutting edges pointing in the direction of
rotation. Otherwise, the cutting attachment will not cut. The
direction of rotation is indicated by an arrow on the
underside of the deflector.
NOTICE
Arrows on the deflector (A) (as seen from the underside)
show the correct direction of rotation of the cutting
attachment. When viewed from above, however, the cutting
attachment rotates counterclockwise.
NOTICE
After mounting or removing the cutting attachment, always
remove the stop pin used to block rotation of the drive shaft.
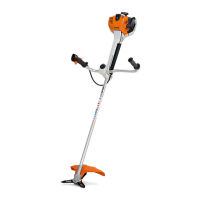
8.4.2 Removing a Metal Cutting Attachment
To remove a metal cutting attachment:
► Shut off the engine, @ 12.1.
► Position the unit so that you are facing the underside of
the deflector and the drive shaft is pointed upwards.
► Block the rotation of the drive shaft with the stop pin.
► Unscrew the nut by turning it clockwise.
► Remove the rider plate, thrust washer, metal cutting
attachment and thrust plate.
► Remove the stop pin from the hole in the gearbox.
NOTICE
After mounting or removing the cutting attachment, always
remove the stop pin used to block the rotation of the drive
shaft.
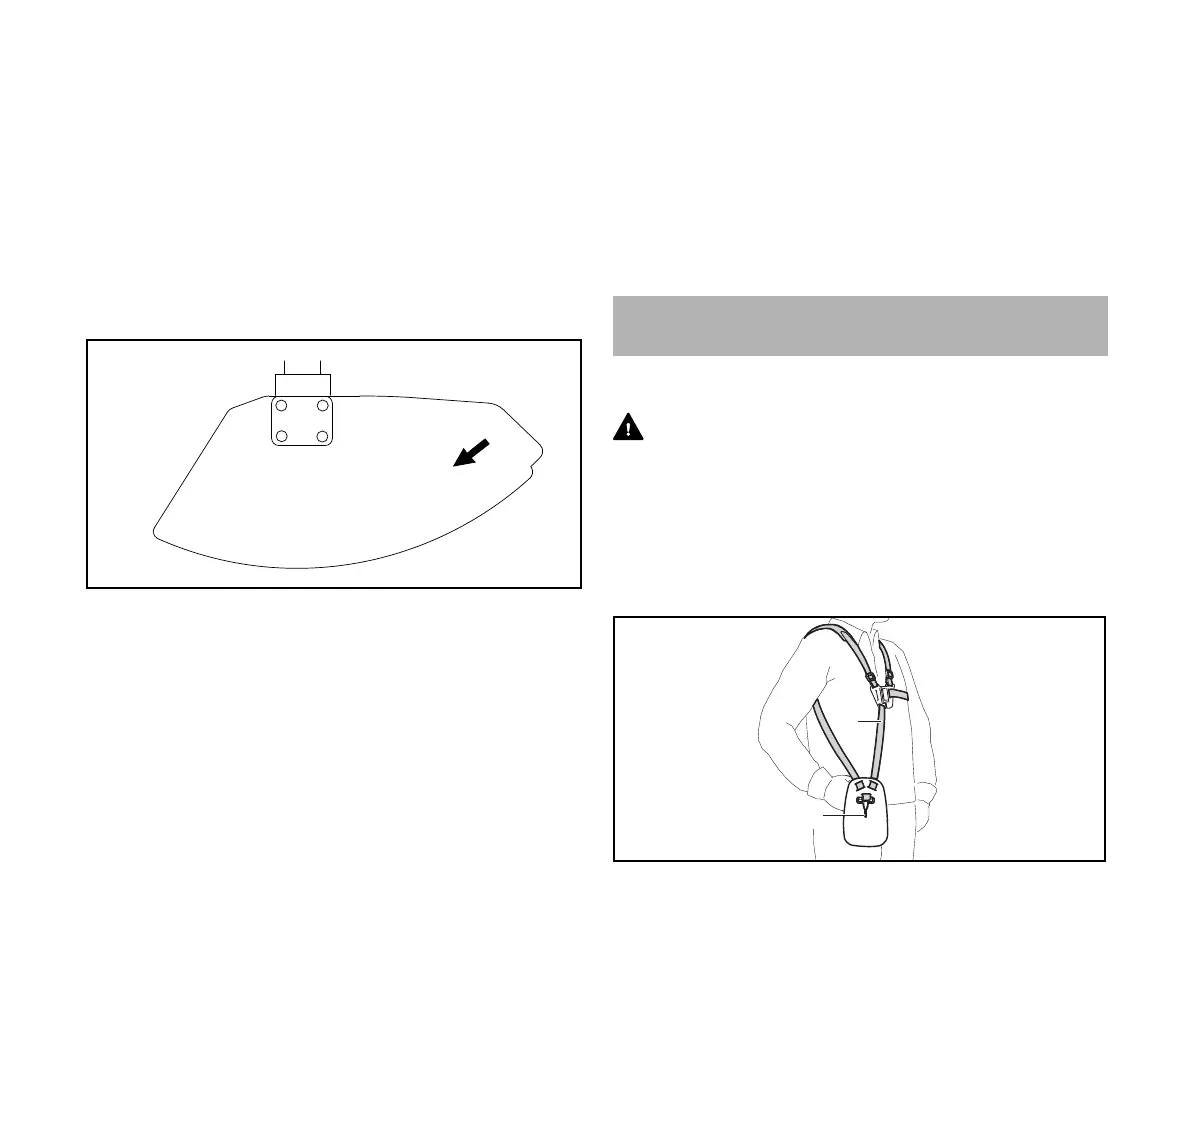
9.1 Putting on and Adjusting the Full Harness
WARNING
To reduce the risk of injury from loss of control and contact
with the cutting attachment, always wear a proper harness,
@ 23.1.
► Shut off the engine, @ 12.1.
► Put on the full harness over both shoulders.
To adjust the harness:
► Adjust the length of the full harness (1) so that the
carabiner (2) is about a hand’s width below the top of your
hip.
9 Adjusting the Trimmer / Brushcutter
 Loading...