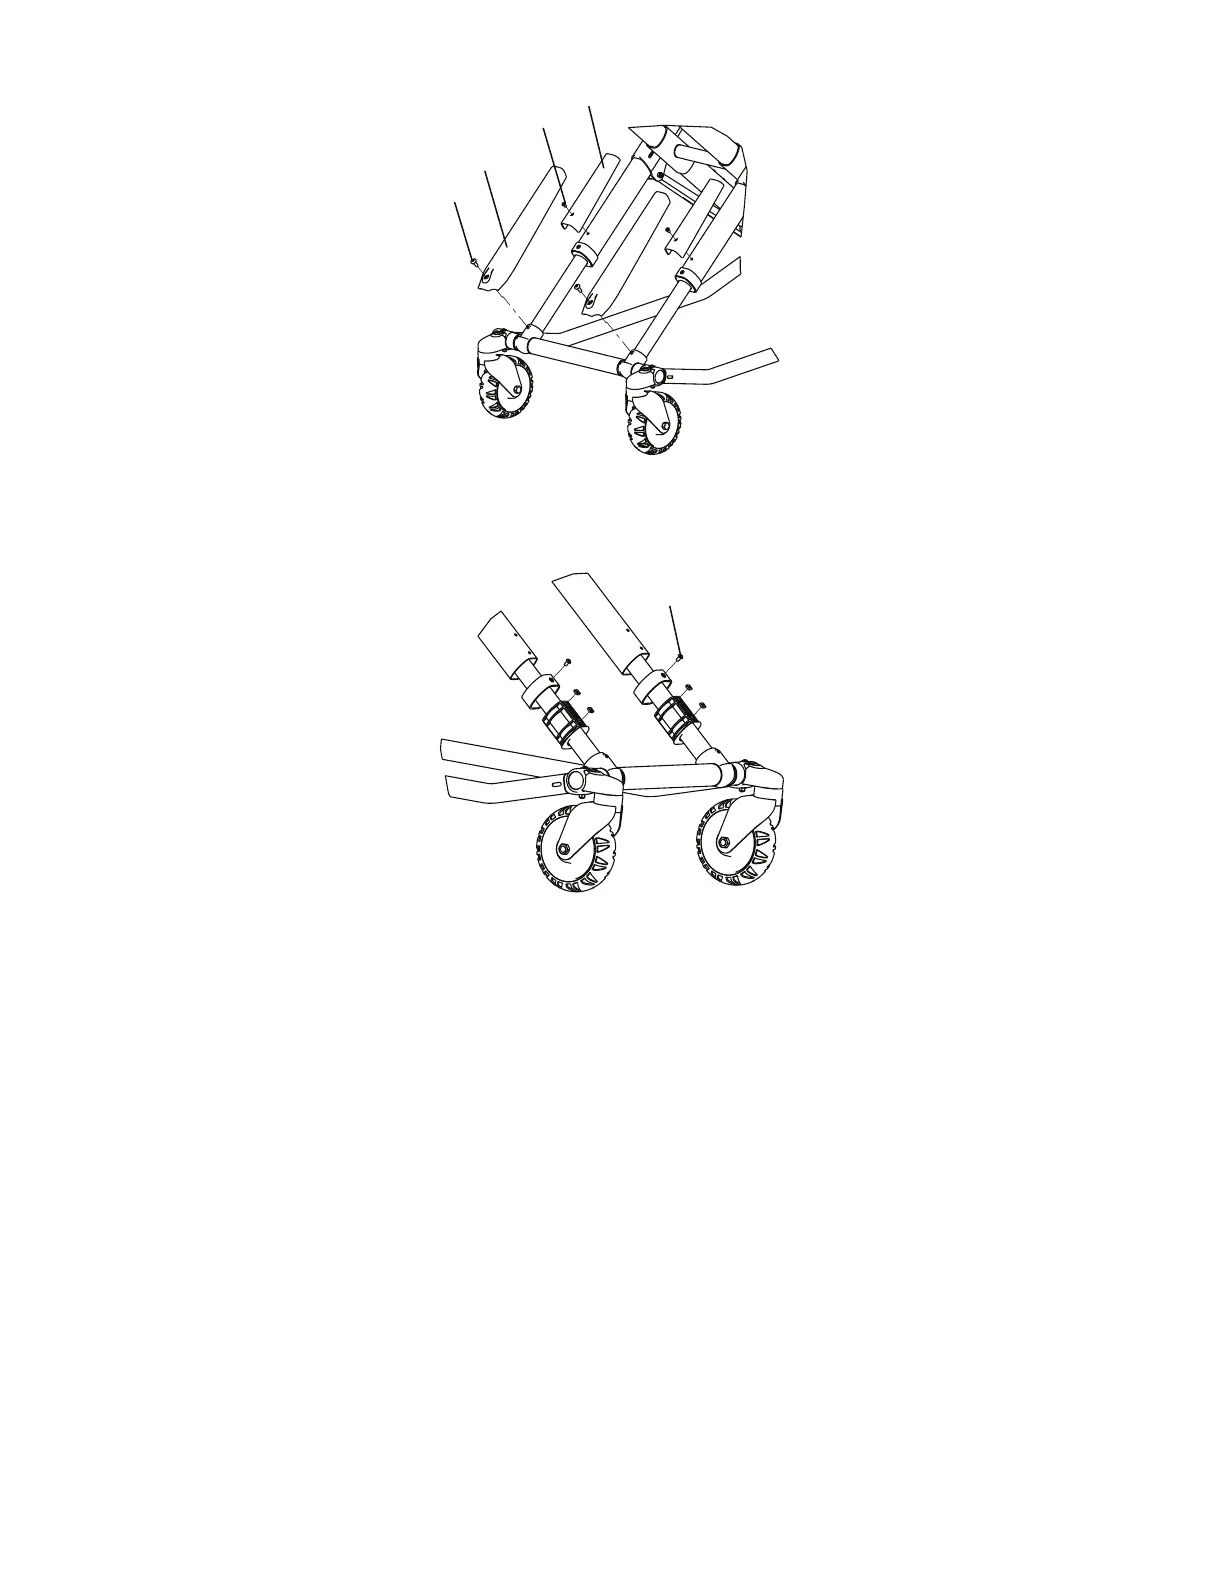
FFiigguurree 1133 –– RReemmoovvee tthhee ttrruussss hheeaadd ssccrreewwss
3. Using a T25 Torx driver, remove the two button head cap screws (C) that secure the tube bearing (Figure 14).
FFiigguurree 1144 –– RReemmoovvee tthhee bbuuttttoonn hheeaadd ccaapp ssccrreewwss
4. Remove the inner tube and save the tube bushings to reuse on the new inner tube.
5. Reverse steps to install the new inner tube.
NNoottee -- Make sure that the X-frame guard screw hole on the new inner tube faces the top of the cot during ressembly.
6. Verify proper operation before you return the product to service.
OOuutteerr,, oouutteerr ttuubbee rreeppllaacceemmeenntt
TToooollss rreeqquuiirreedd::
• (2) saw horse
• 3/8” combination wrench
• 7/16” combination wrench
• T25 Torx driver
• (2) 9/16” combination wrench
• Dead blow hammer
• 3/16” Allen wrench
6086-009-002 Rev AB.2 19 EN
 Loading...


