FFiigguurree 88 –– SSeett ssccrreeww llooccaattiioonn
3. Using a slotted screwdriver, remove the E-clip from the clevis pin that secures the bottom of the gas cylinder.
4. Unscrew the gas cylinder shaft from the yoke.
5. Reverse steps to install the new gas cylinder (see
Backrest adjustment
(page 11)).
6. Verify proper operation before you return the product to service.
IInnnneerr,, iinnnneerr ttuubbee rreeppllaacceemmeenntt
TToooollss rreeqquuiirreedd::
• (2) saw horse
• 3/8” combination wrench
• 7/16” combination wrench
• T25 Torx driver
• (2) 9/16” combination wrench
• Dead blow hammer
PPrroocceedduurree::
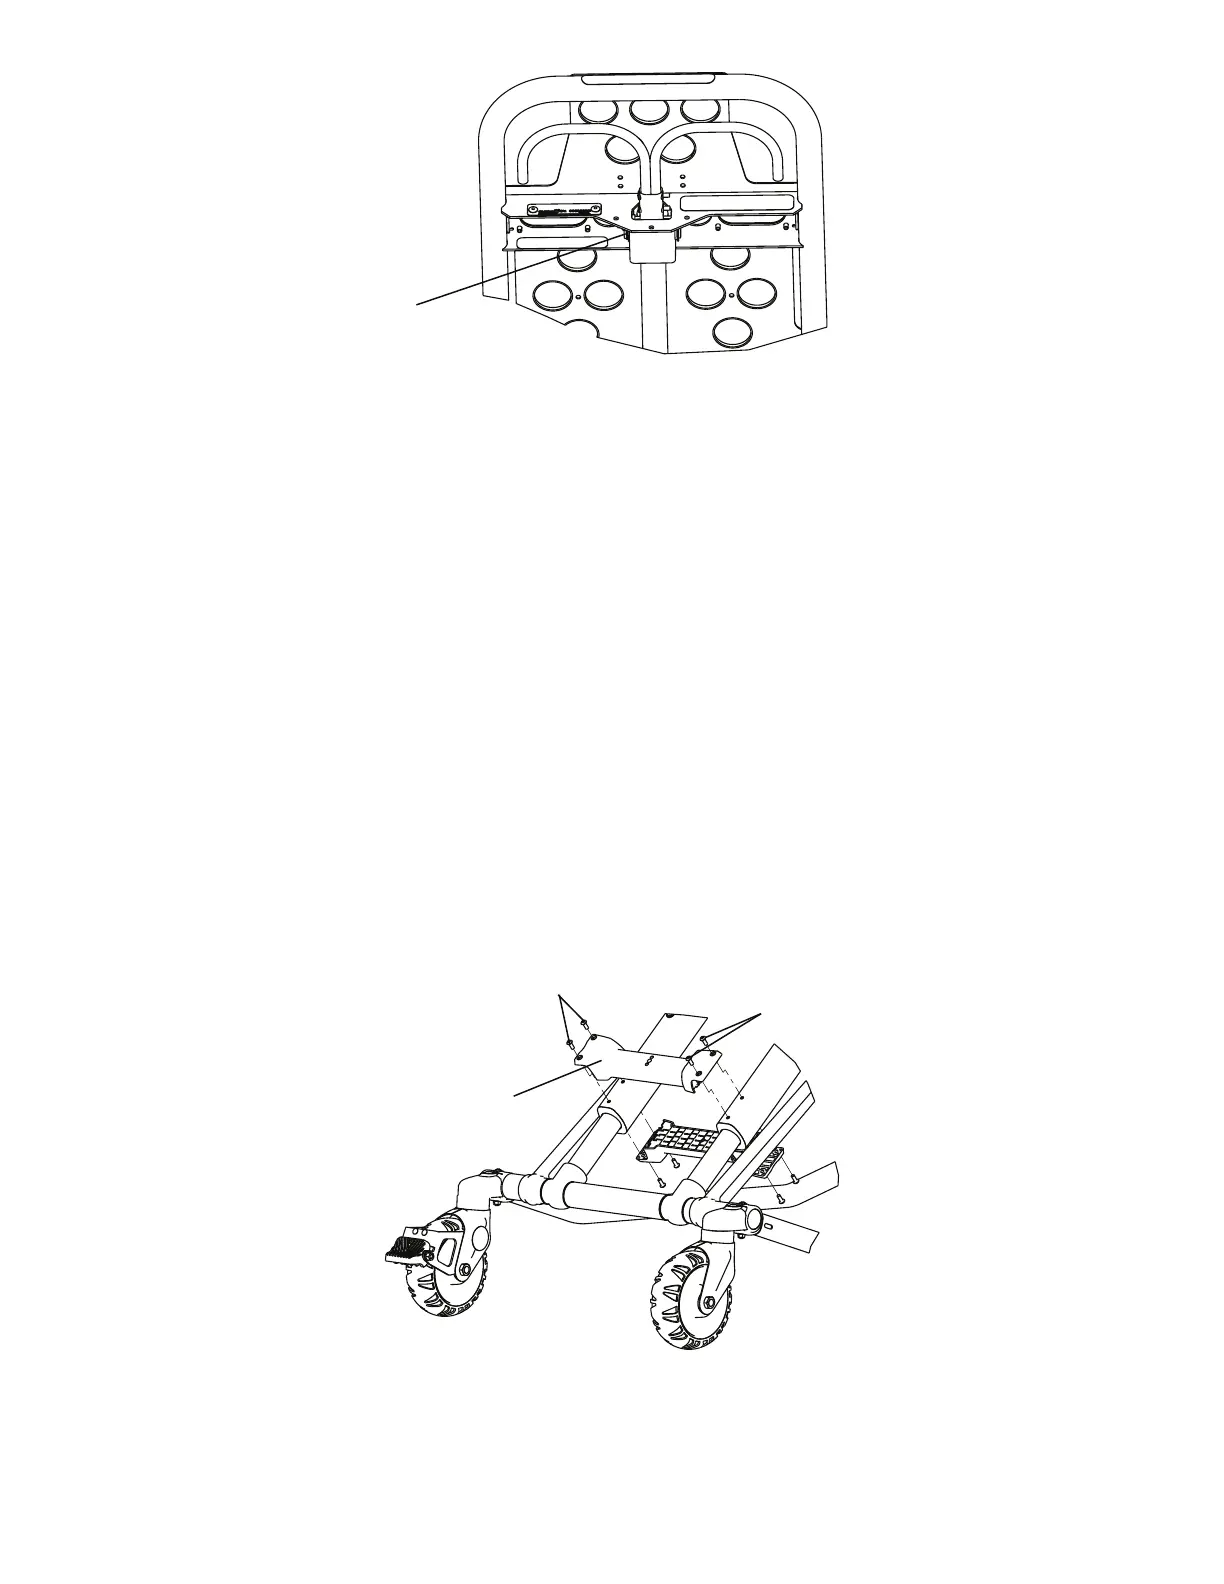
1. Using a T25 Torx driver, remove the four button head cap screws (A) from the base stiffener (B) (Figure 9).
FFiigguurree 99 –– RReemmoovvee tthhee bbaassee ssttiiffffeenneerr
2. Lower the cot to the lowest position.
EN 16 6086-009-002 Rev AB.2