29
8. PRESS either the [+] or the [-] button to scroll through the intervals. There are four time intervals 20
seconds, 1 minute, 10 minute or 60 minute.
Recommended interval to use:
Activity Interval
Skiing 1 Minute
Biking 1 Minute
Hiking 10 Minute
Climbing 60 Minute
Note: In selecting the interval, the user chooses a) the time period for recording the altitude, the vertical
ascent/descent rate as well as the current time to be stored into the logbook and b) the timeout or
maximum recording time of a logbook. The shorter the interval the more accurate the information due
to the fact the sampling rate is faster. Timeouts are discussed on page 3-8.
9. At the desired interval, PRESS the [Mode] button to accept the changes and exit the setup program.
Once the user completes the process in setting the reference altitude of the current location to the
known altitude, the Wristop Computer will also correct the sea level pressure, and therefore, it will not
be necessary for this function to be set.
Note: If the user does not press any button for 1 minute in the setup mode, the display will automatically
exit setup.
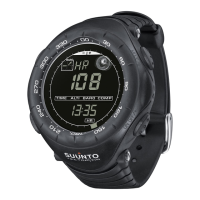
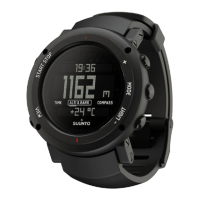
Altitude difference Measurement Mode
In the Altimeter mode, PRESS the [Select] button once to enter this sub mode.
In the Altitude Difference measurement mode:
Field 1 displays the vertical ascent or descent rate;
Field 2 displays the current altitude in increments of 5 meters or 10 feet depending on the unit of
measure selected; and
Field 3 displays the running time; to the left of the time is the text differ.
The Outer Circumference graphically displays the altitude in hundreds of meters or feet over a full
thousand where one complete circle is equivalent to 1000.