41
Setting the Local Declination
1. PRESS the [Select] button and hold for 2 seconds. Located in Field 1, OFF will begin to flash.
2. PRESS either the [+] or the [-] button to change the declination direction in Field 1.
3. At the direction desired, PRESS the [Select] button to move to the next setting. Located in Field 2, the
degrees will begin to flash.
4. PRESS the [+] button to scroll the degrees upward or
PRESS the [-] button to scroll the degrees downward.
5. At the degrees desired, PRESS the [Mode] button to accept the changes and exit the setup program.
Note: If the user does not press any button for 1 minute in the setup mode, the display will automatically
exit setup.
Local Declination is now set.
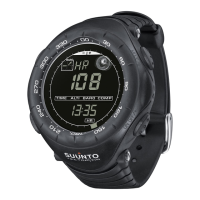
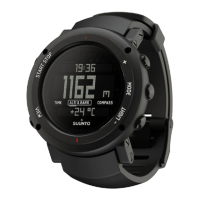
CALIBRATING THE COMPASS
A compass calibration should be done when the Wristop Computer is subject to close proximity of
magnetic sources, extreme cold weather, every time the battery is replaced or suspected that other
environmental conditions have effected the compass readings.
Note: We also recommend calibrating the compass before using the compass the first time and every
time leaving for a hike where the compass will be used.
To begin the calibration:
1. PRESS the [Select] button twice when in the main compass mode. Field 1 displays the text CMP.
Field 3 displays the text CAL.
2. PRESS the [Select] button and hold for 2 seconds. Located in Field 2, the text PUSH will begin to
flash.
3. PRESS the [-] button to start calibration.
4. In Field 2, 360
O
appears and the Outer Circumference displays all segments lit. When this occurs, hold
the Wristop Computer level and start to slowly turn the device around a full circle in a level position.
The direction of turning does not matter. The lit segments will be turned off as the turning
proceeds. When the first full circle is completed, the instrument will inform the user within one