1A-24 Engine Control:
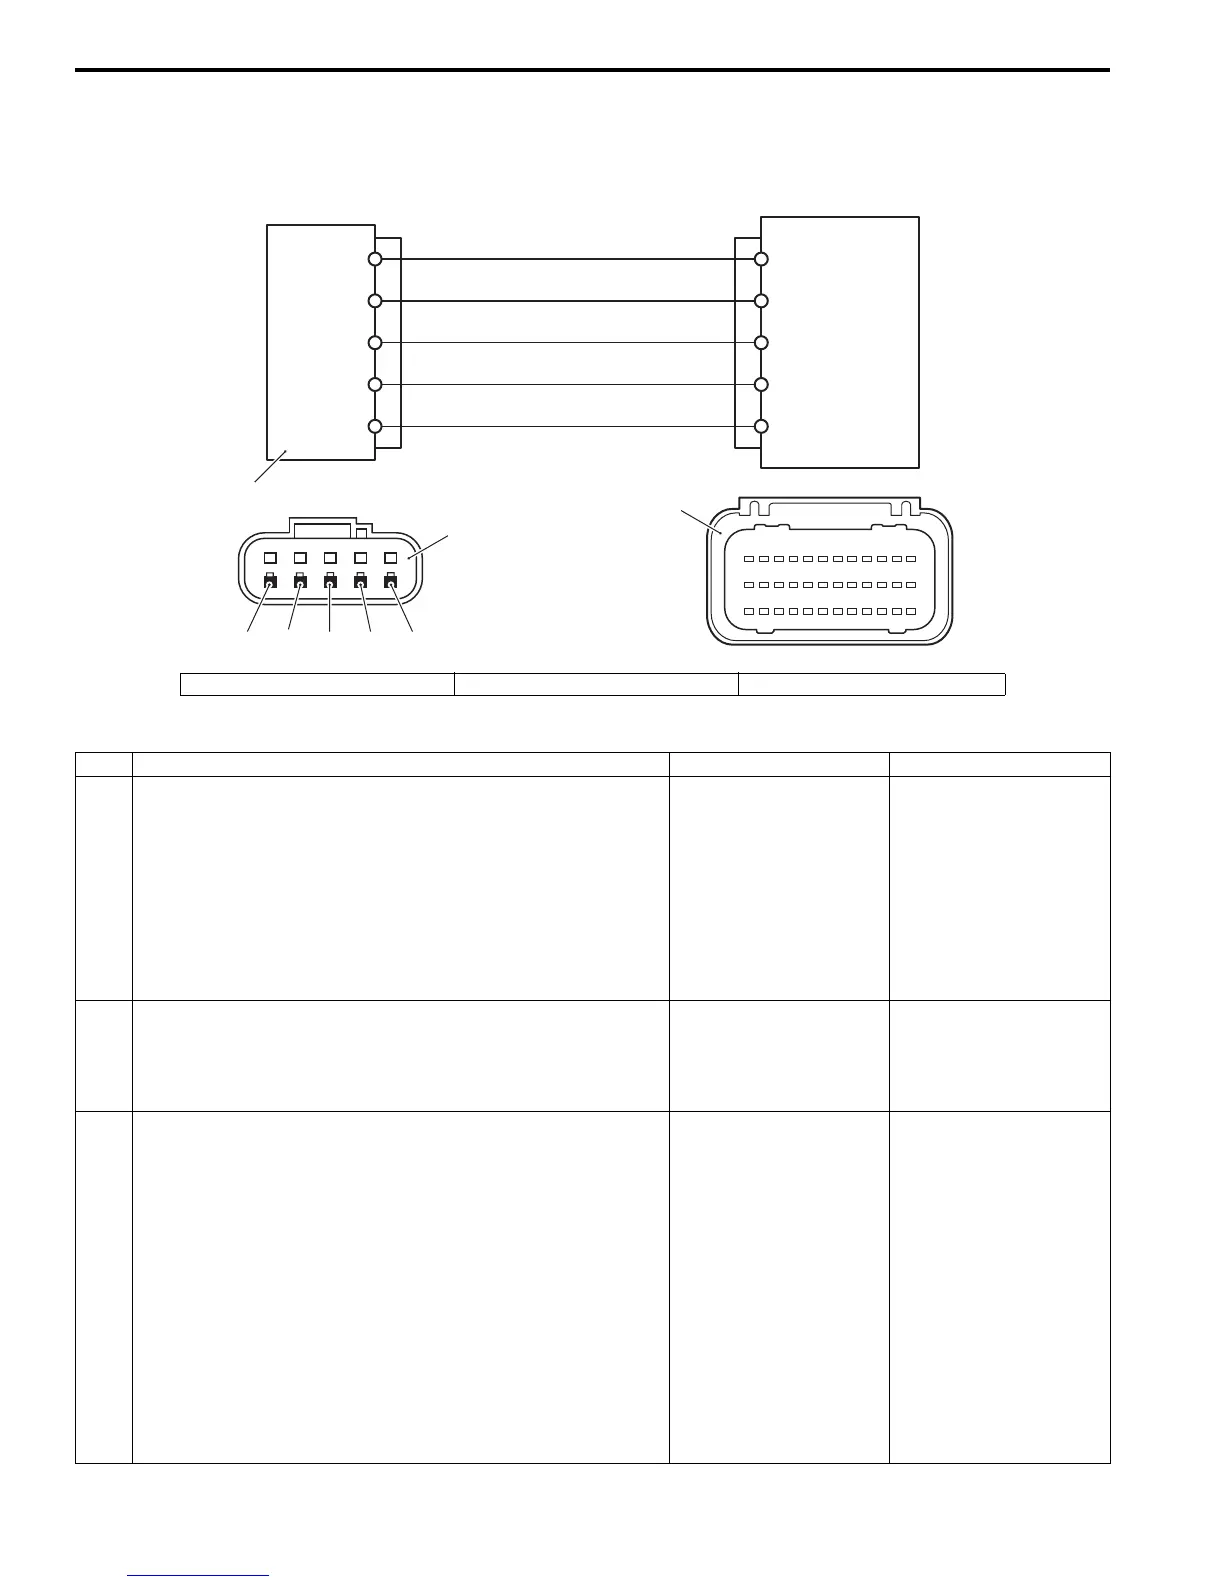
Self-Diagnostic Code “3 – 2” MAP Sensor 2
ZAJ6111104009
Wiring Diagram
Troubleshooting
ECM
Lg/B
123456789101112
13 14 15 16 17 18 19 20 21 22 23 24
25 26 27 28 29 30 31 32 33 34 35 36
8
32
25
6
33
W
B/W
Br/Y
R
B/W Br/Y RWLg/B
1
2
3
1. MAP sensor / TPS / IAT sensor 2. Sensor connector (harness side) 3. ECM connector (harness side)
Step Action Yes No
1 1) With the ignition switch “OFF”, disconnect the MAP
sensor connector.
2) With the ignition switch “ON”, check the voltage at the
“R” wire terminal of the MAP sensor connector.
Is the voltage approx 4 – 5 V?
Go to step 2. • “R” wire open, “R”
wire shorted to
ground circuit or poor
wire connection.
• If the wiring and
connection is OK,
substitute a known-
good ECM and
recheck.
2 1) Check the MAP sensor output voltage change.
Refer to “MAP Sensor Output Voltage Inspection” in
Section 1C (Page 1C-12).
Is it in good condition?
Go to step 3. Faulty MAP sensor.
3 1) Check the TPS output voltage change.
Refer to “TPS Inspection” in Section 1C (Page 1C-13).
Is it in good condition?
Intermittent trouble,
substitute a known-
good ECM and recheck.
• Faulty TPS.
• “R” wire shorted to
“Br/Y” wire, “B/W”
wire open, poor “B/
W” wire connection,
poor “Br/Y” wire
connection, “Br/Y”
wire open or poor
TPS connection.
• If the wiring and
connection is OK,
intermittent trouble or
a faulty ECM may be
the cause.



 To Next Page