37
4.2 Operation mode
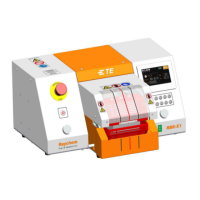
4.2.1 Stand-by mode
When turn on the main power switch, the I/O button LED start to
flash, processor is in stand-by, no power is connected to the heater,
fan and motor circuits. Currently the processor is showing standby
interface and ready to power ON by press on I/O button for 5
second.
Processor can be set the time to entry standby mode automatically after no
action to the processor, in case of accident if operator is leaving.
I/O button
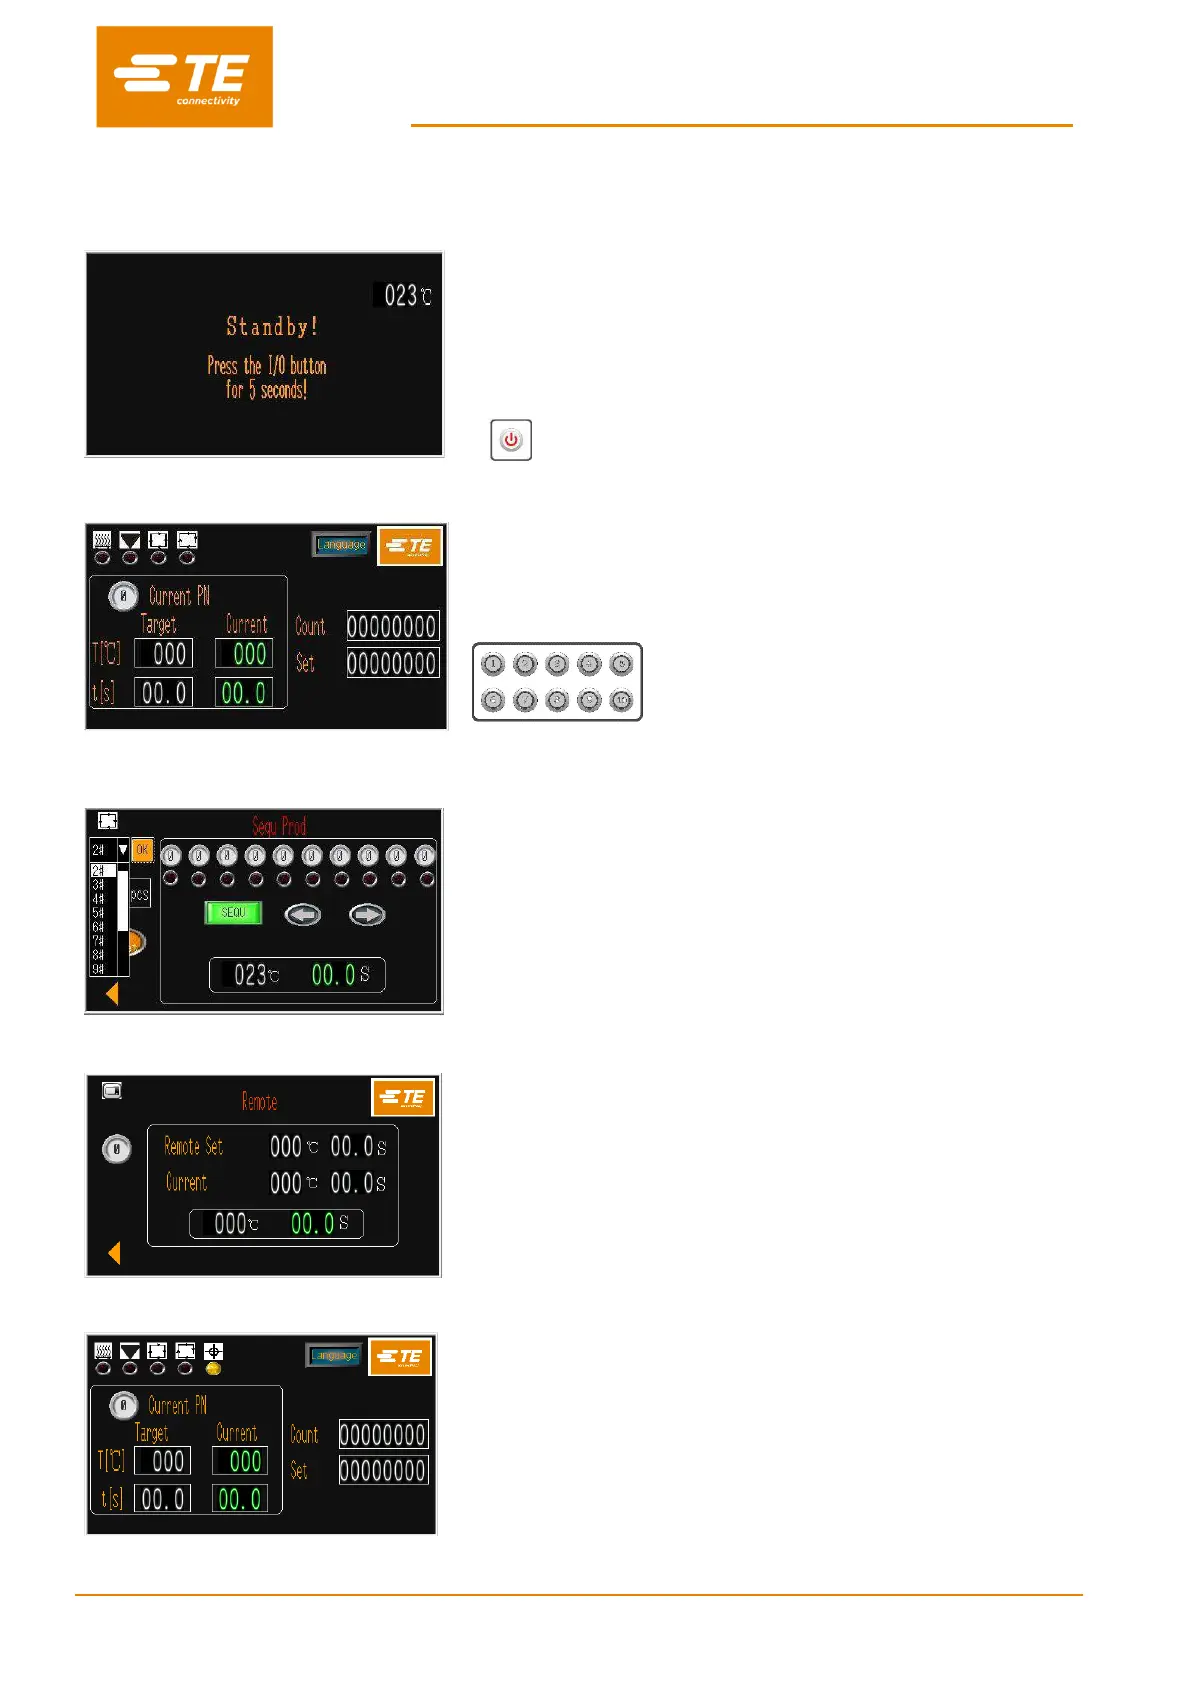
4.2.2 Single Process mode (Main Interface) ---- See section 4.2.7
The process selection button parameters (time; temperature;
product size) have been assigned and stored for each process
button. The selected process button number and its stored
parameter will be shown on the main interface, and they can be
used repetitively until another process button is selected.
10X process quick process buttons.
4.2.3 Sequence Production mode ---- See section 3.2 & 3.3
Allow operator to operate the production for different process step
by step according to the sequence which preset and stored in
processor.
Currently this processor can store 1#~15# sequence. 10 process for
each sequence.
4.2.4 Remote Operation mode ---- See section 3.8
Allow the processor to receive and operate following the heating
parameter (product size/temperature/time), which transport from
Ultrasonic welding processor through the RS232 Interface socket.
4.2.5 Auto Centering mode (Main Interface) ---- See section 4.2.8
In this mode, processor will help to centering the splice and tube
before cycle start.
Also, processor allow to operate under remote mode with centering
activated.