IU_TechMaster_02_eng Page 15 of 32
Press to save settings or to get back to the first day.
To add Variable Time Delay values, the lock must be opened. If the lock is closed it will be
not possible to access the function. Open the lock and then set Variable Time Delay values.
Variable Time Delay always have to be increased or decreased in steps of 10 minutes from
the value of Time Delay (2.2.). If not, TechMaster will automatically adjust values to the next
available ones.
After saving the settings LCD will display the message:
Press to set more periods (up to 4).
2.3.2. Variable Time Delay - Verify or Delete
Use this function to verify or delete Variable Time Delay values.
Power up TechMaster and access the Variable Time Delay menu.
Press .
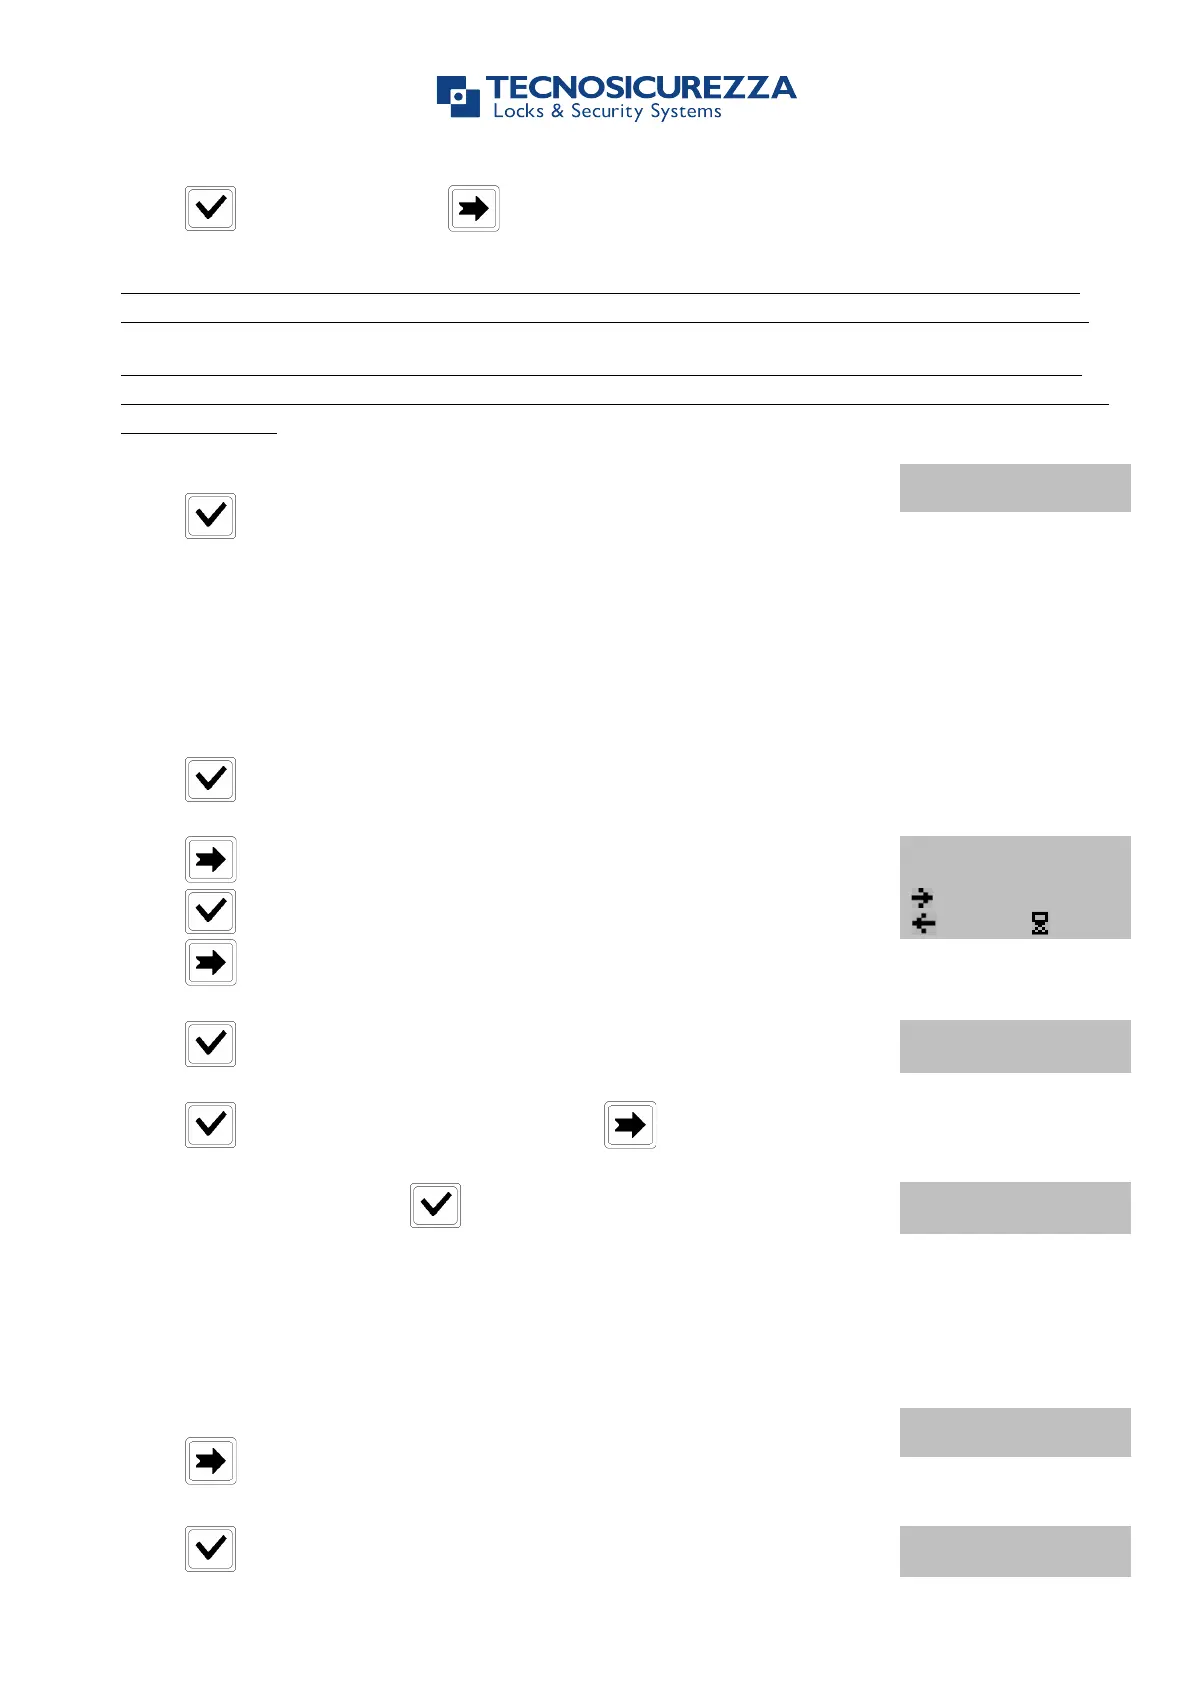
Press , LCD will display the message:
Press , LCD will display the set values for the first day.
Press to scroll all the set values.
Press to delete the set values. LCD will display the message:
Press to delete the LCD values or press to exit.
At the end of the list press .
Use this function to start the communication between TechMaster and PC (audit, settings).
Power up TechMaster and access the Manager Menu.
Press three times. LCD will display the message:
Press to start the communication with the PC.