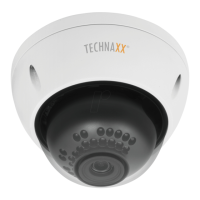
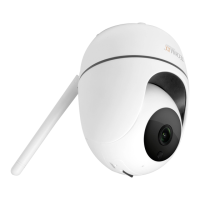
3.3 Installation TX-67
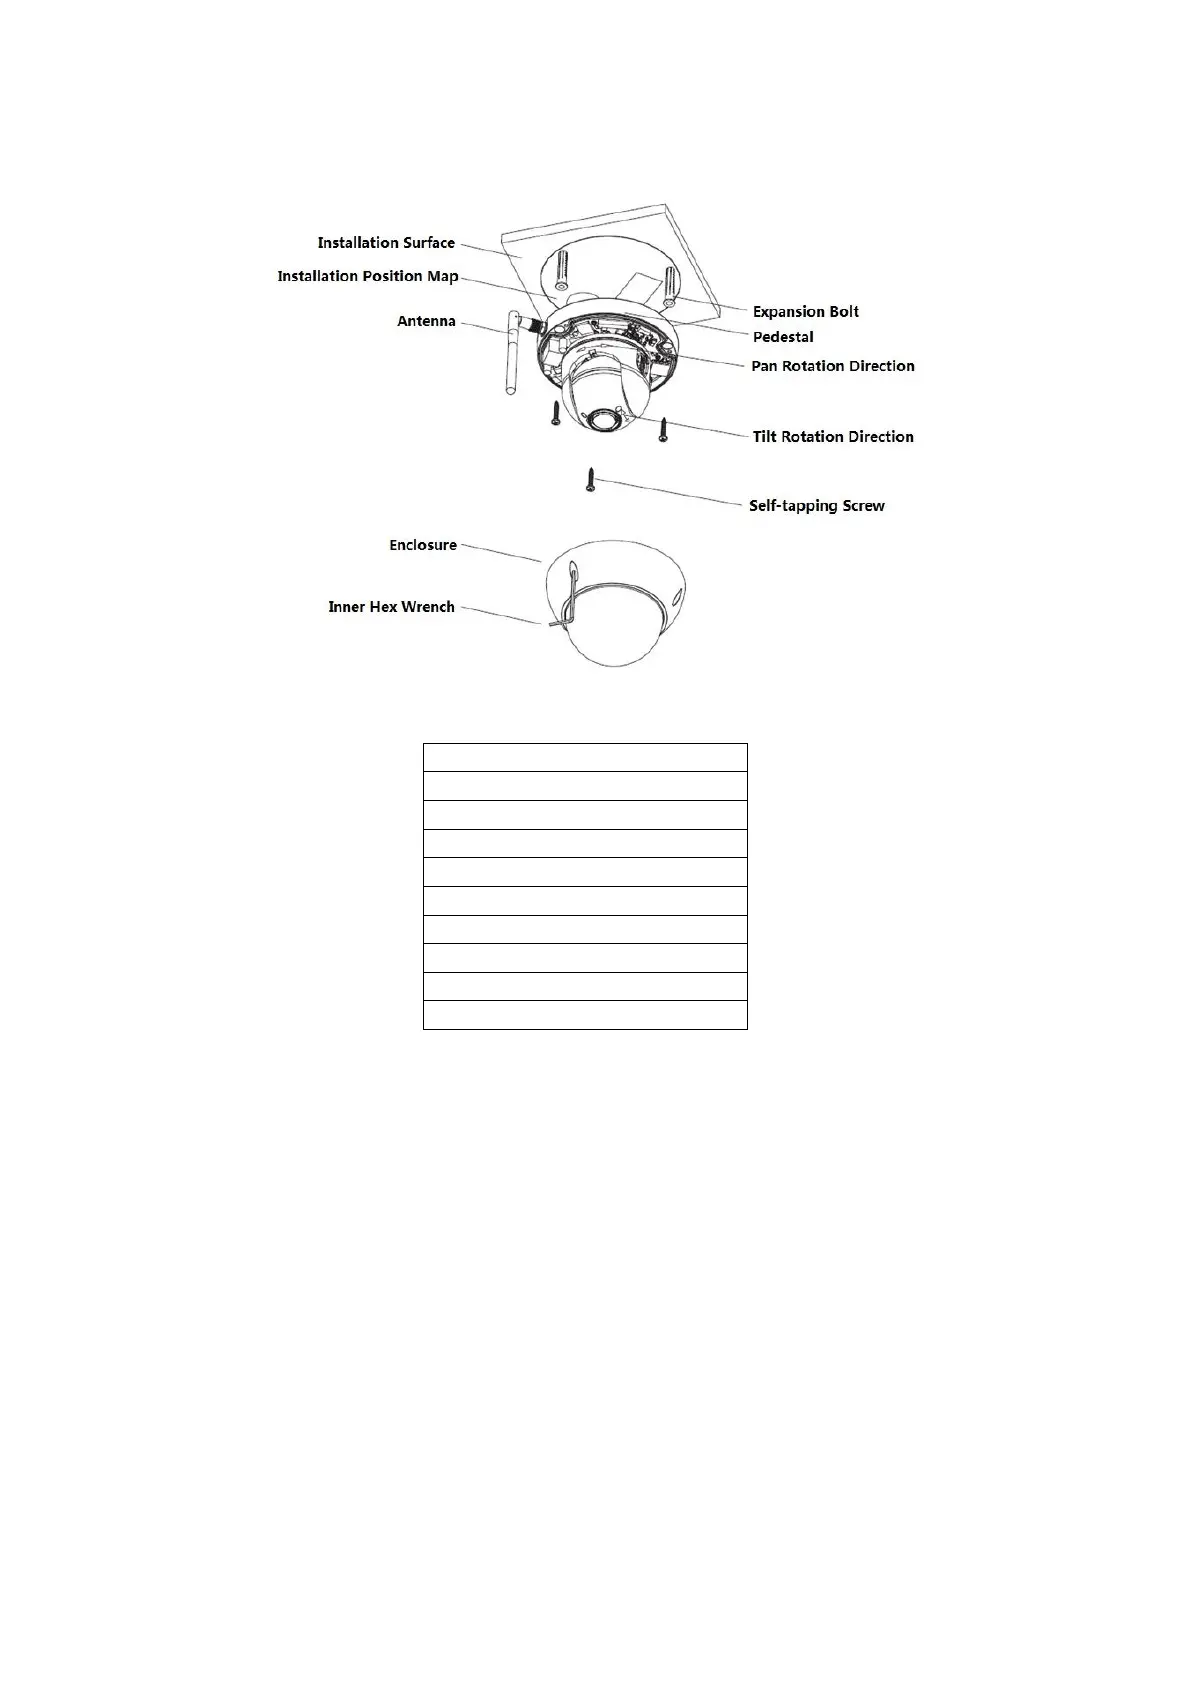
Figure 3-7
Installation Position Map
Follow the steps listed below to install the device. Refer to Figure 3-7 for reference.
Step 1: Take the installation position map in the accessories bag, and then paste it on the
ceiling or the wall according to your monitor area requirements. Draw and then dig three
plastic expansion bolts holes in the installation surface and then insert three expansion
bolts in the holes. Secure these three bolts firmly. Draw the cable out from the cable exit
when you install the device.
Step 2: Adjust the device installation pedestal to the proper position and then line up the
three screw holes in the device pedestal to the three plastic expansion bolt holes in the
installation position. Put the three self-tapping screws in the three plastic expansion bolts
and lock them firmly.