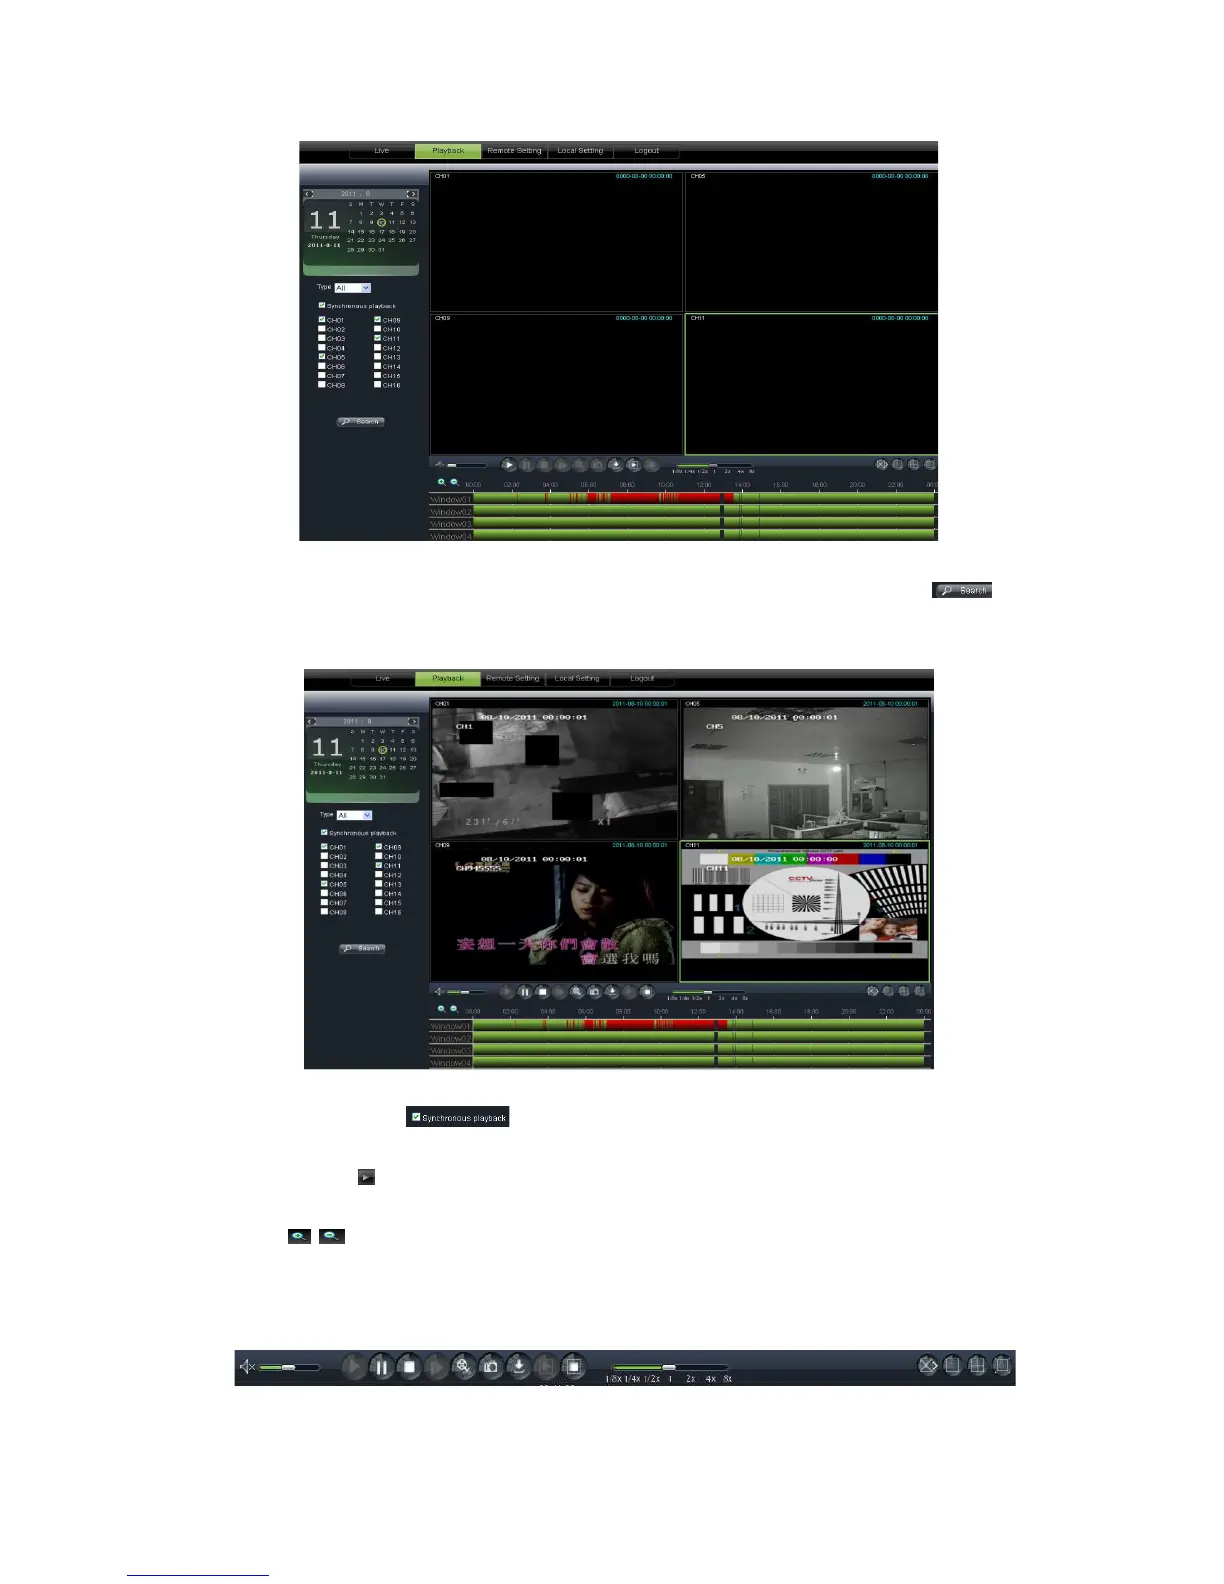
Secondly, select record type (Normal record,
button shown as Picture 6-
9. On the time axis, red part stand for alarm record, yellow stand for
normal record and original part stand for no record during this period.
synchronously; otherwise, you could
] icon to start record playback. When mouse curse is moving on the time
current time will appear in the screen.
] icon to zoom in/out the time bar display ratio shown as Picture 6
6.3.2.2
6.3.2.2 6.3.2.2
6.3.2.2
13 is playback control bar
Secondly, select record type (Normal record,
Alarm record and All) and then click <
9. On the time axis, red part stand for alarm record, yellow stand for
normal record and original part stand for no record during this period.
> option, that means the selected channel will playback
synchronously; otherwise, you could
separately control the channels playback.
] icon to start record playback. When mouse curse is moving on the time
current time will appear in the screen.
] icon to zoom in/out the time bar display ratio shown as Picture 6
13 is playback control bar
Alarm record and All) and then click <
9. On the time axis, red part stand for alarm record, yellow stand for
> option, that means the selected channel will playback
] icon to start record playback. When mouse curse is moving on the time
] icon to zoom in/out the time bar display ratio shown as Picture 6