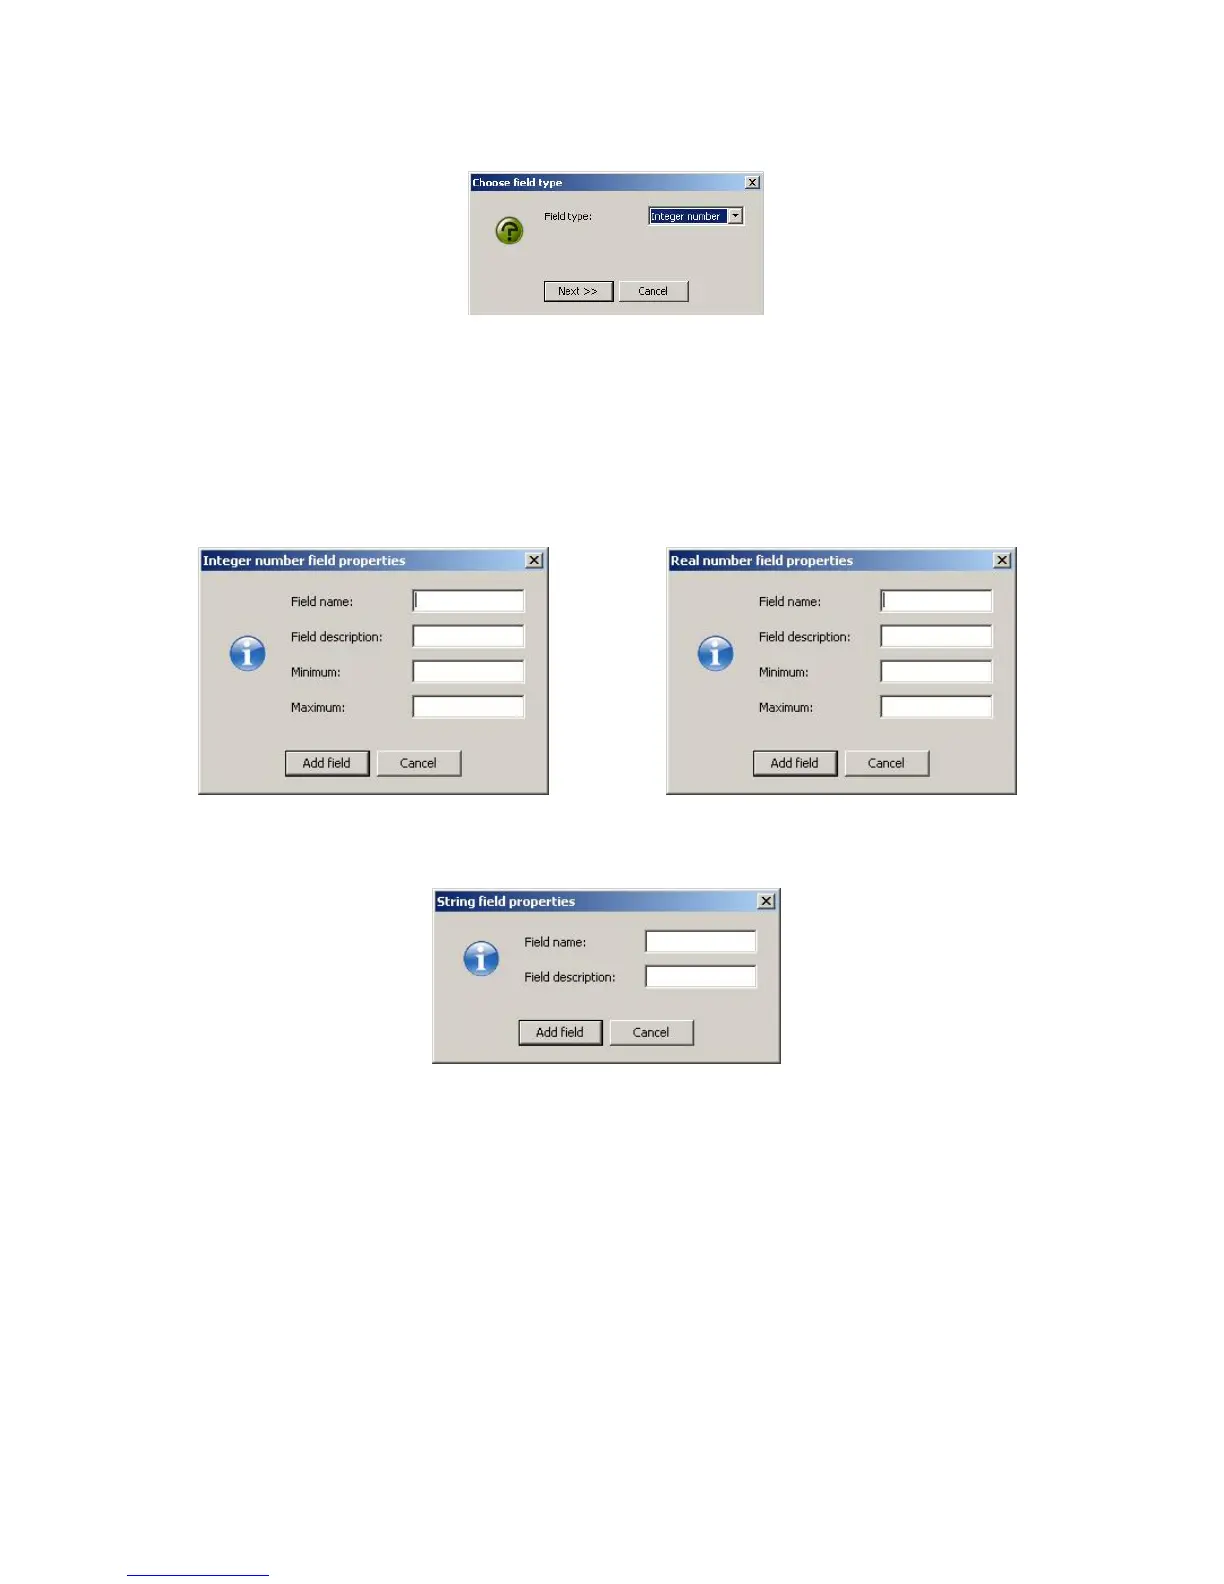
Figure 75: Fi
eld type Selection
Select the field type from the pull down list and select next. The next dialogue window
will allow for you to enter the particulars for the field depending on the type selection.
The different windows can be seen in Figures 76, 77, and 78.
Figure 76: Integer field setup Figure 77: Real number field setup
Figure 78: String Setup
Give the field a name and brief description, for numerical values provide the range of
valid entries. When complete, select the Add field button at the bottom to complete the
task. Repeat these steps for each new field that is to be added to the database.
72