When configuring for WPA2 Enterprise, pay attention to the correct
spelling and suffixes of certificate names. Depending on the encryption
method, the following 3 certificates must be available: ca.pem,
client.pem, private.key.
The certificates must be available either in the PEM or BASE64 format.
In addition, they must be available individually and not in a bundle.
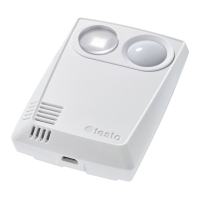
- The WiFi data logger is already in configuration mode and flashes at
- Select the network name of the WiFi data logger you wish to
configure under network settings on the PC/tablet (e.g. testo 160 Sn:
12345678).
PC/tablet is connected to the WLAN hotspot of the WiFi data logger.
Open web browser on the PC, tablet, smartphone, etc.
- Enter IP address 192.168.1.1 in the web browser.
Website of the WLAN configuration opens.
- Enter the testo Account ID (shown in the web interface of the Testo
Cloud under account information).
Enter network name (SSID).
- Enter configuration slot.
The testo 160 WiFi data loggers can be configured for up to three
WLAN networks. For each configuration slot, network name (SSID),
password and security settings are stored.
- The security standard can be selected under “Security”. (Depending
on the selection, further input options appear.)
- Enter password for the network.
- Confirm the configuration via “Configure”.
WiFi data logger is fully configured and connected to the Cloud. The
LED flashes green twice. The WiFi data logger then switches to
measuring mode.