4 Operation
23
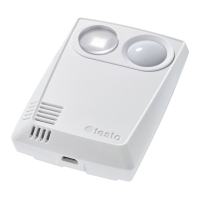
Only for testo 160 E and testo 160 THE:
The external probes must be connected
logging into the Cloud
for the first time. If an additional probe is to be connected at a later
stage, the data logger must first be logged out of the Cloud. The
external probe can then be connected and the data logger logged in
again.
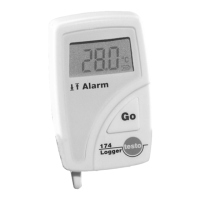
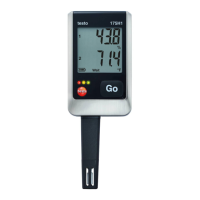
The testo 160 WiFi data loggers can also be powered via the USB port instead
of being run on batteries. However, the WiFi data loggers do not have a
charging function, i.e. no rechargeable batteries in the WiFi data logger can be
charged up via the USB port. If you connect the WiFi data logger to the USB
port on your PC, the WiFi data logger automatically switches to mass storage
and configuration mode. A PC is therefore not suitable as a voltage source for
logger operation.
4.2 Logging into the Testo Cloud
You need an account for the Testo Cloud. If you have not yet set this
up, please sign up at https://www.museum.saveris.net.
For your new testo 160 WiFi data logger to be able to connect to your account
in the Testo Cloud, it requires the three following pieces of information at
minimum:
1. The ID of your account in the Cloud. You will find this in your account under
the menu item
Configuration - Account ID.
2. The network name of your WLAN (SSID), which the WiFi data logger will use
to connect to the internet.
3. The password for this network.
Storage of this information on the WiFi data logger is called “Configuring the
WiFi data logger". Four different options are available for this process.