Texi Iris 10 Operation Manual
21
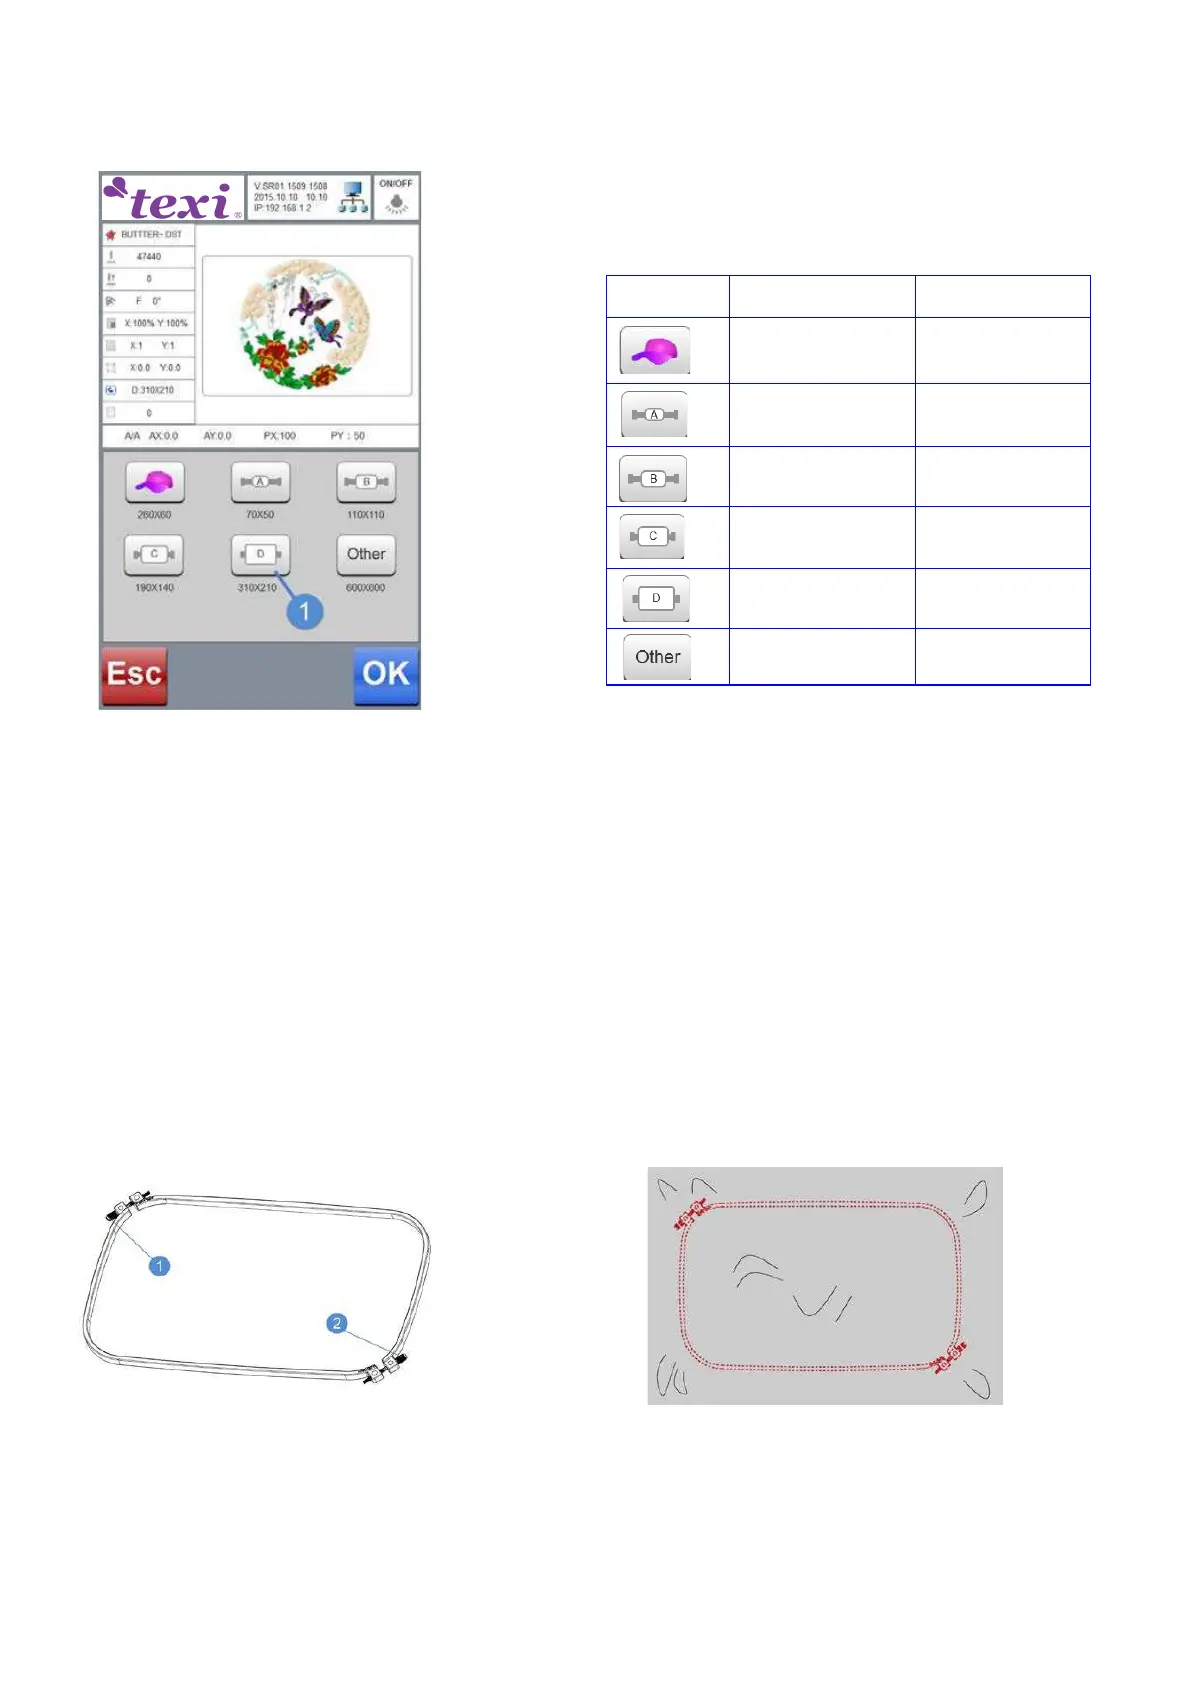
Choose embroidery frame (hoop) dimension by touching
one of below options, for example D (1).
Select embroidery frame (for example D) by touching its icon
and click OK to confirm.
Four dimensions of embroidery frame (hoops) are available.
Please select the correct embroidery frame according to cur-
rently chosen pattern.
ICON NAME EMBROIDERY AREA
Cap embroidery frame 260x60
Embroidery frame A 70X50mm
Embroidery frame B 110X110mm
Embroidery frame C 190X140mm
Embroidery frame D 310X210mm
Others
Put material on embroidery frame (hoop)
Material should match the embroidery frame dimensions and should be correctly attached to the machine.
·If cloth is not tighten correctly, it will be wrinkled and embroidered pattern may not look good. Please stretch the cloth in embroi-
dery frame.
·If a wrong embroidery frame has been selected it may impact the presser foot causing machine damage bodily injury.
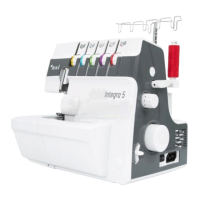
Preparing embroidery frame
Cloth ought to be clamped in the embroidery frame in the following steps (example D). When you replace the embroidery frame
(hoop) for a new one follow also the same steps.
Loosen screws (1) and (2) on the outer frame.
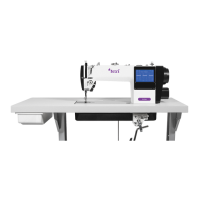
Put the cloth on the external frame (hoop) right-side up.
1. Both side of the embroidery frame can serve as the right
side.
2. To prevent needle track from shrinking or pattern skew, the
cloth with reverse side attached with lining paper is recom-
mended.