42
TK 56430-18-IP-EN
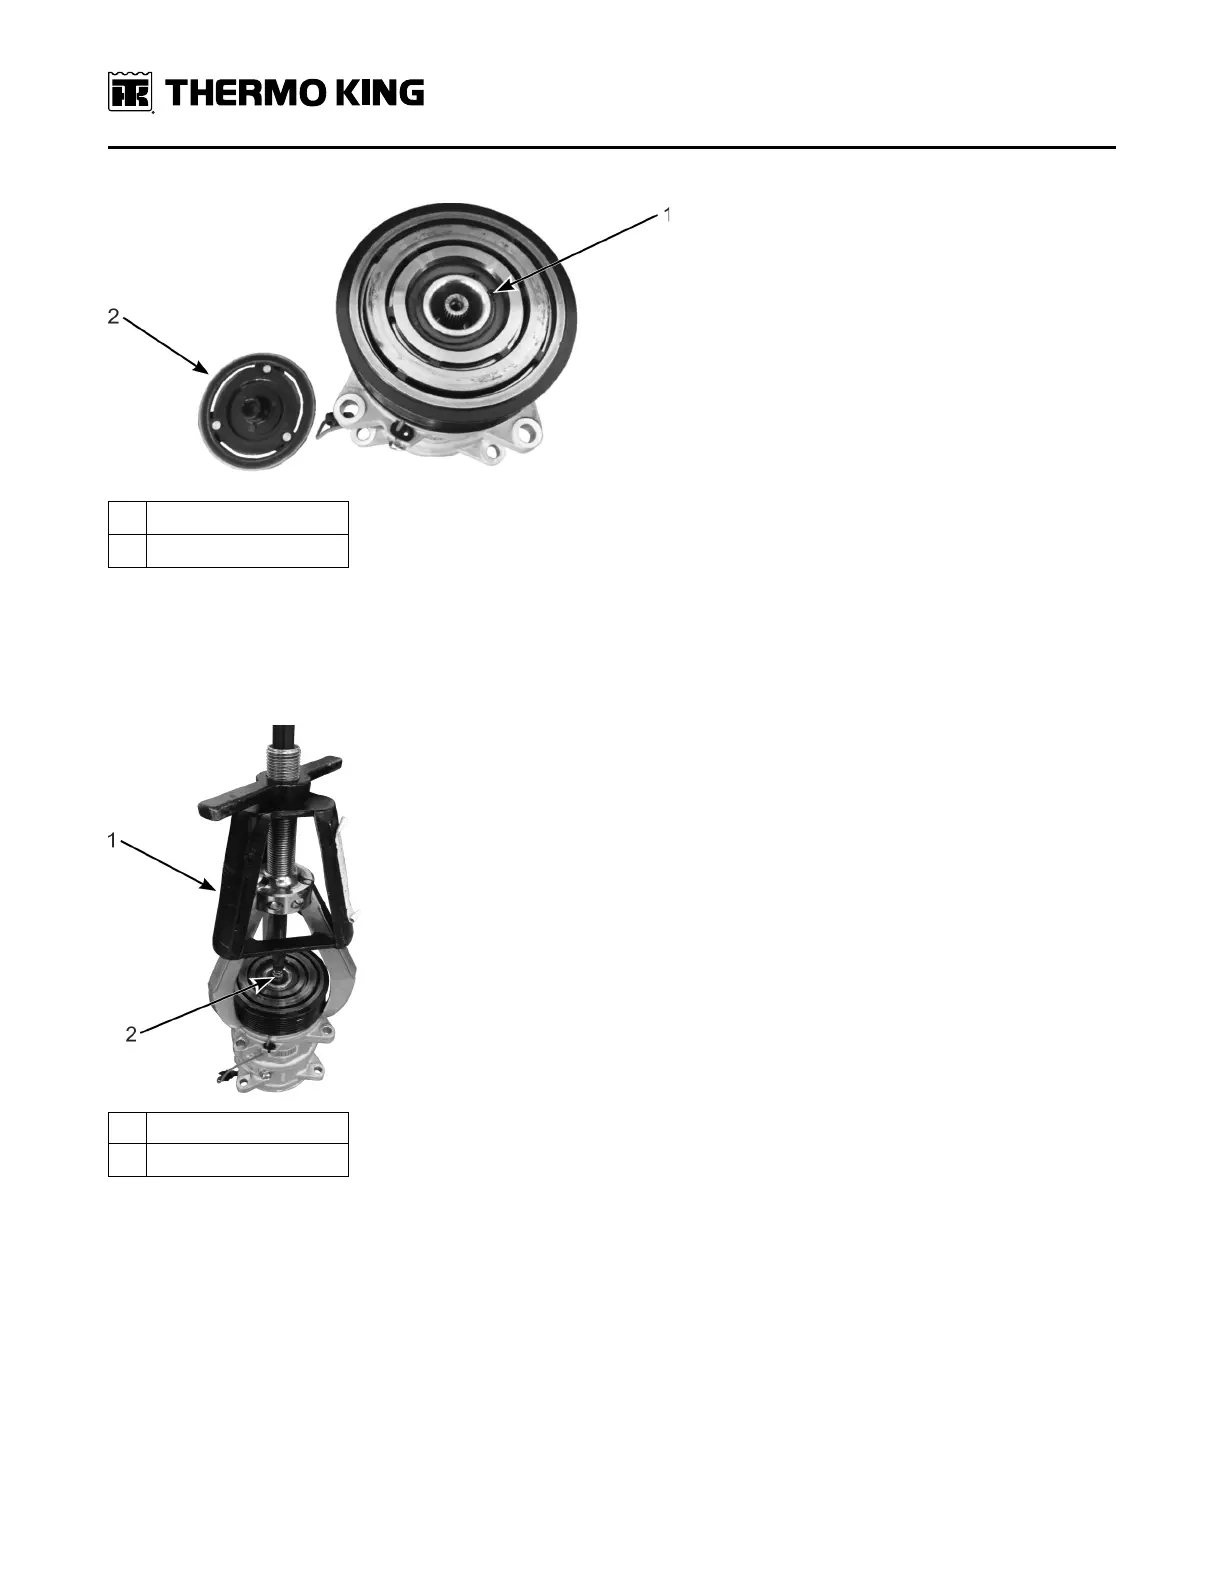
Figure 32. Removing Armature and Snap Ring.
1. Snap Ring
2. Armature Assembly
Reinstall the armature retaining bolt back into the compressor shaft finger tight. Install an appropriately sized 2 or 3 jaw
puller onto the compressor shaft and pulley (Figure 33, p. 42). Slowly turn the puller bolt clockwise using a wrench until
the compressor pulley is removed from the compressor shaft. If reusing the pulley, verify the pullers jaws are not
deforming the pulley grooves.
Figure 33. Removing Compressor Pulley.
1. 3 Jaw Puller
2. Armature Retaining Bolt
Remove the bolt from the compressor shaft and the three screws securing the clutch coil onto the compressor body
(Figure 34, p. 43). A manual impact driver is very useful if screws are damaged during removal. If using a new clutch
assembly, discard the removed hardware and use the new hardware supplied with the clutch kit. Remove the clutch
wire retaining clip from the compressor body and slide the clutch off the compressor shaft.
SSeeccttiioonn 55 -- CCoommpprreessssoorr SSeelleeccttiioonn aanndd IInnssttaallllaattiioonn SSttaannddaarrddss
 Loading...