6
Setting the Timer
4 1
2 3, 5
6
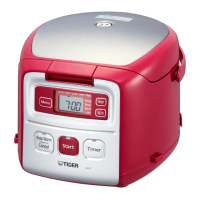
Using the Timer function (Timer 1 /
Timer 2)
You can preset the time that you want cooking
to be actually completed.
• Select either “Timer 1” or “Timer 2” and set the
desired completion time. The start of cooking will
be automatically adjusted so that the operation is
completed at the preset time.
• Each timer can be set to different times. e.g.
“Timer 1” for breakfast and “Timer 2” for dinner.
• The preset timer settings will be stored in
memory.
● Examplesetting:If“Timer1”issetto13:30,
cooking will be completed at 13:30.
1
Check the present time.
•See p.44 for the procedure to set the present
time.
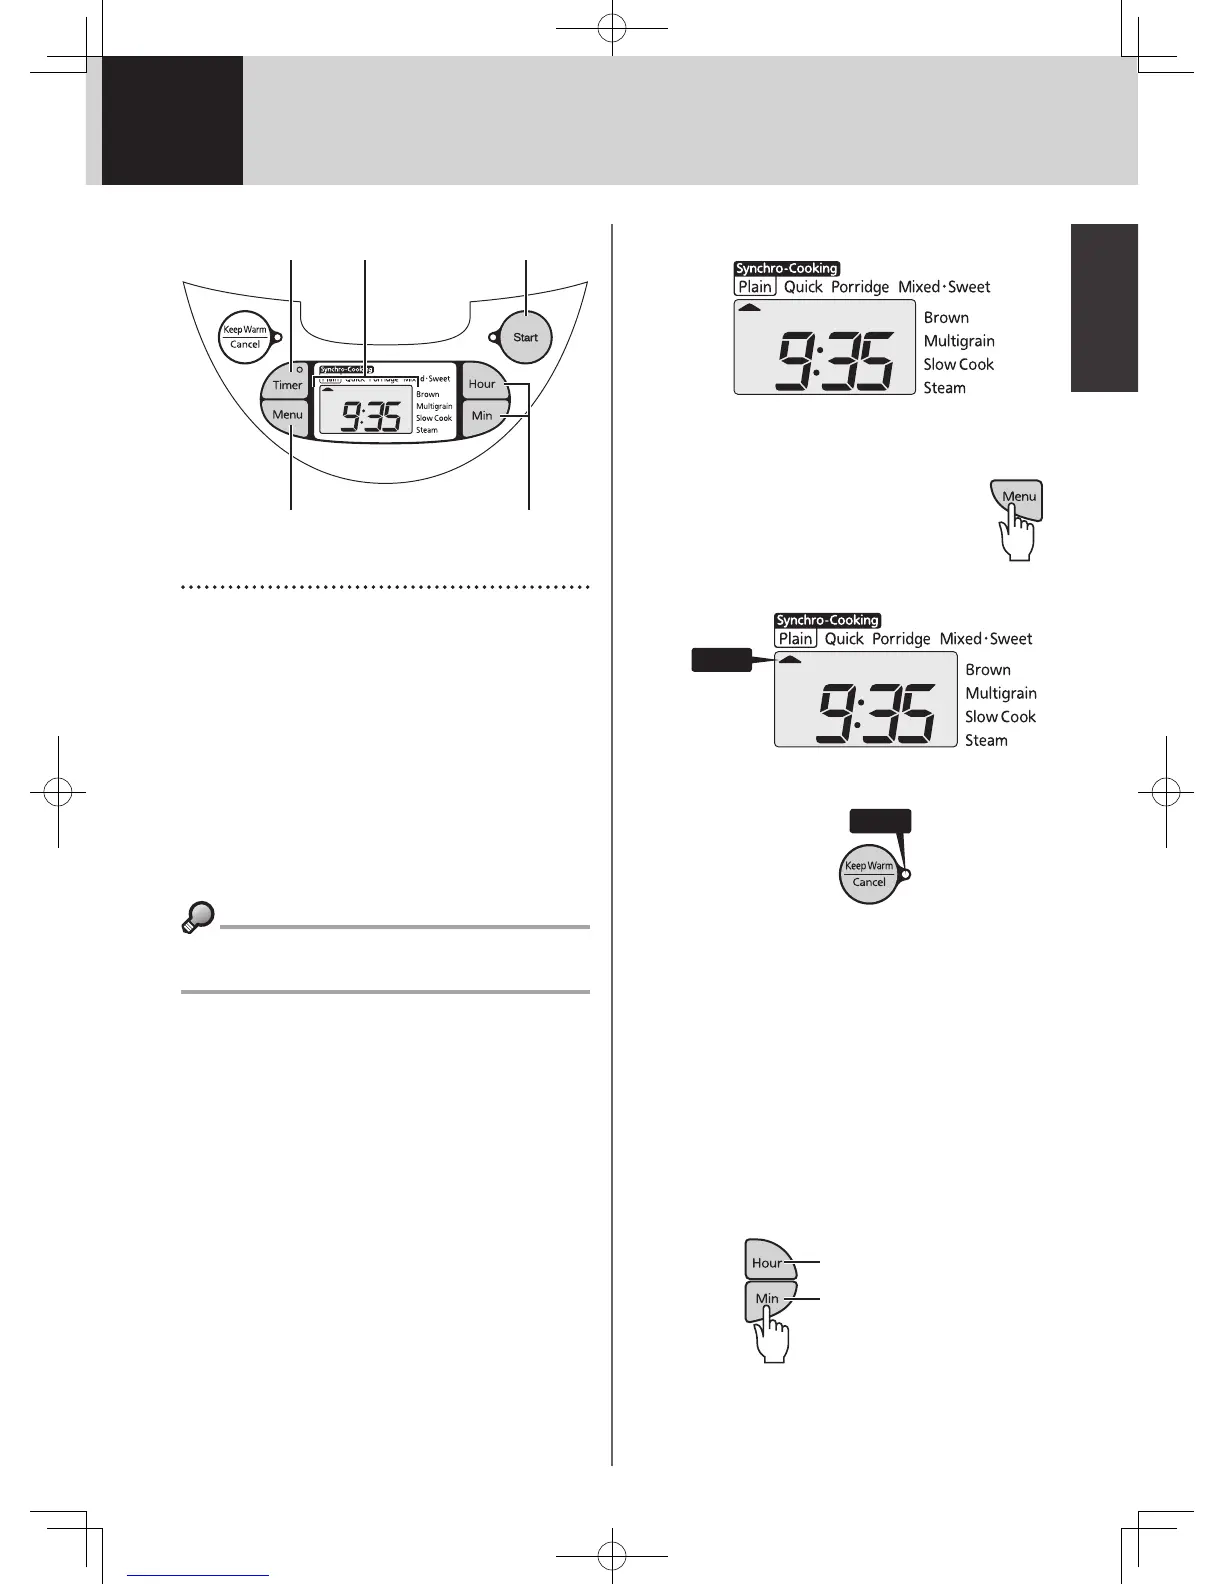
2
Press the [Menu] key to
select the desired menu.
The menu cursor will blink while the
menu is being selected.
Blinks
•ConrmthattheKeepWarmlampisoff.
Off
•It is not necessary to press the [Menu] key if
the desired menu is already selected.
3
If you selected the “Porridge”
menu, use the [Hour] and [Min]
keys to set the desired cooking
time.
•Eachtimethe[Hour]keyispressed,the
set time will increase by 5 minutes. Each
timethe[Min]keyispressed,thattimewill
decrease by 5 minutes.
•The cooking time can be set to any 5-minute
increment between 40 and 90 minutes.
Increases by 5 min.
Decreases by 5 min.
•The default setting is for 60 minutes. Adjust
as desired.
 Loading...