19
Ensure that the TileVision
®
does not get wet until it is fully sealed.
Installing the TileVision
®
– Setup and Tuning
When the connections have been made as shown on pages 8 to
18 it is time to install the TileVision
®
into the back box.
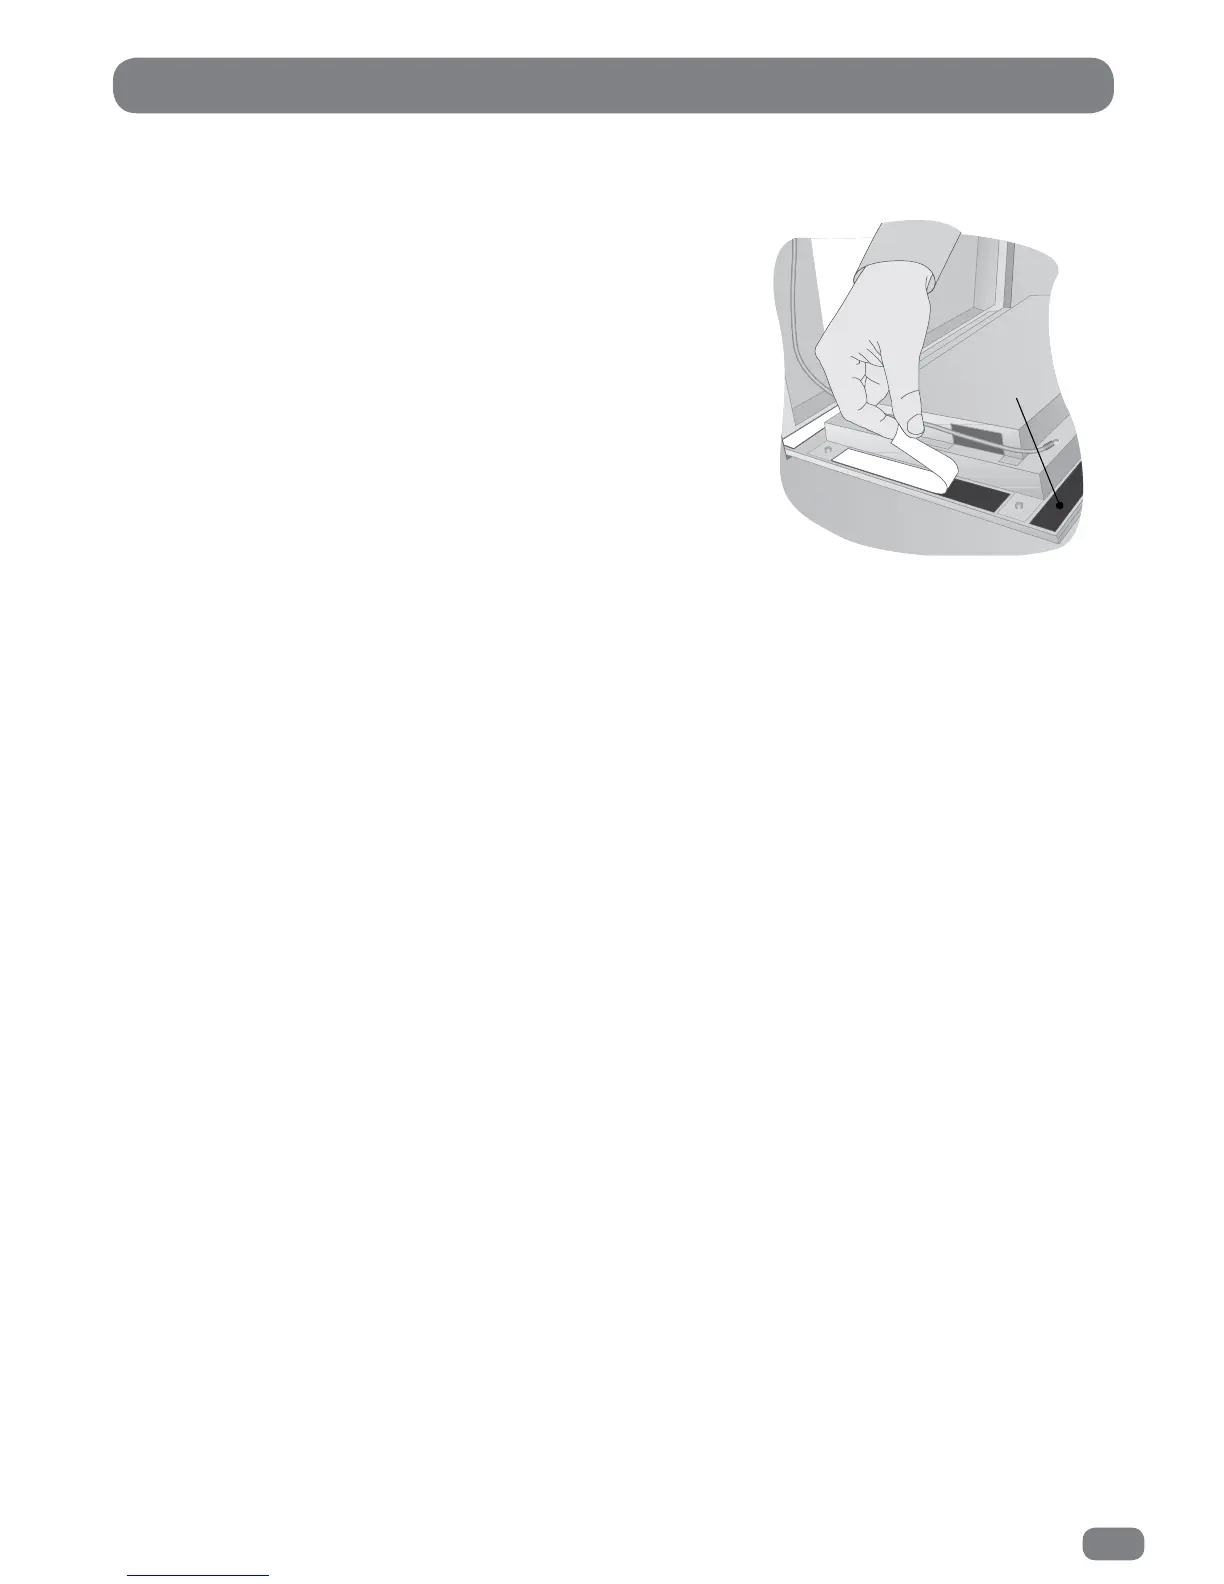
Remove the soft adhesive protector from the top length of Velcro‚
and press the TileVision
®
into the back box. It may be found
necessary to adjust the position of the cables in order to achieve a
good fit.
The installation must comply with all relevant electrical safety
regulations before the mains supply is turned on using the remote
isolation switch. The TileVision
®
should now show a red indicator
light showing that it is in standby mode. Ensure that the
TileVision
®
does not get wet until it is fully sealed.
Initial Tuning
Press the POWER button on the remote control to switch the TileVision
®
on from standby. The LED indicator
will show green and the OSD Language menu will be displayed within twenty seconds.
The on-screen menus can be in any of the following twenty two languages: Český, Dansk, Deutsch, English,
Español, Ελληνικά, Français, Hrvatski, Italiano, Magyar, Nederlands, Norsk, Polski, Portugês, Pyccкий,
Româneste, Slovenščina, Srpski, Suomi, Svenska, Български, Slovak.
1
Press the
34
or 56 buttons to highlight the required language.
2
Press the OK button to select the language.
If tuning of DTV / ATV is required follow the instructions 4 to 8 on page 25 (Tuning the
TileVision
®
DTV / ATV) .
If tuning of DVB-C is required follow the instructions 4 to 10 on page 25 (Tuning the
TileVision
®
DVB-C) .
If tuning of satellite is required press the EXIT button. Select Satellite (satellite) as the source (see
the instructions, Selecting a Source page 24). Set up and scan the satellite (see the instructions,
Tuning the
TileVision
®
Satellite (satellite) pages 26 to 28).