7
Recess Dimensions
Installation and positioning
Cut the required recess, with the depth measured from the front face of the tiles.
Fit the back box into the wall ensuring that the earth leads are at the top.
To adjust the position of the back box loosen the screws, which attach the left and right hand
brackets to the back box, these screws are located each side within the back box. Ensure that
you do not fully unscrew the fasteners to avoid detaching the brackets from the back box.
Adjust the alignment of back box making sure the front edge of the back box sits flush with the
front face of the tiles.
Secure all screws to lock the back box into position.
Note: Removal of the front glass requires a force of 300 Kg when using a glass suction lifter.
The box must be secured to the wall so that it is able to withstand the pulling force.
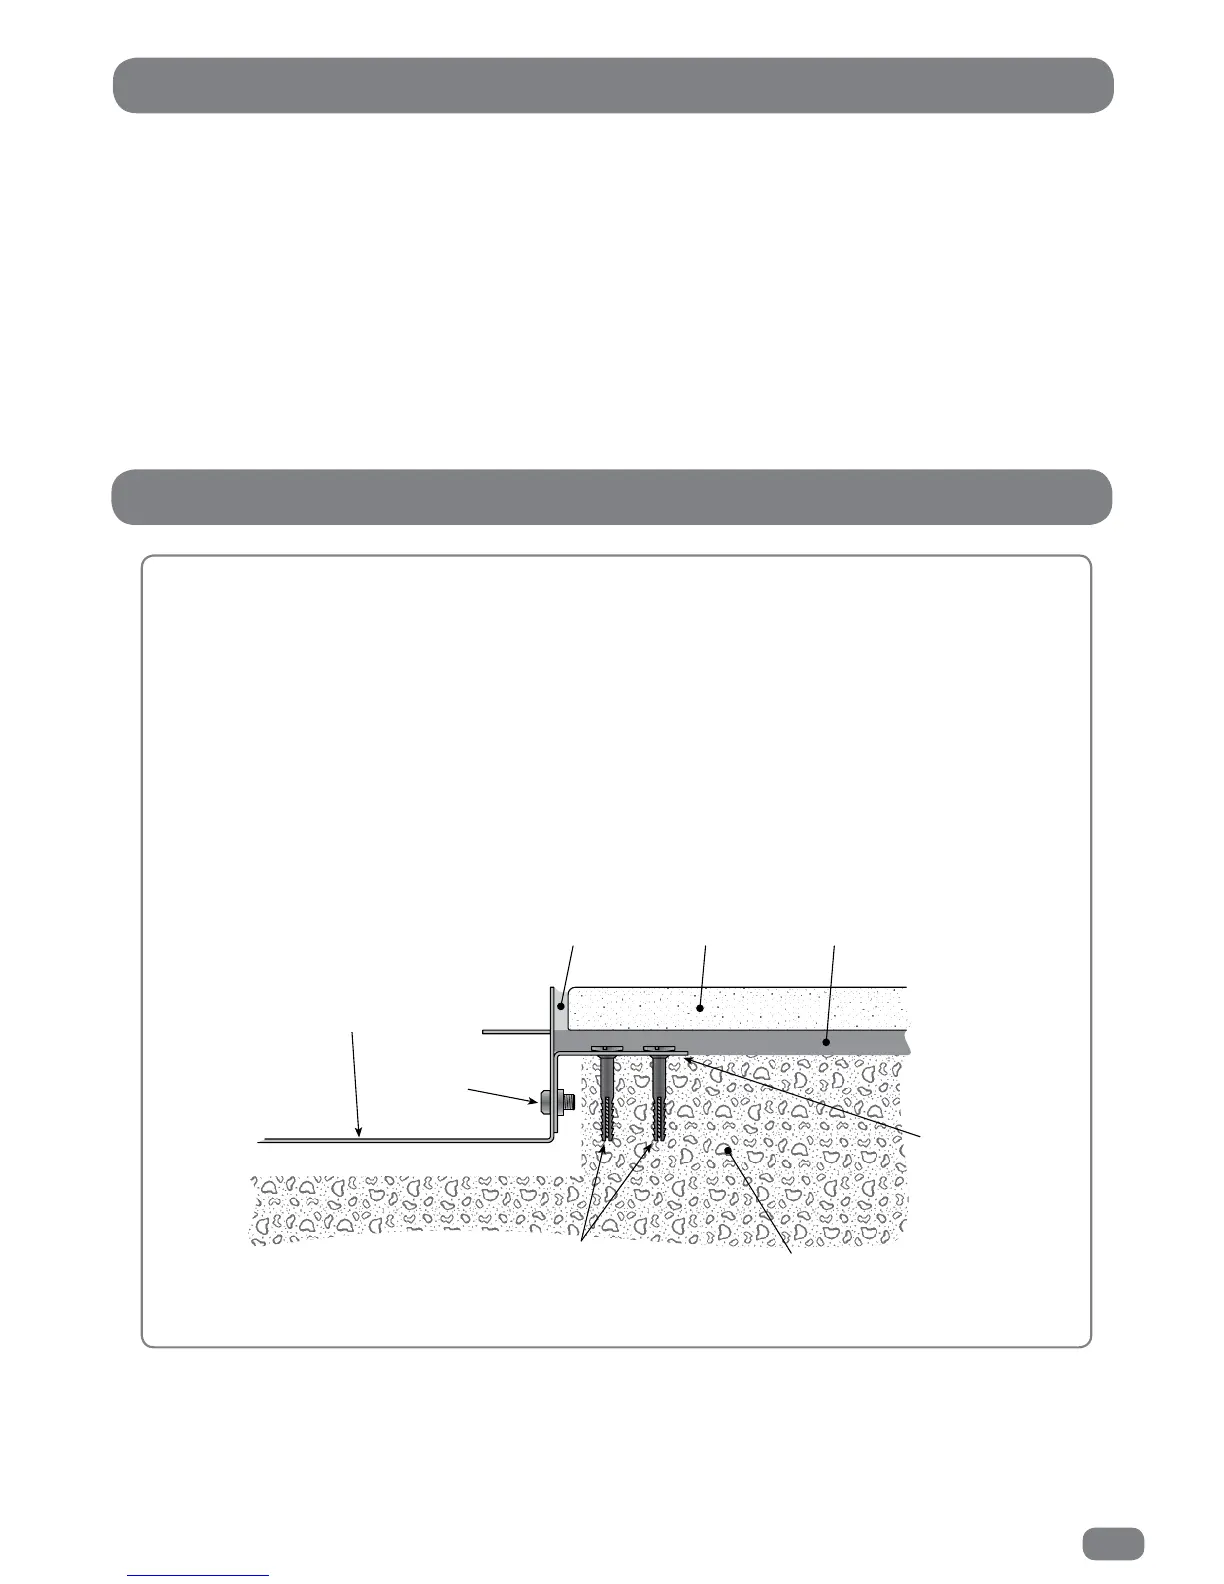
Example of a back box installed in a ‘solid’ wall
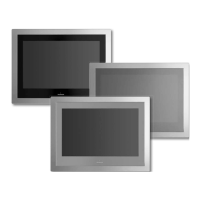
22" TileVision
590mm x 381mm x 75mm depth
from the front face of the tiles.
26" TileVision
703mm x 455mm x 75mm depth
from the front face of the tiles.
First Fix Kit – Installing the Back Box
®
®