44
4 Select the axis you wish to check (X or Y) by press
the [X] or [Y] key. Press the [ENT] key. (These
instructions will assume the X axis was chosen.)
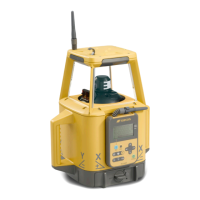
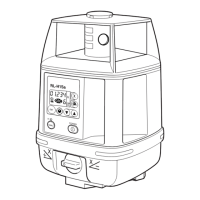
After communication between the RT-5SW and the
RC-300W is complete, the unit will automatically
adjust to the position selected and auto-leveling will
start. The yellow LED on the instrument will flash.
When auto-leveling is complete, the rotary head will
rotate and emit the laser. The RC-300W will display
“X:1”.
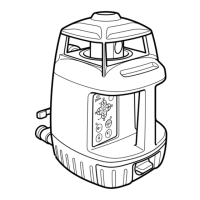
5 Turn on the LS-70A laser sensor, and select fine
detection mode.
6 Use the LS-70A to detect the laser beam on the
staff/wall. Move the sensor up or down until the LCD
indicator and audio signal identifies the center of the
laser beam. Fix the LS-70A in that position on the
staff or wall.
The RT-5SW will automatically rotate internally to
orient the axis selected to the staff/wall. It is not
necessary to manually rotate the instrument any
time during the procedure. Therefore calibration
checking and adjusting is much faster and easier
than the user may have experienced with other
instruments.
Select an axis and press [ENT].
X:
RC-300W display will show axis selected,
and RT-5SW will automatically position the
axis in the proper direction.
X:1
Detect the laser on the staff or
wall.
Move the level sensor up and
down until the indicator and
sound identifies the center of
the laser beam.
Then fix the sensor.