thePowerCord
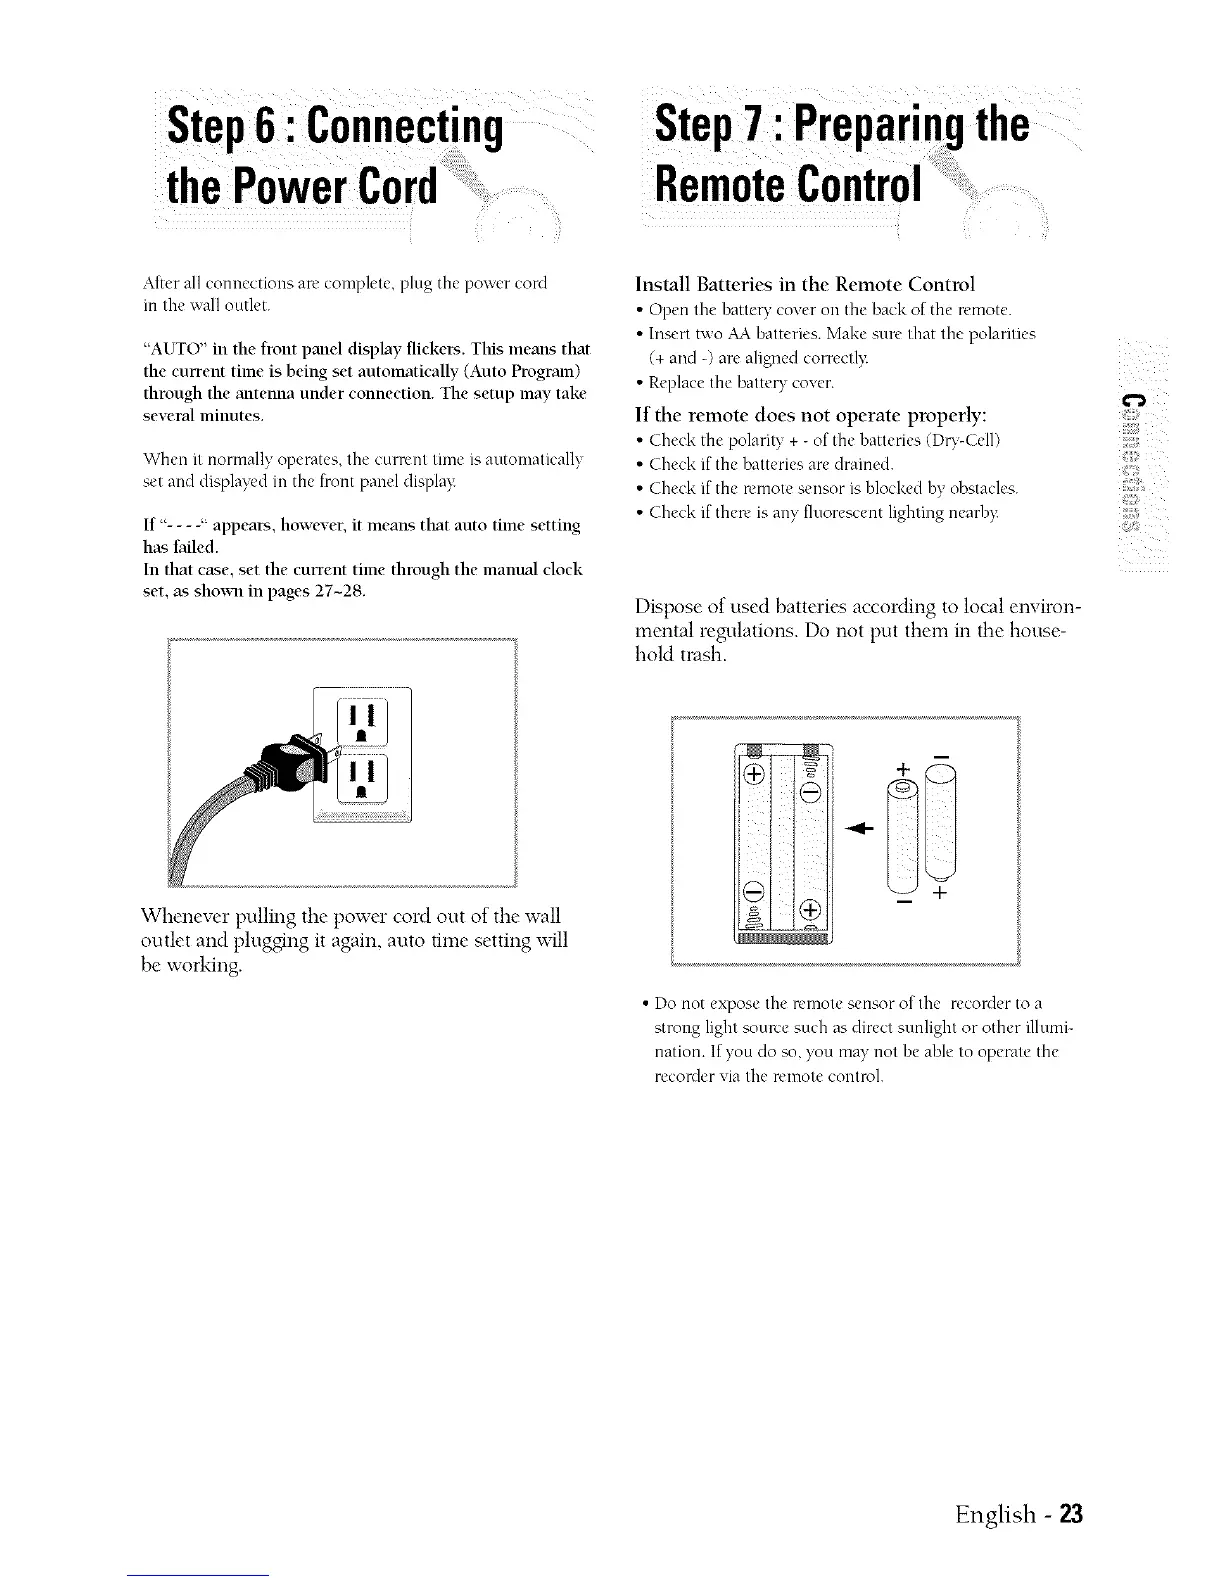
After all connections are complete, plug the power cord
in the ,,,,'alloutlet.
"AUTO" in the front pand display flickers. This means that
the eurrem time is being set automatically (Auto Program)
through the antenna under connection. The setup may take
several lninutes.
When it normally operates, the curmnt time s at to ua ca v
set and displayed in the front panel display
If "- - - -" appears, however, it means that auto time setting
has failed.
In that case, set the current time through the manual clock
set, as shox_11in pages 27-28.
Stel ; ,'I ' the
Install Batteries in the Remote Control
• Open the hattery cover on the back of the remote.
• Inserttwo AA hatteries. Make sun' that the polarities
(+ and -) are aligned correctl>
• Replacethe batteW cover.
If the remote does not operate properly:
• Che& the polarity + -of the hatteries (Du-CeI1)
• Check if the batteries are drained.
• Che& if the u'mote sensor is hlocked hy obstacles.
• Check if there is any fluorescent lighting nearh):
Dispose of used batteries according to local environ-
mental regulations. Do not put them in the house-
hold trash.
>
41;;
Whenever pulling the power cord out of the wall
outlet and plugging it again, auto time setting will
be working.
tm_ i i
• Do not expose the remote sensor of the recorder to a
strong light source such as direct sunlight or other illumi-
nation. If you do so, you may not he able to operate the
reconler via the remote control.
English -
 Loading...