December 2005 © TOSHIBA TEC e-STUDIO163/203 ADJUSTMENT
3 - 41
3
3.8 Adjustment of the Paper Feeding System
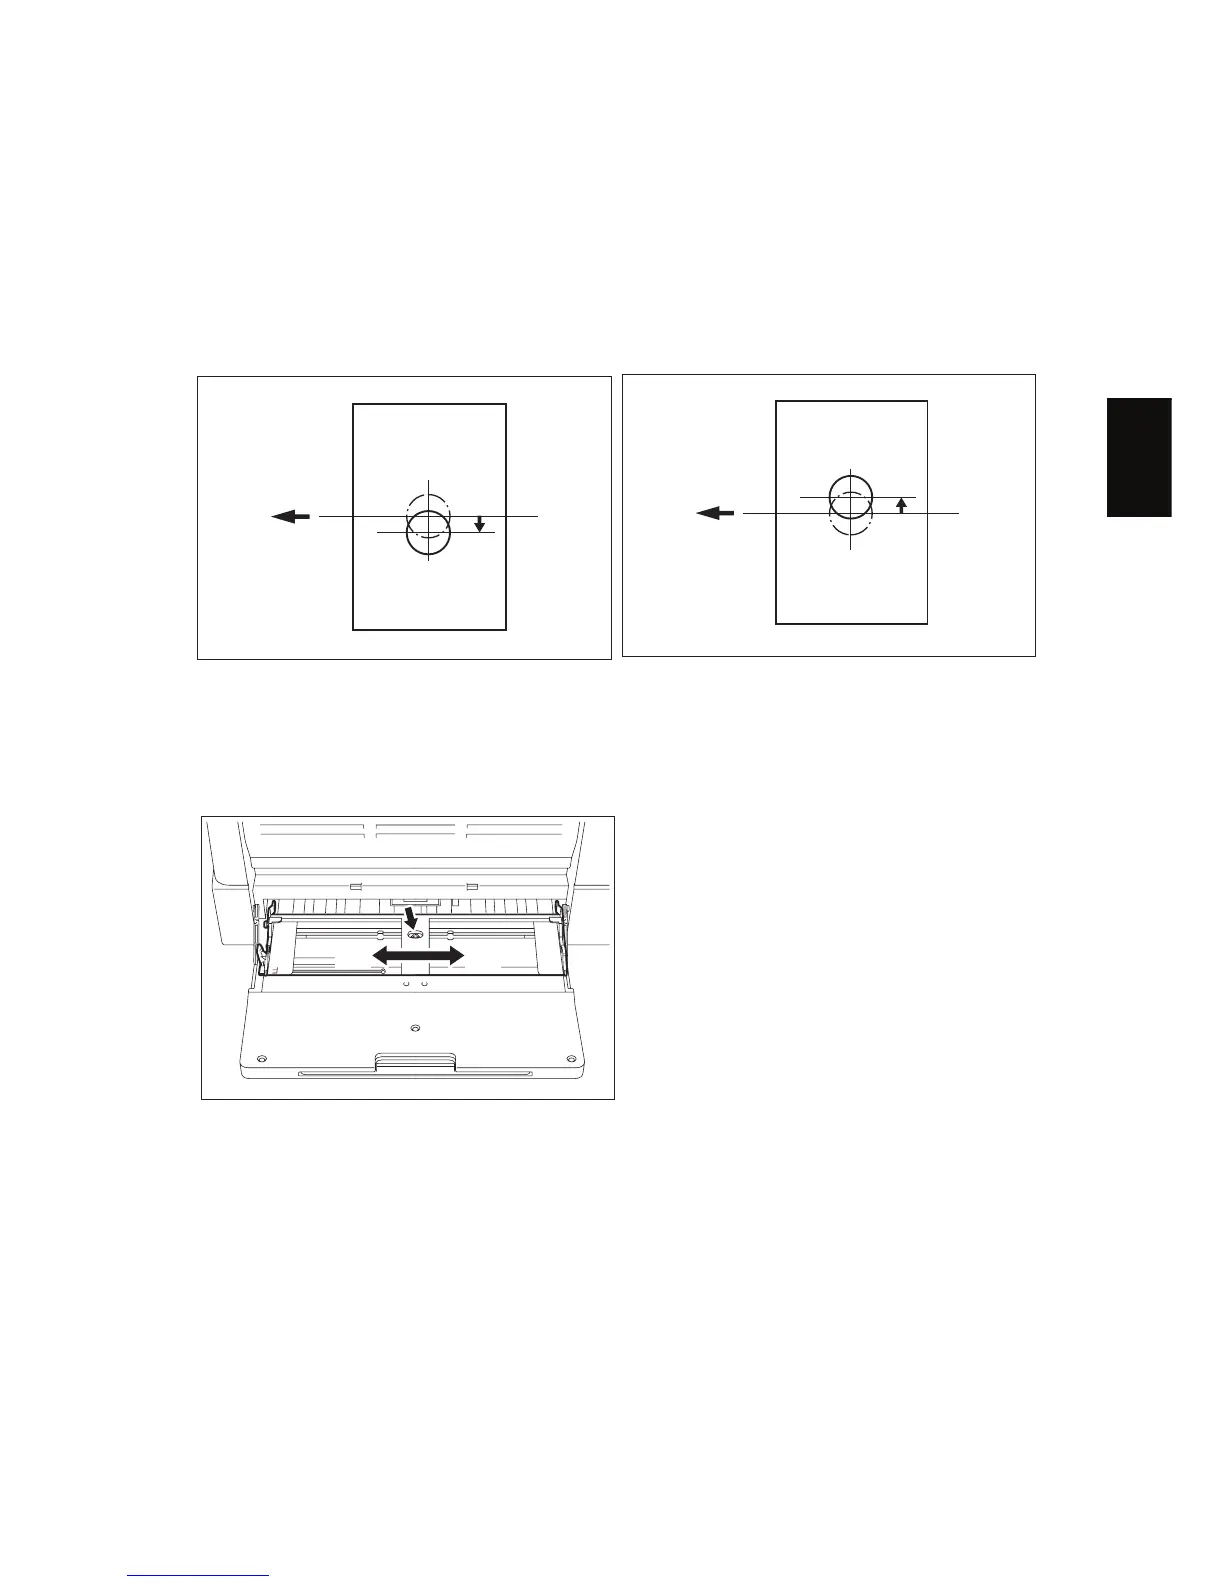
3.8.1 Sheet sideways deviation caused by paper feeding
<Procedure>
The center of the printed image shifts to the front
side. # Move the guide to the front side (Arrow
(A) direction in the lower figure).
The center of the printed image shifts to the rear
side. # Move the guide to the rear side (Arrow
(B) direction in the lower figure).
Fig. 3-28
Fig. 3-29
1) Loosen the screen.
2) Move the entire guide to the front or rear side.
3) Tighten the screw.
Fig. 3-30
Feeding direction
Center
[Rear]
[Front]
Feeding direction
Center
[Rear]
[Front]
(A) (B)

 Loading...