e-STUDIO163/203 ERROR CODE AND SELF-DIAGNOSTIC MODE December 2005 © TOSHIBA TEC
2 - 10
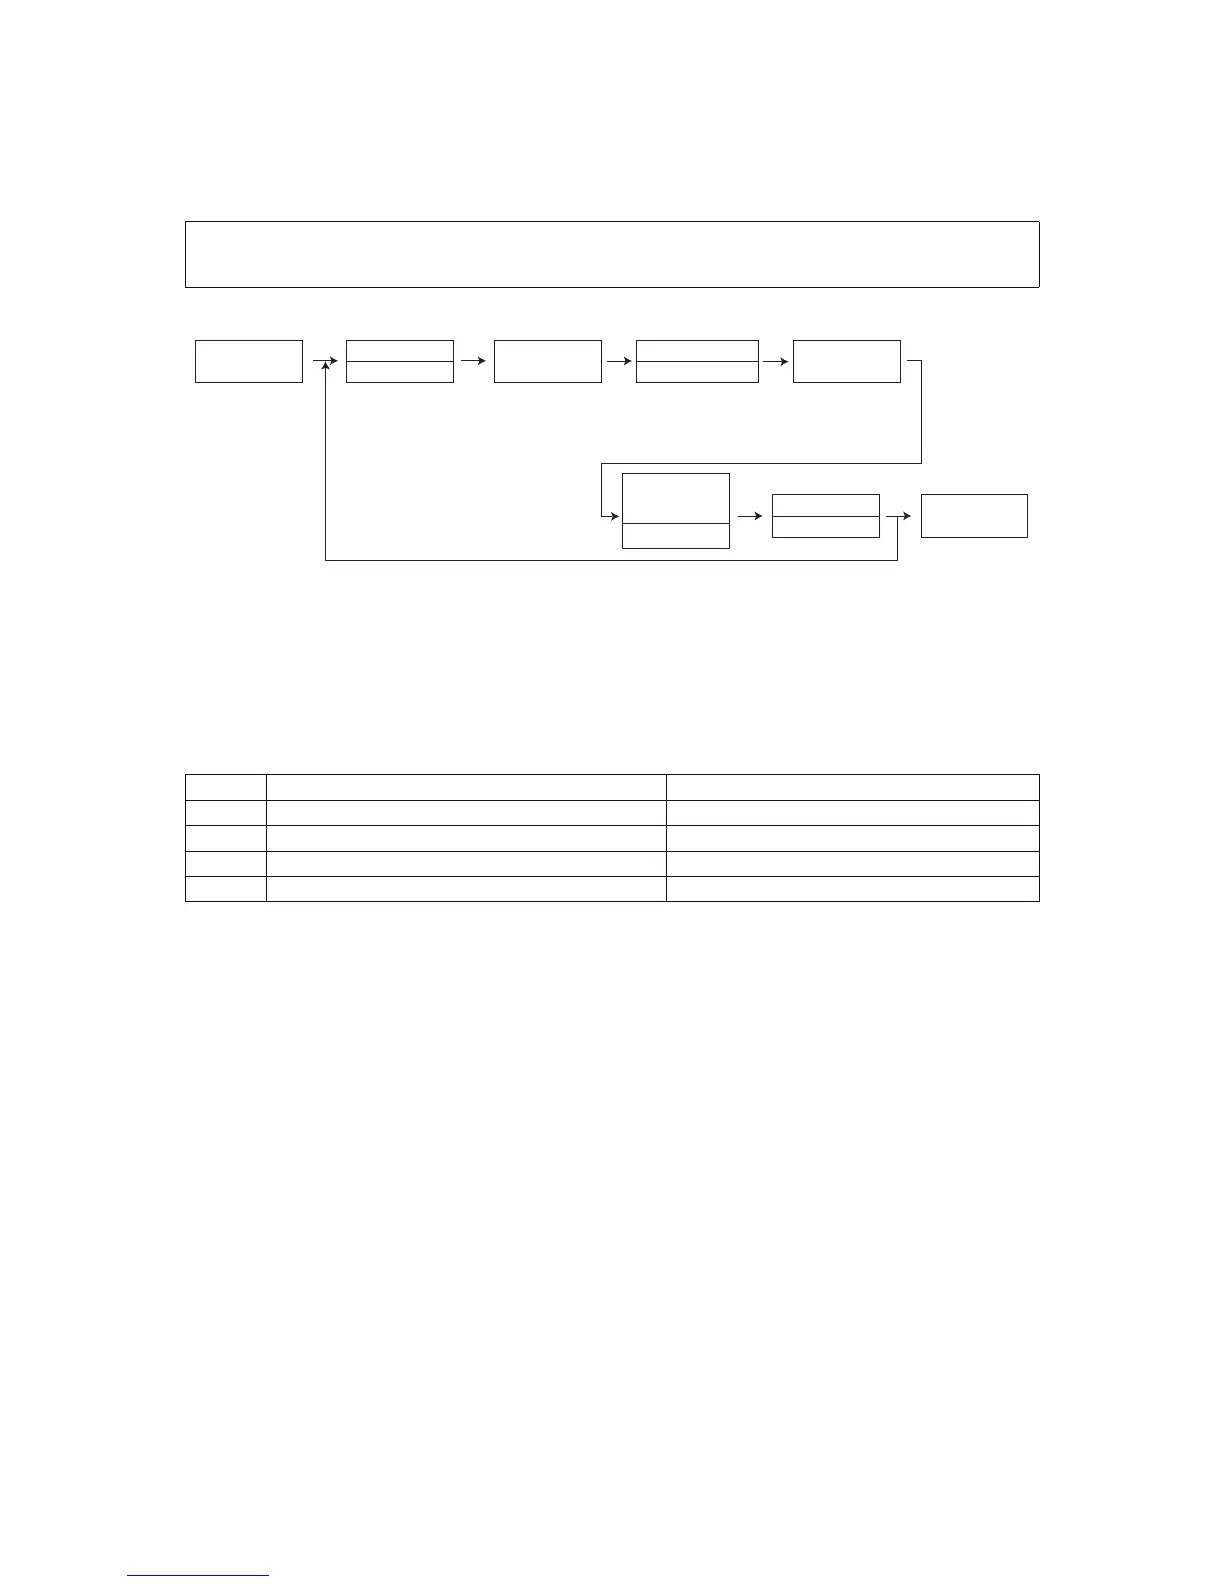
2.2.3 Test print mode (Test mode 07)
<Operation procedure>
Notes:
1. Test printing is set by default to continue until the [CLEAR] button is pressed, or an error
occurs. Note that printing may therefore continue until the paper set in the specified drawer
completely runs out.
2. When an error occurs, it is indicated on the panel, but the recovery operation is not per-
formed. Turn OFF the power and then back ON to clear the error.
3. During test printing, all button operations are disabled when the Message lamps on the con-
trol panel light.
The embedded test pattern can be printed out by keying in the following codes in the test print mode
(07).
Code Types of test pattern Remarks
111 Primary scanning direction 33 gradation steps Error diffusion
113 Secondary scanning direction 33 gradation steps Error diffusion
142 Grid pattern Pattern width: 2 dots, Pitch: 10 mm
149 Solid black pattern (Whole area) A3/LD
[0][7]
[POWER]
[Digital keys] [Digital keys]
Code
[START] [START]
[CLEAR]
Stop
[POWER]
OFF/ON
[START]
Operation
Continuous
Test Printing
Drawer number
0: Bypass
1: Drawer
2: PFU
06/04

 Loading...