December 2005 © TOSHIBA TEC e-STUDIO163/203 ERROR CODE AND SELF-DIAGNOSTIC MODE
2 - 13
2
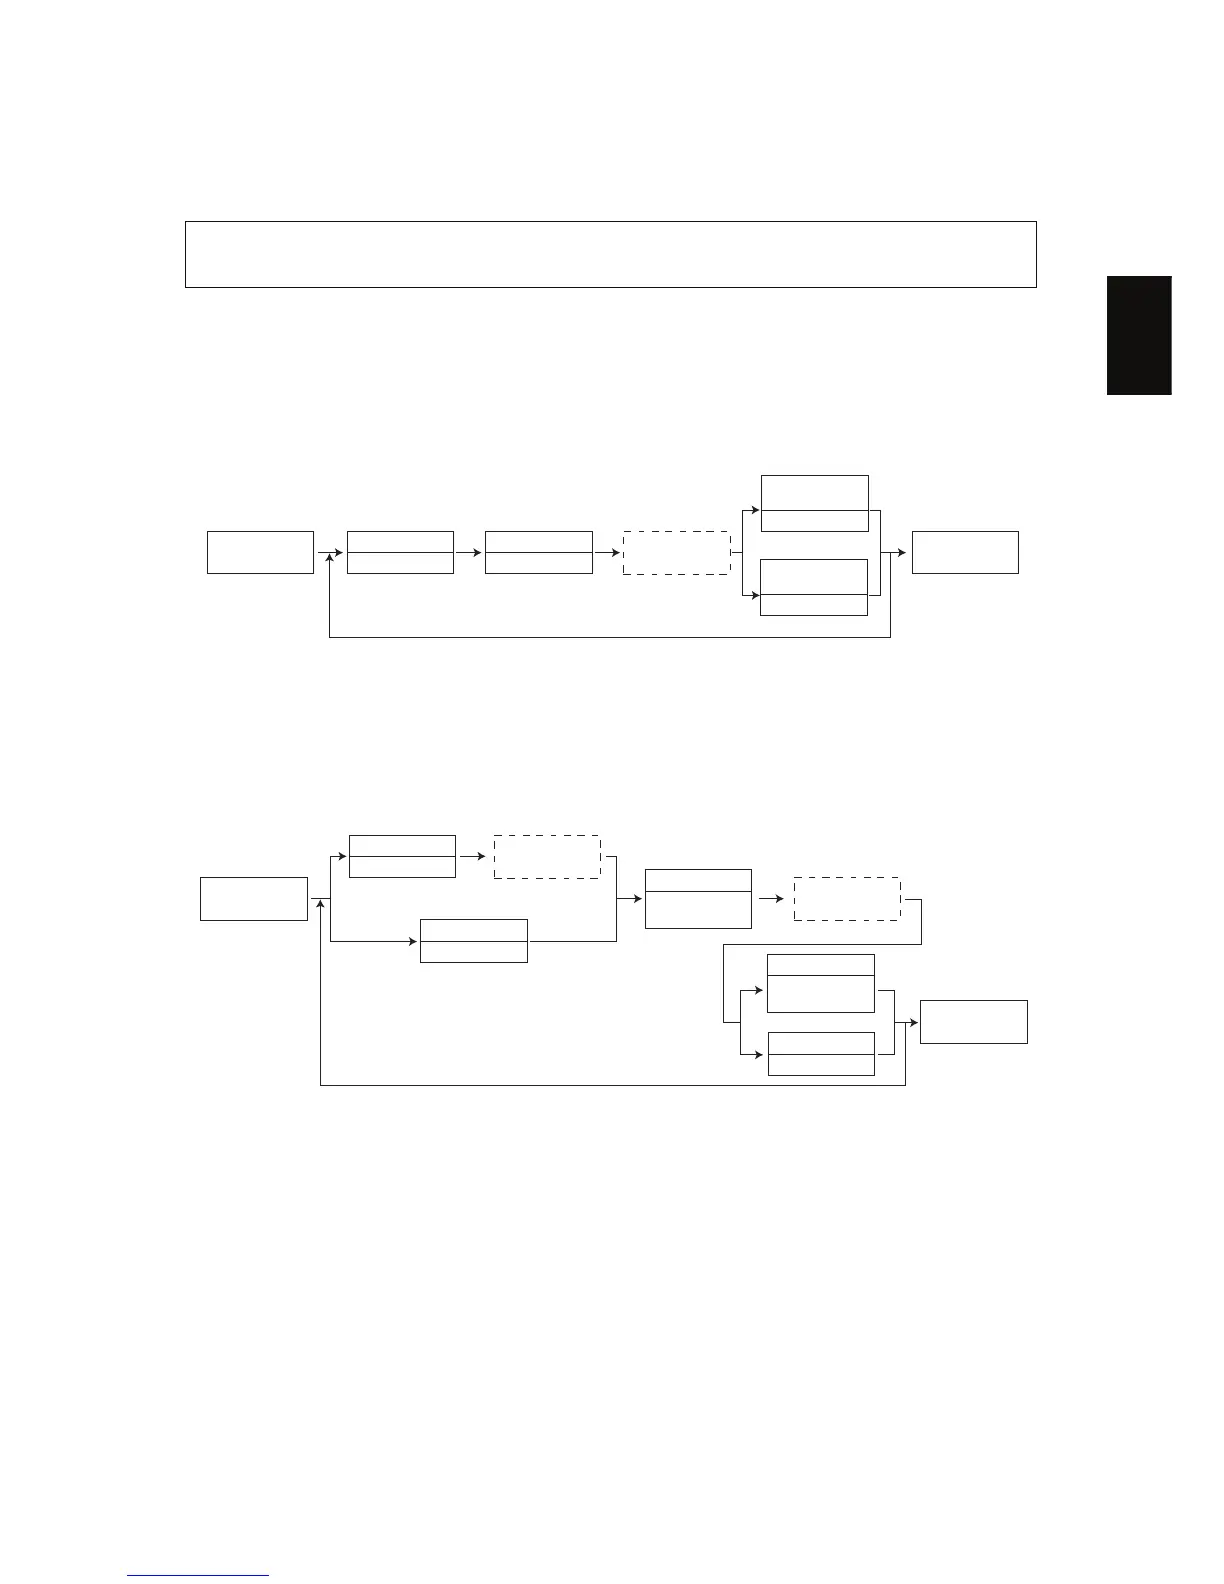
2.2.5 Access code mode (8S)
Note: Note:
Department management must be enabled in FUNC-18 (bit-2) before you can use a registered
access code.
<Setting procedure>
Registering the access code
Notes:
• Register up to 99 access codes in 3-digit numbers from 001 to 999.
• If the [START] button is pressed with an access code which has been already registered, a
beep sounds and the display returns to the initial screen.
Deleting the access code
Notes:
• Auto search for the access code: Every time the [INTERRUPT] button is pressed, registered
access codes are displayed in order.
• If the [START] button is pressed with an access code which has not been registered previ-
ously, the display returns to the initial screen.
Storing/deleting of the access code, and confirming and changing of the counter value can be done
in the access code mode (8S).
Access code
Access code
(blinks)
Confirm
[8][START]
[POWER]
[Digital keys]
(3 digits)
[START]
[START]
Stores
value in RAM
Does not store
value in RAM
[POWER]
OFF/ON
[CLEAR]
"---"
Auto search
Deleting
Cancel
[8][START]
[POWER]
[INTERRUPT]
Access code
Access code
[Digital keys]
Confirm
[FUNCTION
CLEAR]
(blinks)
[FUNCTION
CLEAR]
[CLEAR]
[POWER]
OFF/ON

 Loading...