
J
Julie GrantAug 20, 2025
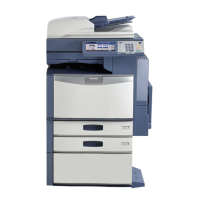
What to do if Toshiba All in One Printer paper jam not reaching exit sensor?
- EElizabeth GrantAug 20, 2025
If your Toshiba All in One Printer experiences a jam because the paper, after passing through the fuser unit, doesn't reach the exit sensor, the suggested solution is E010.


