e-STUDIO2020C/2330C/2820C/2830C/3520C/3530C/4520C © 2008 - 2011 TOSHIBA TEC CORPORATION All rights reserved
ADJUSTMENT
3 - 2
3.1.2 Adjustment of the Auto-Toner Sensor
When the developer material is replaced, adjust the auto-toner sensor in the following procedure.
(1) Install the cleaner and developer unit.
Do not install the toner cartridge.
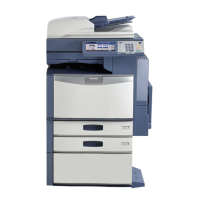
(2) While pressing [0] and [5] simultaneously, turn the power ON. The following message will be
displayed.
Fig. 3-2
(3) Key in a code and press the [START] button.
Fig. 3-3
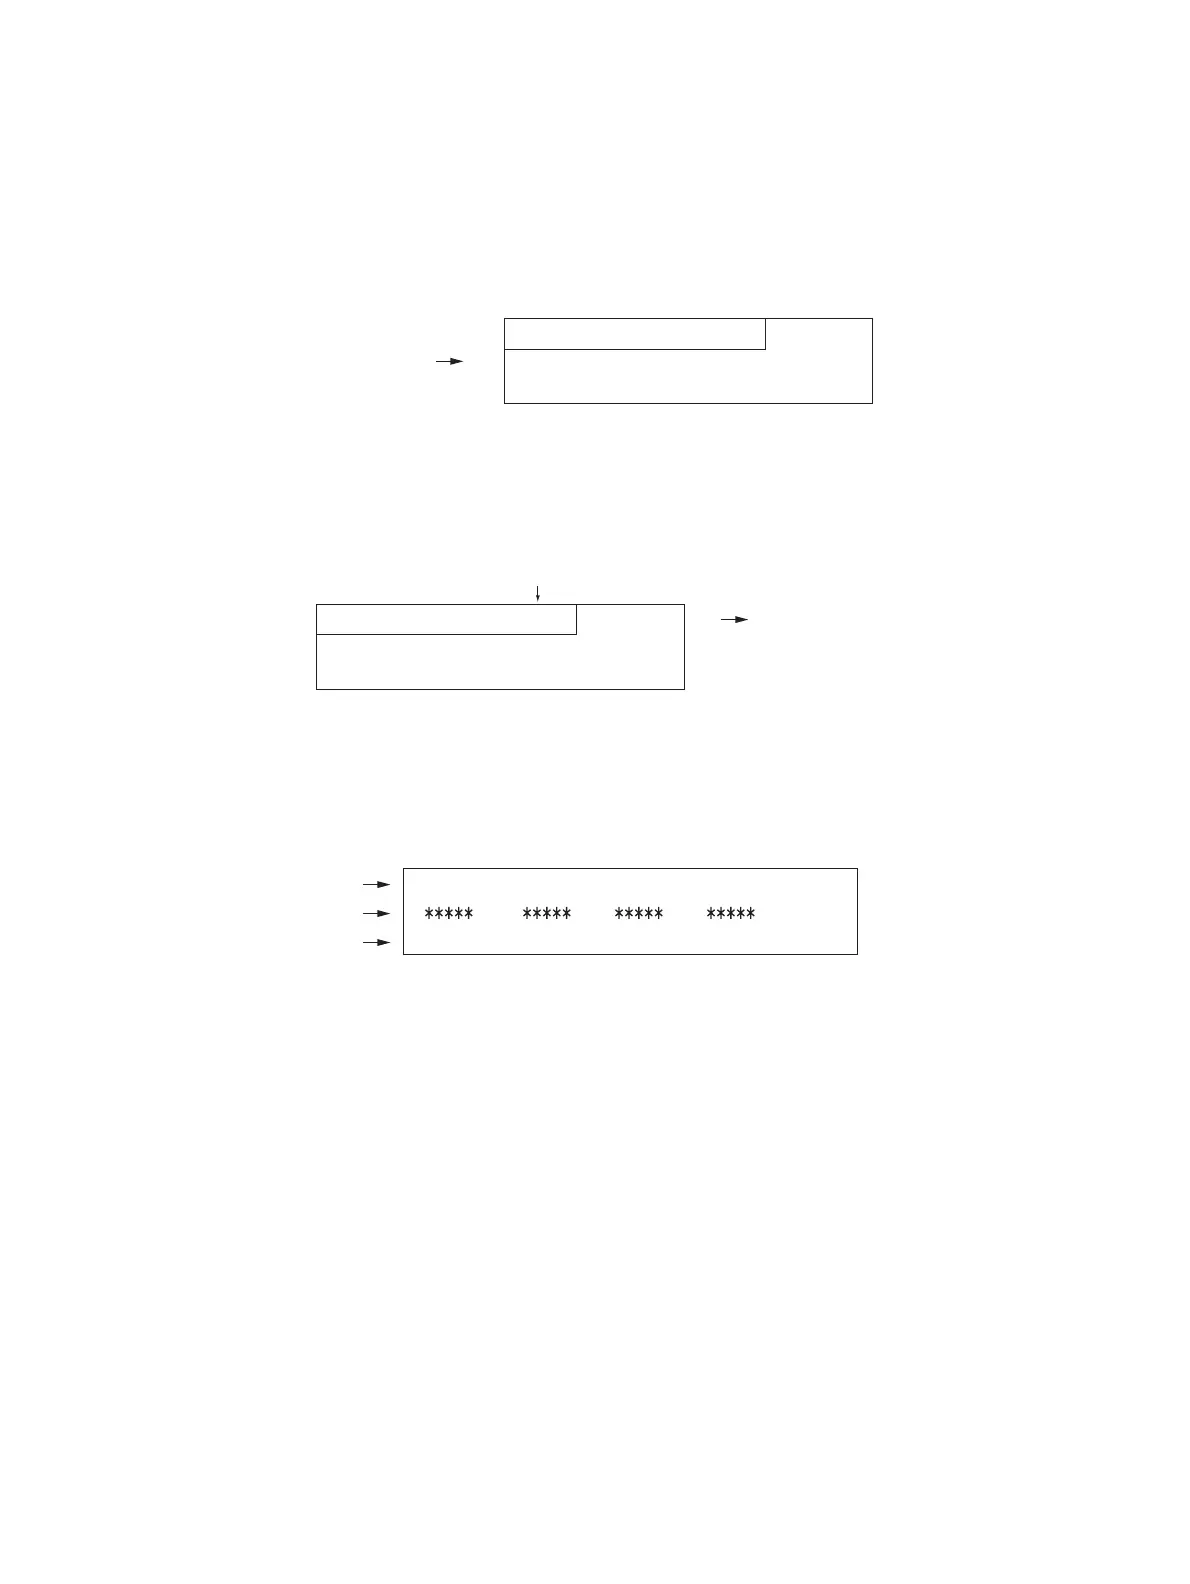
(4) The message below will be displayed approx. 2 minutes later and the adjustment starts:
• During the adjustment, “Current sensor voltage (V)” shown in (B) automatically changes and
gradually approaches to “Target value (V) for adjustment reference voltage” shown in (A).
Fig. 3-4
Code 200: All developer materials 201: Developer material Y 202: Developer material M
203: Developer material C 204: Developer material K 206: Developer material YMC
100% A
A3
TEST MODE
[
0
]
[
5
]
[
POWER
]
100% 200
A3
TEST MODE
(
Code
)
[
START
]
(
B
)
(
C
)
(
A
)
M: z.zzV C: z.zzV K: z.zzVY: z.zzV
M: x.xxV C: x.xxV K: x.xxVY: x.xxV
M: C: K: ww%Y:
(
B
)
: Current sensor voltage
(
V
)
(
A
)
: Target value
(
V
)
for adjustment reference voltage
(
C
)
: Adjustment value, Humidity (%)
 Loading...


