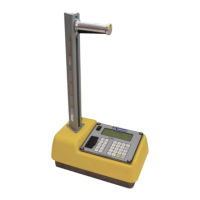
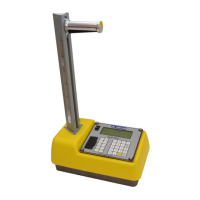
For Serial Numbers Below 21675
For gauge serial numbers below 21675, the High Voltage Module must be
discharged before replacing the battery packs, as described in the following
paragraphs.
To replace the battery packs, first turn the gauge off. Remove the display
panel assembly and unplug it from the gauge. Press the high voltage
discharge switch located on the baseboard. The battery leads are red and
black, and are connected to white plugs on the left side of the baseboard.
Unplug both battery leads and the depth indicator strip’s clear leads in
order to prevent possible damage.
Remove the screws holding the battery packs in place and slide the packs
toward the baseboard. Lift out the battery packs and replace with the
alkaline packs. Reverse the procedure for connecting all the leads and
reinstalling the display panel. Remember to plug the depth indicator
strip leads and battery packs back in.
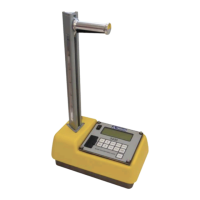
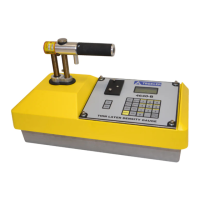
For Serial Numbers 21675 and Above
For gauge serial numbers 21675 and above, there is no longer a need to
discharge any high voltage.
To replace the battery packs, first turn the gauge off. Then, remove the
display panel assembly by loosening the four captive screws on the display
panel. Third, disconnect the ribbon cable from the baseboard. The ribbon
cable connection is a locking release. To disconnect, pull the levers on
either side of the ribbon down. After disconnecting the ribbon cable,
remove the four screws that attach the top shell to the gauge base and
suspend the top shell from the handle.
After noting the polarity of the connections, disconnect the battery packs
(located on either side of the post). The connectors are white plugs with red
and black wires. Remove the battery pack screws closest to the baseboard
(right) for each battery pack. To remove each battery pack, slide the pack
forward and lift up.
Replace each battery pack by sliding a new pack beneath the left screw and
washer. Replace the right screw for each battery pack. With the same
polarity as noted previously, connect the battery packs to the baseboard.
Replace the top shell. Be careful not to over-tighten the screws. Also, be
sure to tighten them evenly to prevent warping of the top shell.
Reconnect the ribbon cable to the baseboard assembly and replace the
front panel assembly.