34
9.13 Replacing the Pressure Gauge
Caution!
Before starting, disconnect the instrument from the power source and
ensure
that there is no pressure in the autoclave.
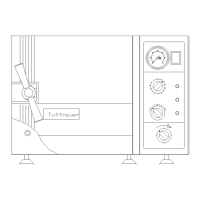
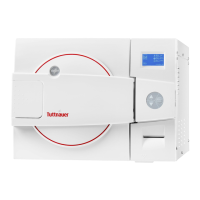
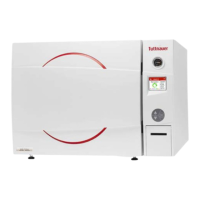
9.13.1 Models 2340, 2540
1. Remove the door cover (see para. 9.20 “Dismantling the
Autoclave’s Door Cover”).
2. Remove the pressure gauge from the door.
3. Install the new pressure gauge using Teflon tape for
sealing the thread. Verify that the gauge’s tube does not
protrude from the door inner surface.
4. Operate the autoclave and verify that there is no leakage.
5. Install the door cover.
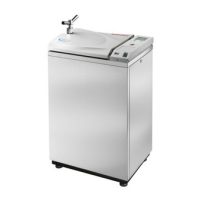
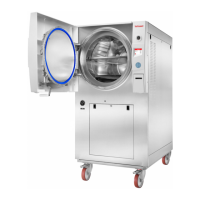
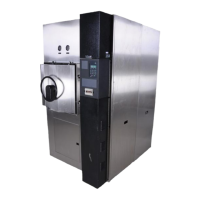
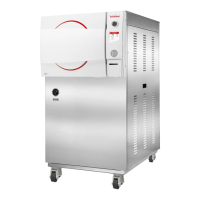
9.13.2 Models 3140, 3850, 3870
The gauge is located in adjacent to the electronic box
1. Remove the autoclave cover (see para. 9.2 “Dismantling
the Autoclave’s Outer Covers”).
2. Remove the pressure gauge.
3. Install the new pressure gauge using Teflon tape for
sealing the thread.
4. Reassemble the electronic box and the control panel.
5. Reassemble the autoclave’s cover.
6. Operate the autoclave and verify that there is no leakage.