http://www.TYAN.com
41
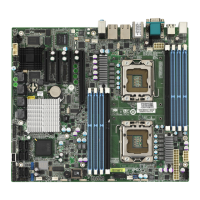
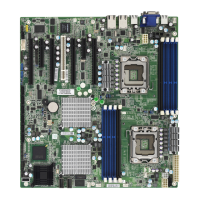
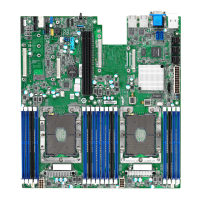
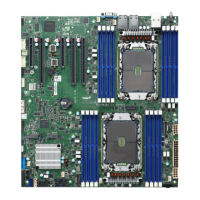
2.5 - Installing the Heatsink
Heatsink Installation
After installing the processor, you should proceed to install the heat sink. The CPU
heat sink will ensure that the processor do not overheat and continue to operate at
maximum performance for as long as you own them. The overheated processor is
dangerous to the motherboard.
For the safest method of installation and information on choosing the appropriate
heat sink, using heat sinks validated by Intel
®
. Please refer to Intel’
®
s website at
www.Intel.com
.
The following diagram illustrates how to install heat sink onto the CPU of S7050.
1. If a protective film covers the thermal
interface material (TIM) on the underside of the
heatsink, remove the protective film.
2. Align heatsink fins to the front and back of
the chassis for correct airflow. Airflow goes
from front-to-back of chassis.
3. Each heatsink has four captive fasteners
and should be tightened as shown
4. Using a #2 Phillips* screwdriver, finger-
tighten each fastener diagonally, according to
the white-circled numbers.
5. Securely re-tighten each fastener again in
the same order as performed in Step 4.
6. Attach fan power cable to server board as
shown.
7. Reinstall and reconnect any parts you
removed or disconnected to reach the
processor sockets.
4U Reference Heatsink Assembly 8. Replace the server's cover and reconnect
the AC power cord. Refer to the documentation
that came with your server chassis for
instructions on installing the server's cover.
Caution: CPU heat sink will ensure that the processor will not overheat and
continue to operate at maximum performance for as long as you own them.
The overheated processor is dangerous to the motherboard.