25
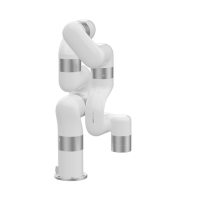
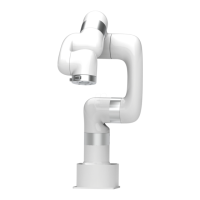
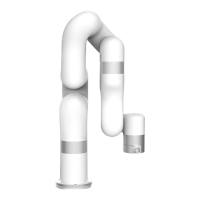
1.2.2.2.Robot Installation
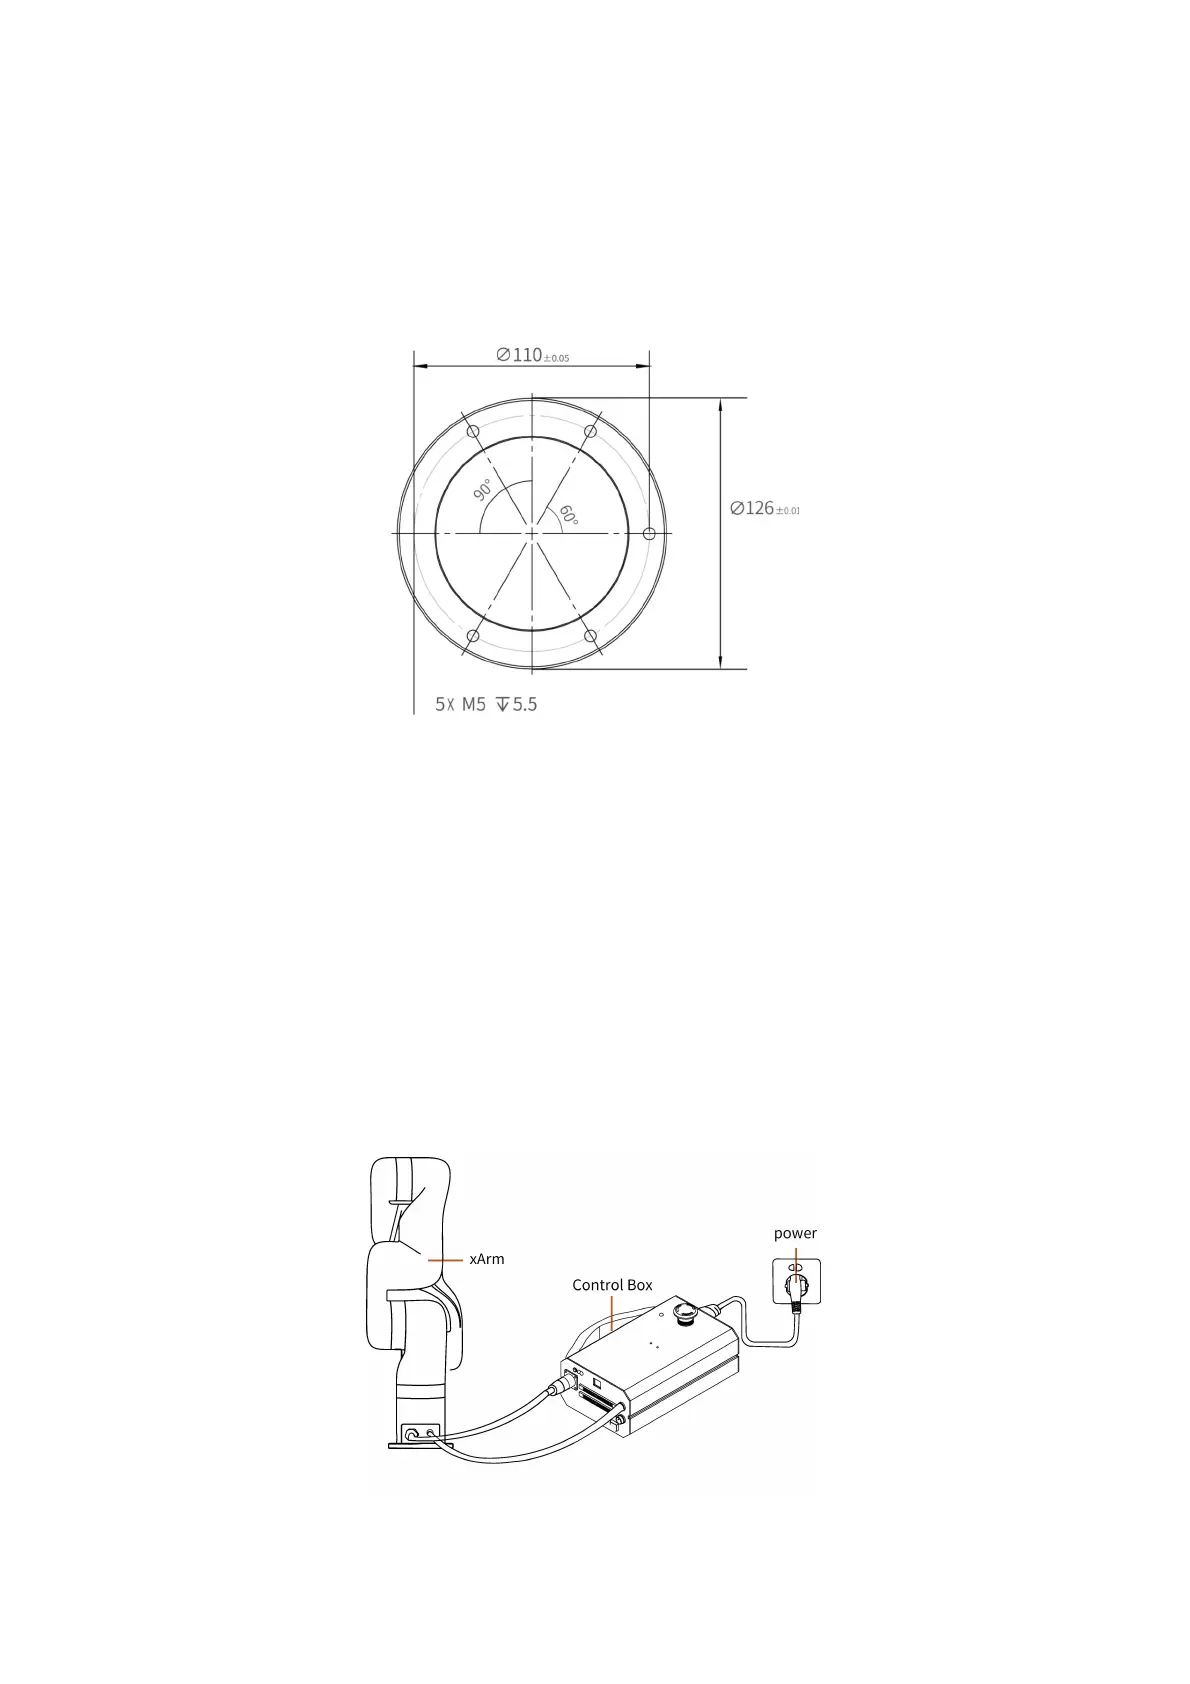
The robotic arm has five M5 bolts provided and can be mounted through five ∅ 5.5
holes in the base of the robotic arm. It is recommended to tighten these bolts with a
torque of 20N·m.
Robot Base Mounting (unit: mm)
1.2.2.3. Robotic Arm is Connected to the Control Box
Plug the connector of the Robotic Arm Power Supply Cable and the Robotic Arm
Signal Cable into the interface of the Robotic Arm. The connector is a foolproof
design. Please do not unplug and plug it violently;
Plug the Robotic Arm Power Supply Cable and the Robotic Arm Signal Cable into
the Control Box;
Plug the Control Box Power Cable into the AC (110V-240V) interface on the Control
Box and the other end into the socket (as shown in Figure below).
 Loading...