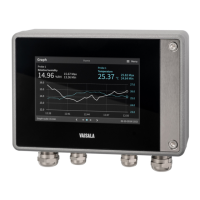
Figure 23 Relays configuration menu on touchscreen, Relay 2 tab active
1 The Relay 1 … 2 tabs contain individual settings for each relay.
2 A circle next to the relay name indicates that the relay is on.
1. Select the configuration menu symbol at the upper right corner of the touchscreen.
2. Select Outputs > Relays.
3. Select the relay you want to configure: Relay 1 or Relay 2.
4. Configure the relay settings:
a. In Relay o/on, set the relay o to edit settings.
b. In Parameter, select the probe and the measurement parameter that controls the
relay.
c. In Activation, select whether the relay activates above or below the activation/
deactivation limit.
d. In Limit, define the limit which the measured parameter value must reach for the relay
to activate/deactivate.
e. In Hysteresis, define a buer value for relay deactivation. With hysteresis, an
activated relay switches o only when the measured value crosses the relay
activation/deactivation limit and the additional buer value.
f. Set the relay on.
5. Repeat step 3 … step 4 for all the relays you want to use.
To see the changes you made, select . Then use the left and right arrows at the
bottom of the touchscreen to navigate to the Outputs and relays view.
Chapter 6 – Configuring transmitter using touchscreen display
53

 Loading...
