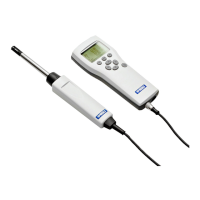
3. Connect the probe to the M12-5F end of the probe connection cable.
When the indicator recognizes the connected probe, it shows a notification on the display
(for example, GMP252 connected). A probe connected to the leftmost port in the
indicator is labeled
on the indicator's display, while the probe in the rightmost port is
labeled .
4. To change probes, simply detach the cable from the probe and connect a new probe.
You can attach the probes to the wall using the mounting accessory provided
with the probes. For more information, see your probe's user guidance (available
at docs.vaisala.com).
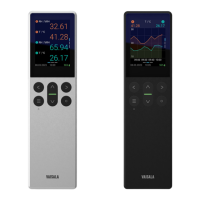
4.2 Configuring probe features with Indigo80
handheld indicator
• Probe connection cable
You can use the Indigo80 handheld indicator to configure probe features such as
compensation setpoints, filtering factor, and serial communication. The available features
depend on the probe model and firmware version.
Accessing certain configuration options for your probe requires using the free
Insight PC software, downloadable at www.vaisala.com/insight.
1. Connect the probe(s) to the indicator.
2. Open the main menu by pressing .
3. Select Devices. If you have more than one device connected to the indicator, make a
further selection between the devices.
4. Select Settings to access and change the features available for your probe.
5. Exit the menu by pressing
or return to the main menu by pressing .
Chapter 4 – Using probes with Indigo80
31