Software Maintenance Example System Snapshot Procedure
64
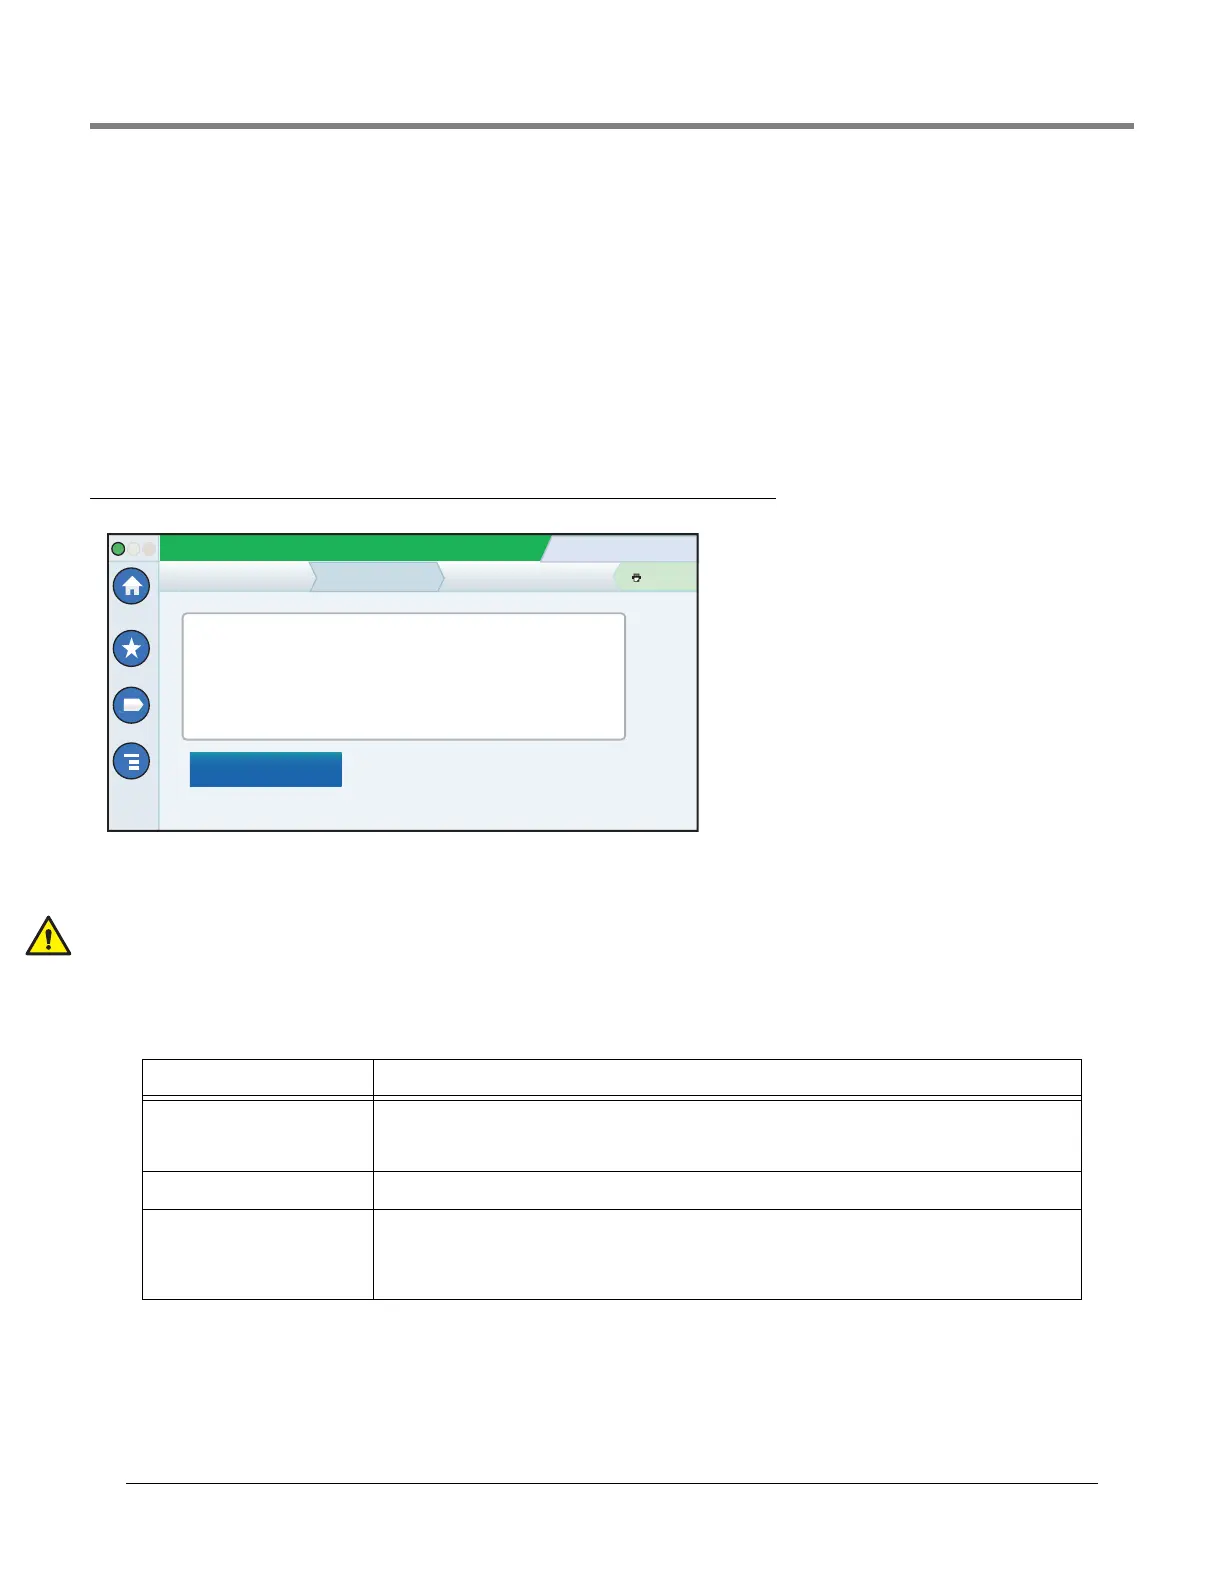
Example System Snapshot Procedure
1. Insert a USB thumb drive with at least 10 Mb of free space into one of the USB ports.
2. Navigate to the Menu>Software Maintenance>System Snapshot screen.
3. Touch the Snapshot Destination field down arrow and select the thumb drive. Notice the Version field displays
information about the thumb drive.
4. Touch the Take Snapshot button to begin the procedure.
5. After successful completion of the snapshot (approximately 3 minutes), the ‘Snapshot Completed’ message appears
and you can remove the thumb drive.
Upgrade Features (Menu>Software Maintenance>Upgrade Features)
This screen lets you activate features to be installed on your console. During the activation process, several dialog boxes
will be displayed to inform you of key events.
During feature activation, which only takes a few minutes, there must be no dispensing!
Following activation, the console converts the setup databases. Once new features are installed, setup(s) relevant to the
new feature(s) will be required.
Table 6. Upgrade Features Screen Field Descriptions
Field Description
Feature (box) List features which are available to be activated. Multiple features may be activated concurrently. Select
the boxes beside each of the desired items in this column. If you change your mind about a selection,
select the box again to remove the check.
Install features button Touch to start the installation process.
Status [during installation] Current status of each feature with one of the following messages:
Ready to Activate
Activation in Progress
System Status
07/20/2013 09:10 AM
0 Warning(s)
0 Alarms(s)
Print (0)
Home
Favorites
Menu
Actions
Software Maintenance Upgrade Features
Expansion box
SLD
3.0 GPH PLLD
ATG Functionality
Datalogger Functionality
Install features