35
Operations & Maintenance Manual: Using the Device
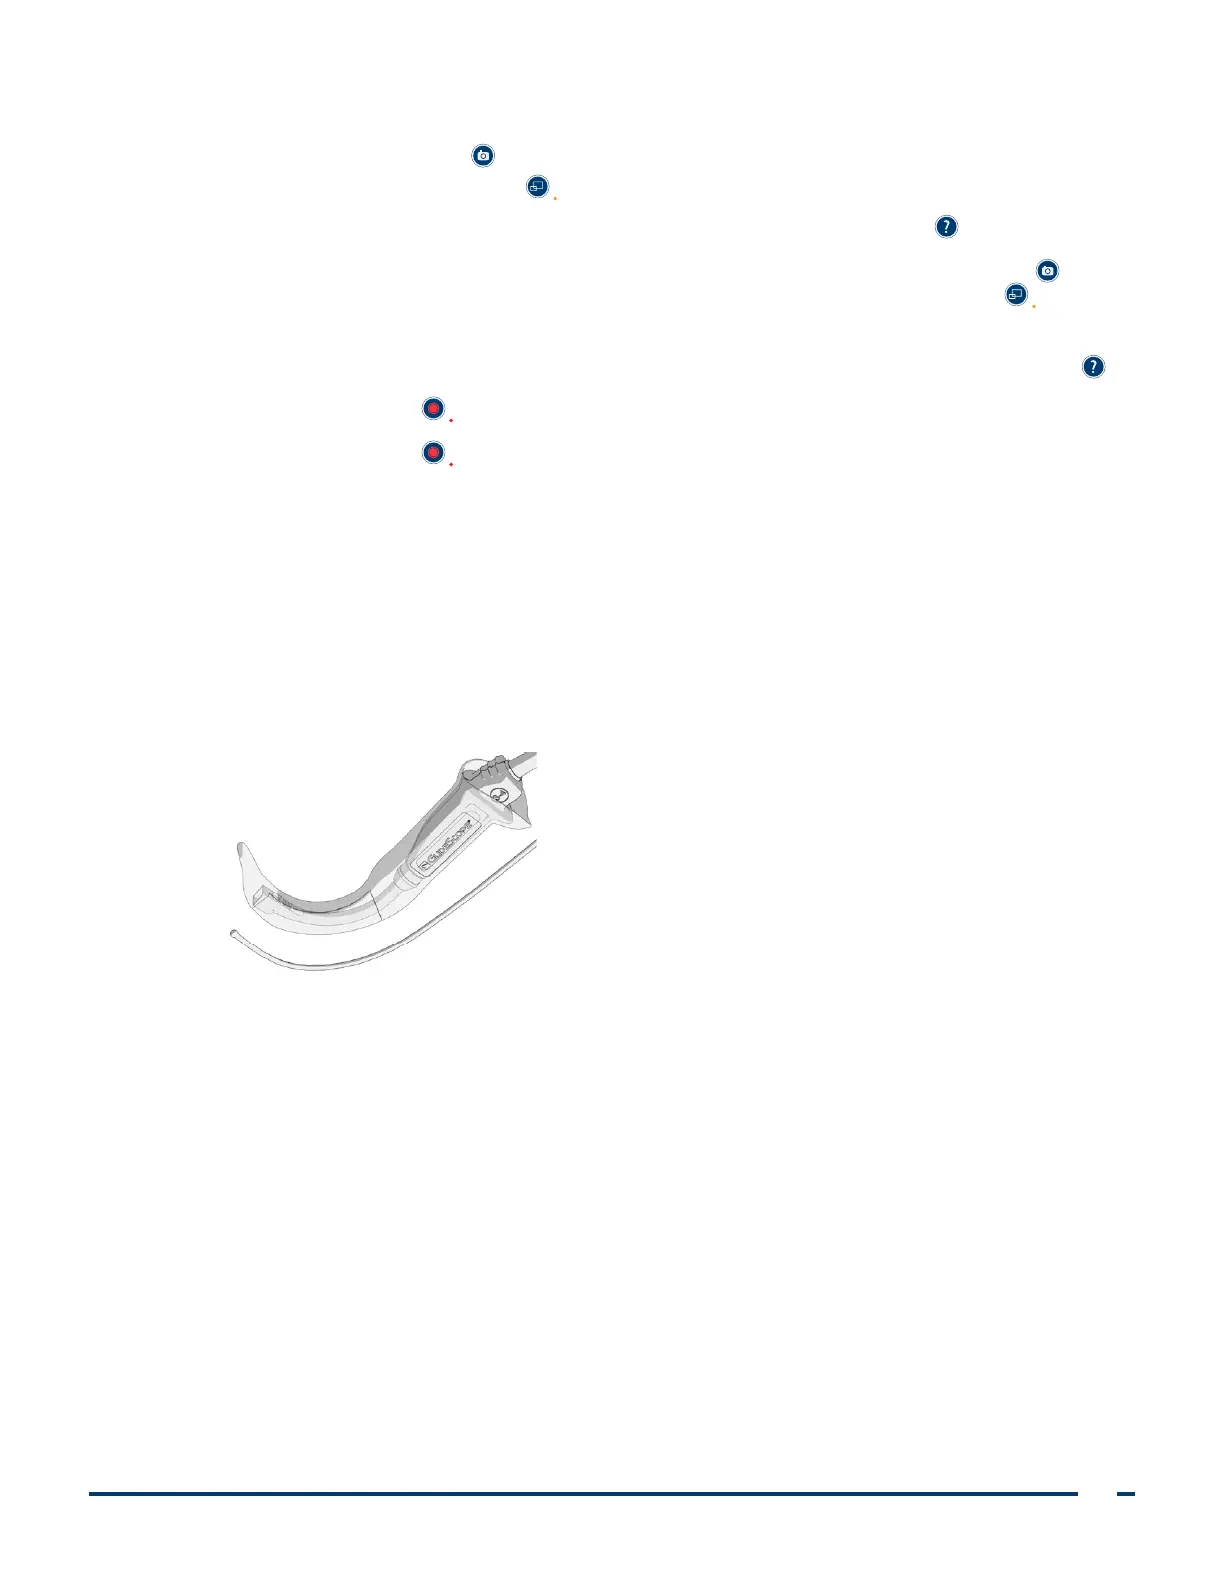
4. Navigate the menu as follows:
• Press the Snapshot button to move up the list of playback files.
• Press the External Video button to move down the list of playback files.
5. When you have selected the item that you want to play, press the Tutorial button . Playback starts.
6. When the file is being played back and is displayed on the screen, press the Snapshot button to
playback the next file above the one currently displayed. Press the External Video button to play
the next file below the one currently displayed.
7. If the file being played back is a video, pause and resume playback by pressing the Tutorial button .
8. Press the Record button to return to the playback menu.
9. Press the Record button again to close the playback menu.
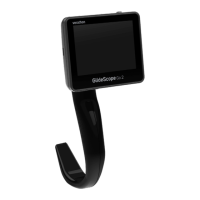
TIPS FOR USING THE GLIDESCOPE AVL SYSTEM
• The GlideScope video laryngoscope is designed to be inserted down the midline of the tongue to the
epiglottis.
• Intubations using the GlideScope video laryngoscope only require approximately 0.5–1.5 kg (1–3.5 lbs)
of lifting force.
• The use of an endotracheal tube stylet is recommended. The GlideRite
®
Rigid Stylet has been designed
to complement the angle of the GlideScope video laryngoscope to facilitate intubation. For more
information about the stylet, see the GlideRite Rigid Stylet Operations and Maintenance Manual.
TIPS FOR WORKING WITH ENDOTRACHEAL TUBES
• Insert the ETT behind or immediately adjacent to the GlideScope video laryngoscope.
• Do not insert the stylet into the larynx during intubation.
• Carefully introduce the distal end of the ETT between the vocal folds.
• When introducing the video laryngoscope or the endotracheal tube, look directly into the mouth to
avoid damaging the endotracheal tube cuff, the patient’s teeth, or soft tissues such as the soft palate
or tonsils.
• Avoid excessive lifting or pushing of the glottis. Maximum laryngeal exposure may not facilitate
intubation; reducing the elevation applied to the laryngoscope may make inserting the ETT easier.