5
With the rails fully extended and locked, locate the blue tabs at the front of the
rail assemblies.
6
With a person on each side, place a hand underneath the unit.
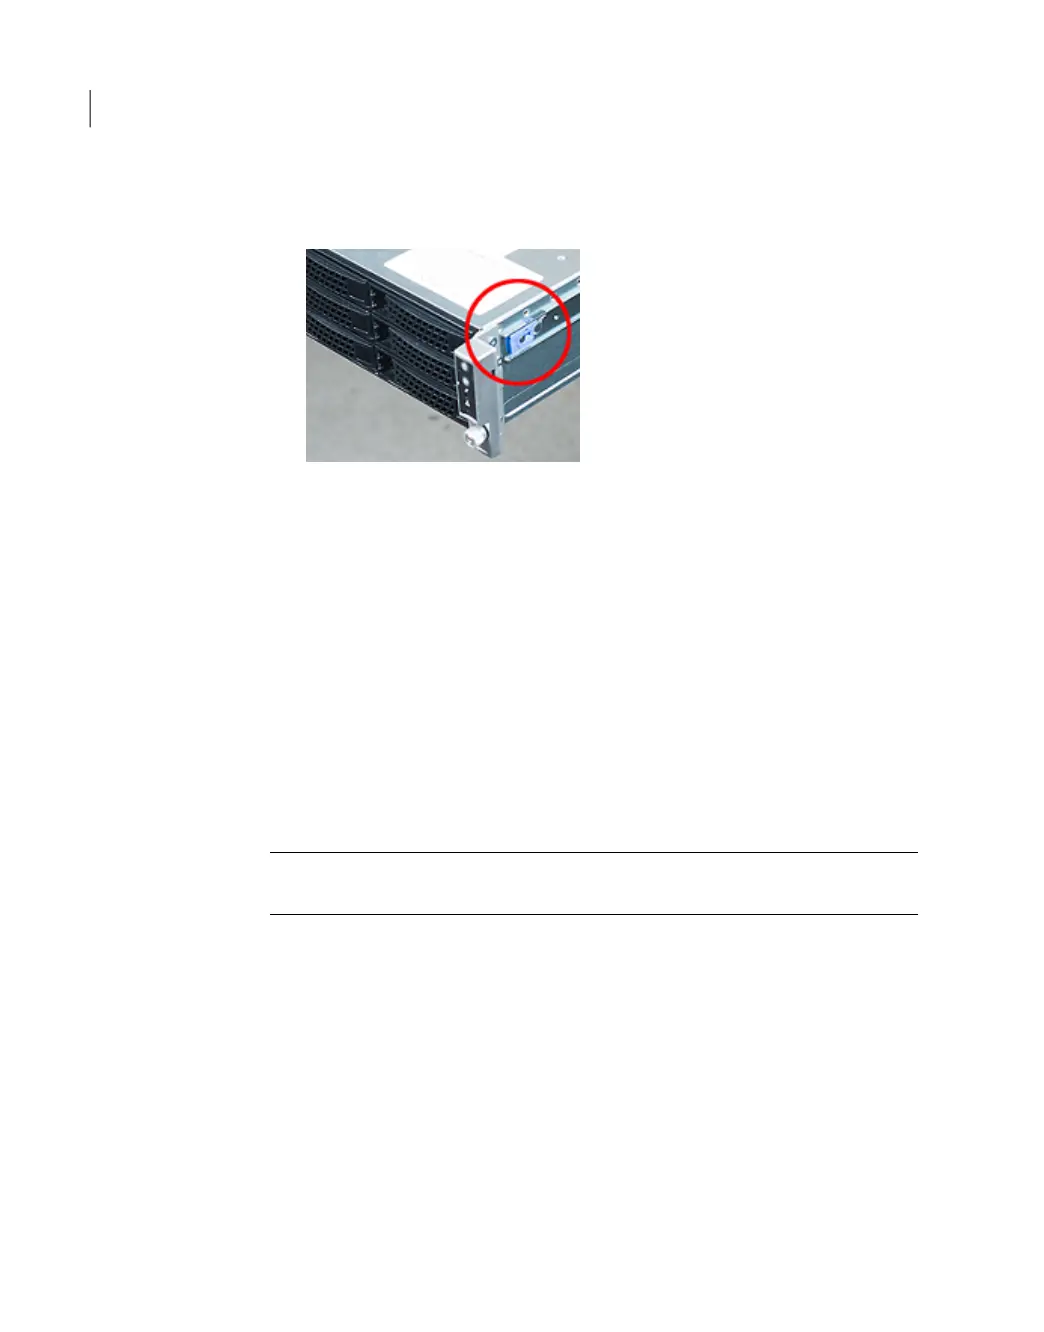
7
Pull the blue tabs back to release the front studs in the chassis rails.
8
Lift the front end to release the front studs from the cutouts in the guide rails.
9
Place your free hands under the back of the chassis for support.
10
Pull the appliance straight out of the rack.
11
Lift the appliance and place it on a secure surface.
Removing the appliance cover
The appliance cover must be removed to install the components of the External
Storage Kit.
Caution: Veritas service personnel must perform all tasks that involve the inside
of the appliance chassis.
Adding one or more storage shelves to an operating 4TB appliance that does not have any storage shelves
Removing the appliance cover
70

 Loading...


