4
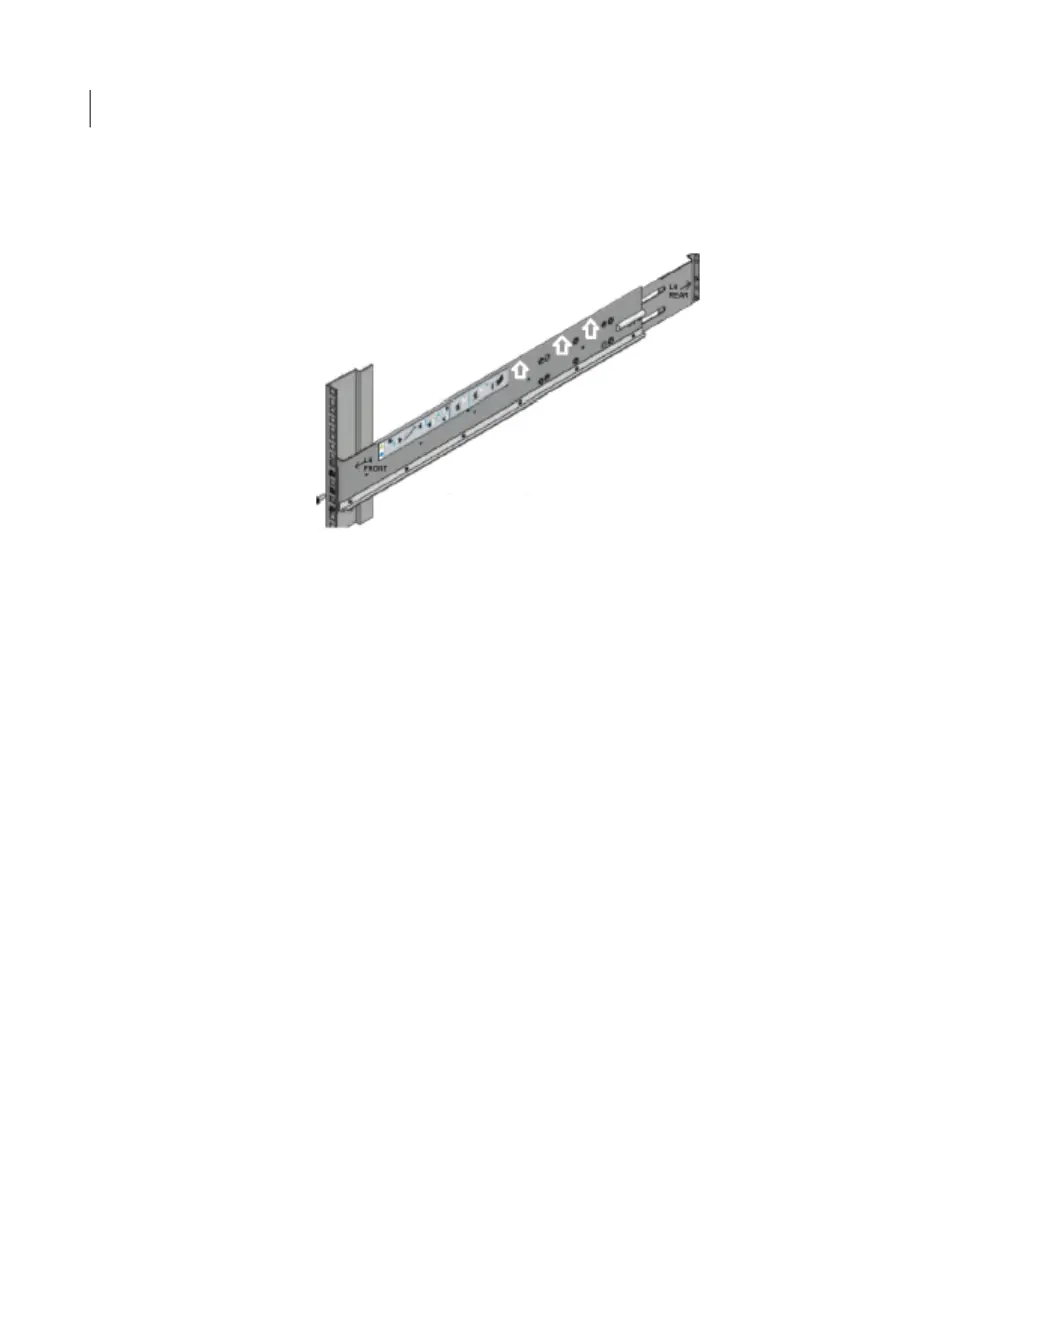
Place the left rail inside the rack. The rack holes should match the rail pins.
Extend the rail front and back to fit into the rack.
5
Insert the screw in the front and in the back of the rail, as shown in the template.
Do not over-tighten the screws.
6
Repeat for the right rail.
Installing the storage shelf or shelves into a rack
The storage shelf should be installed from the front of the rack.
To install a storage shelf
1
Use two people to lift the storage shelf.
2
Slide the rear of the shelf into the front of the rails. Be sure that the shelf is
straight and even inside the rack. Do not force the shelf to fit.
3
Carefully push the shelf towards the rear of the rails.
Adding one or more storage shelves to an operating 4TB appliance that does not have any storage shelves
Installing the storage shelf or shelves into a rack
90

 Loading...


