4
Verify that the end cap is not attached to the left and the right sides of the front
of the shelf.
5
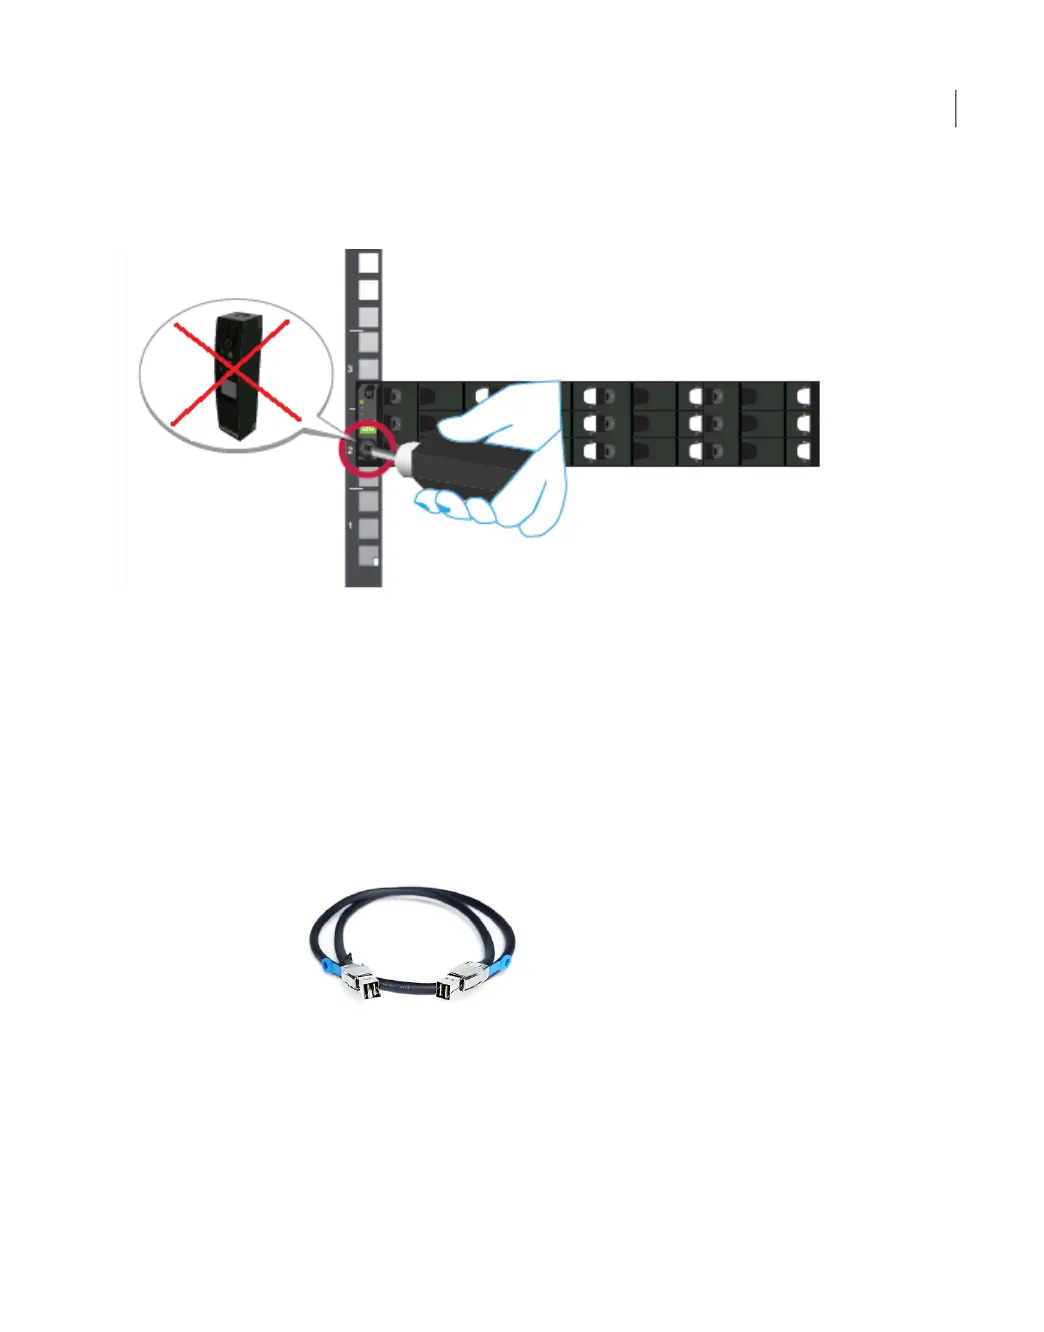
Insert one screw into the rack, on the left and the right front of the shelf.
6
Replace the end caps or attach the bezel to the front of the shelf.
Understanding appliance and storage shelf
connections
You cannot use SAS-2 cables with the storage shelf. You must use the SAS-3
cables that are provided with the product.
The blue clip on each SAS-3 connector must be oriented correctly as follows:
■ Both SAS-3 connectors in the ports in the External RAID PCIe card of the
appliance must be installed with the blue clip pointing down.
91Adding one or more storage shelves to an operating 4TB appliance that does not have any storage shelves
Understanding appliance and storage shelf connections

 Loading...


