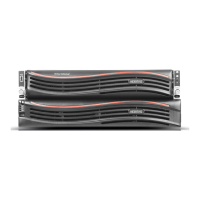
Installation procedures
This chapter includes the following topics:
■ Installing the storage shelf rack rails
■ Installing the storage shelf into a rack
■ Installing the appliance rack rails
■ Installing the appliance into a rack
■ Understanding appliance and storage shelf connections
■ Connecting a 4TB appliance to one storage shelf
■ Connecting a 4TB appliance to more than one storage shelf
■ Connecting the network cables
■ Connecting the power cords
■ Turning on the hardware and verifying operation
■ Configuring the IPMI from the NetBackup Appliance Shell Menu
■ Accessing and using the Veritas Remote Management interface
Installing the storage shelf rack rails
Best practices recommend that the storage shelves are installed lower in the rack
than the appliance.
There must be a minimum depth of 76 cm (30 in.) between the front of the rack and
the rear of the rack. Veritas recommends that two people install the rails; one person
at the back of the rack and one at the front. Veritas also recommends that two
people lift and place the storage shelf into the mounted rails.
3
Chapter

 Loading...


