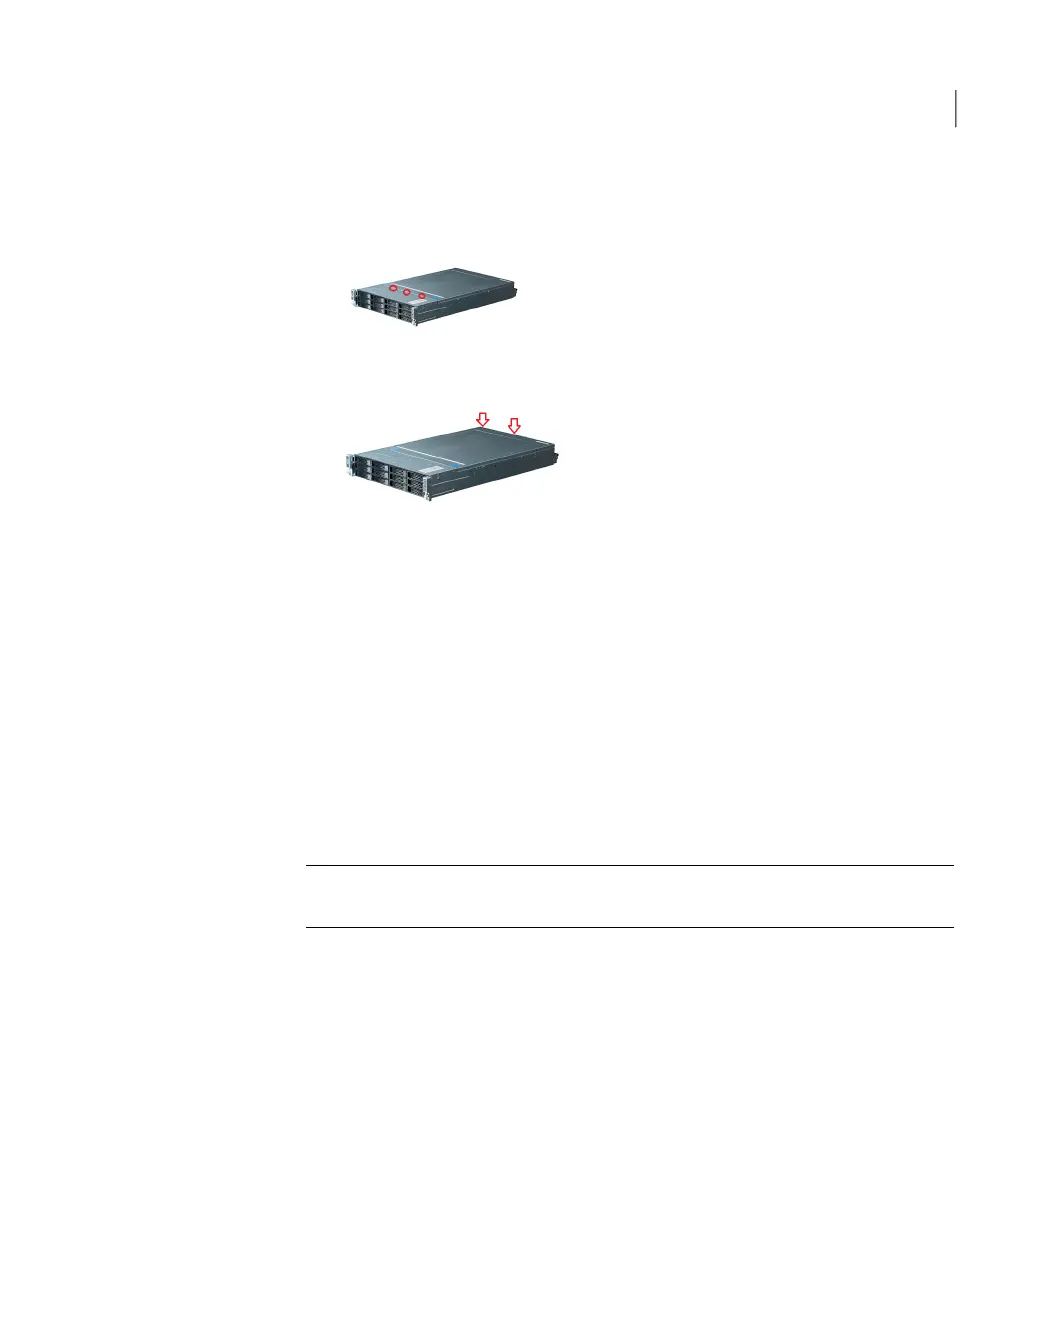
To remove the cover
1
Remove the three screws at the top edge of the chassis cover.
2
Loosen the two elastic screws at the rear of the chassis cover.
3
Slide the cover toward the rear of the chassis and lift the cover up to remove
it.
4
Set the cover aside where it cannot be damaged.
5
Proceed to install the storage kit components into the appliance.
Installing the External Storage Kit components
This section explains the process of installing the three components of the External
Storage Kit into the appliance. Note that there are three separate procedures, one
for each type of component. Install the hardware in the order that the procedures
are presented.
Caution: Veritas service personnel must perform all tasks that involve the inside
of the appliance chassis.
71Adding one or more storage shelves to an operating 4TB appliance that does not have any storage shelves
Installing the External Storage Kit components

 Loading...


