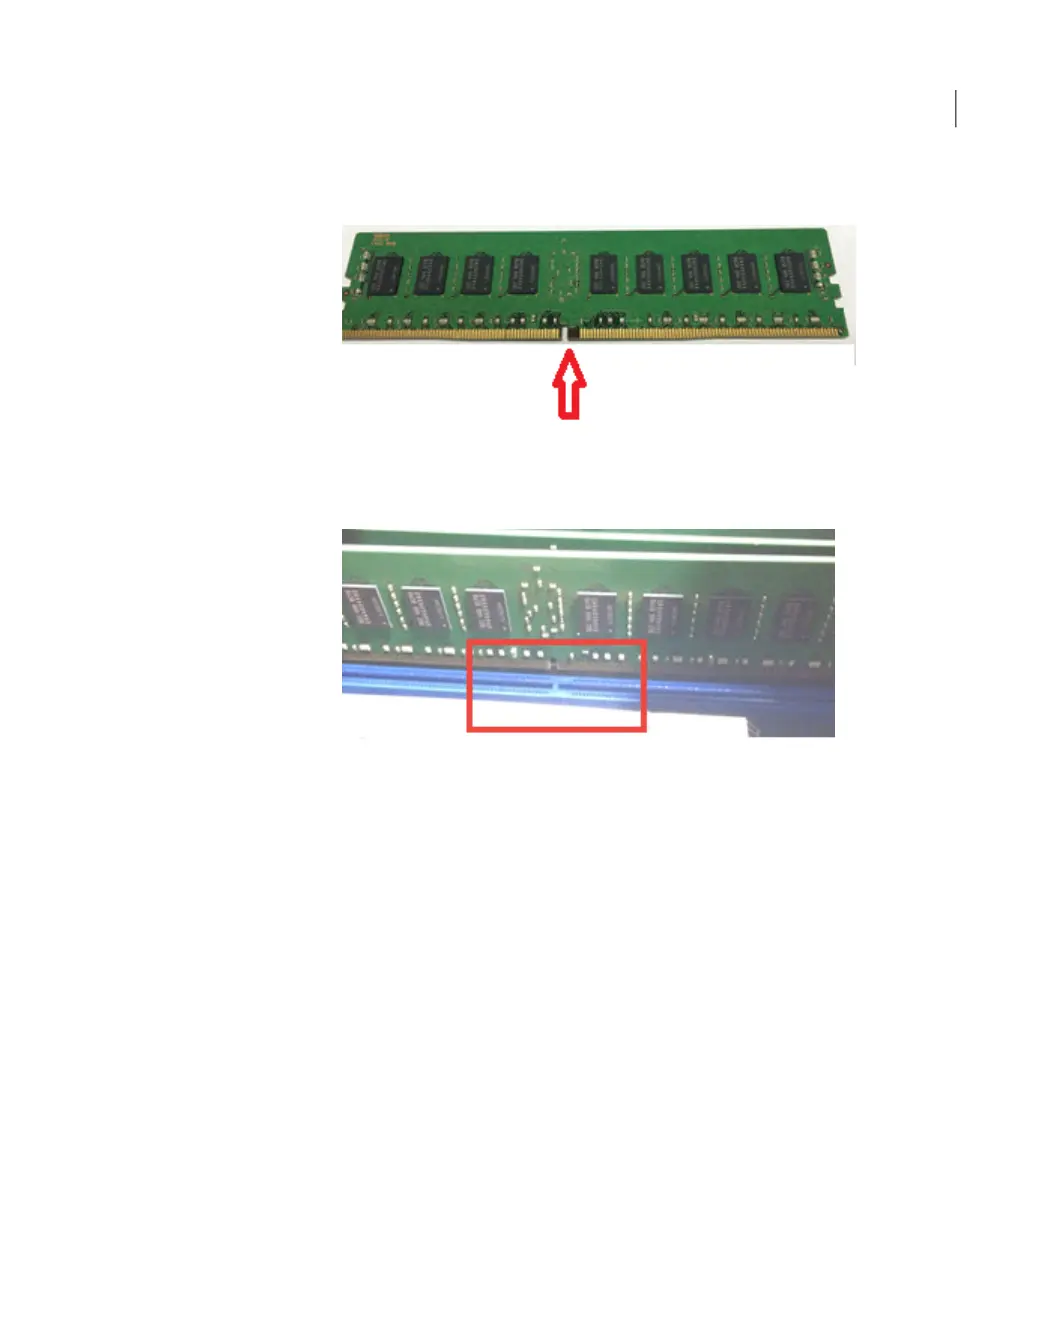
16
Locate the gap in the connector edge of the DIMM as shown.
17
Locate the key in the DIMM socket and hold the DIMM over the socket. Align
the gap in the bottom edge of the card and the key in the socket.
18
Align the edges of the DIMM with the grooves in the posts at both ends of the
socket.
19
Insert the DIMM card into the socket.
20
Push down evenly and firmly until the retaining clips snap into place. Make
sure that the clips are firmly in place.
21
Repeat these steps for the remaining seven DIMMs. The remaining slots that
require additional DIMMs are D2, B2, A2, G2, H2, F2, and E2.
22
Do not replace the air duct or the cover at this time.
23
Refer to the next procedure to install the external RAID PCIe card MFBU.
To install an external RAID PCIe card MFBU
1
Put on an ESD-compliant wrist strap or take other ESD-protective measures.
2
Obtain the External Storage Kit.
3
Remove the MFBU Kit.
4
Remove the black plastic case from the kit.
77Adding one or more storage shelves to an operating 4TB appliance that does not have any storage shelves
Installing the External Storage Kit components

 Loading...


