■ The top of the risers should not be higher than the rear of the appliance
chassis.
14
Reconnect the cable from the SAS HBA in slot 7 to the first MFBU.
15
Replace the air duct. Be sure that the small clear tabs on the air duct arms sit
firmly under the blue lifting frames.
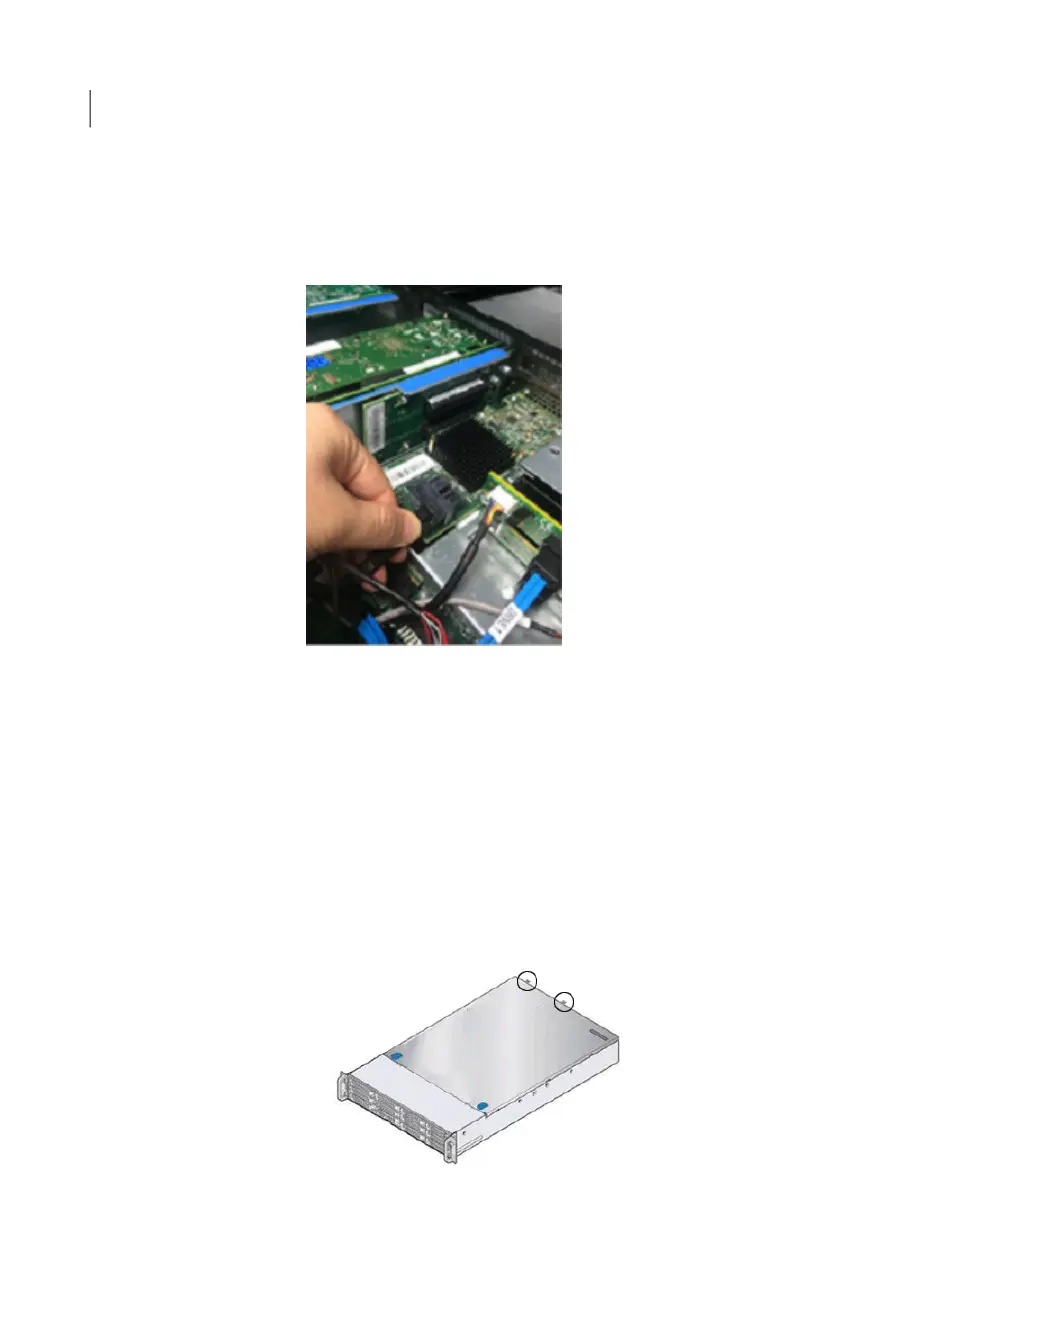
16
Replace the chassis cover.
■ Align the cover with the edge along the top of the chassis.
■ Place the cover on the chassis so that there is about 1.5 inches of overhang.
■ Slide the cover forward until the edge slides under the lip of the enclosure.
■ Secure the cover by doing one of the following:
Do the following:
■ Tighten the two thumb screws
(circled) on the rear panel.
If the cover looks like this
Adding one or more storage shelves to an operating 4TB appliance that does not have any storage shelves
Installing the External Storage Kit components
84

 Loading...


