VESDA
®
LaserCOMPACT Product Guide
17
Securing the mounting bracket
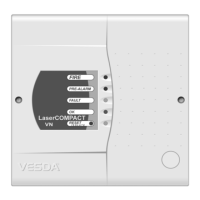
The mounting bracket for the VESDA LaserCOMPACT is always mounted in the UP direction.
The mounting bracket is clearly marked with the word “UP” and an upward pointing arrow.
Figure 10 - The mounting bracket for normal and inverted orientations
Secure the mounting bracket to the surface using appropriate fasteners, ensuring that the
bracket is horizontally straight and sits flush on the surface.
Determine the ports for cable entry. Press out the tabs for the cable entry, air inlet and air exhaust
ports.
Installing the Detector
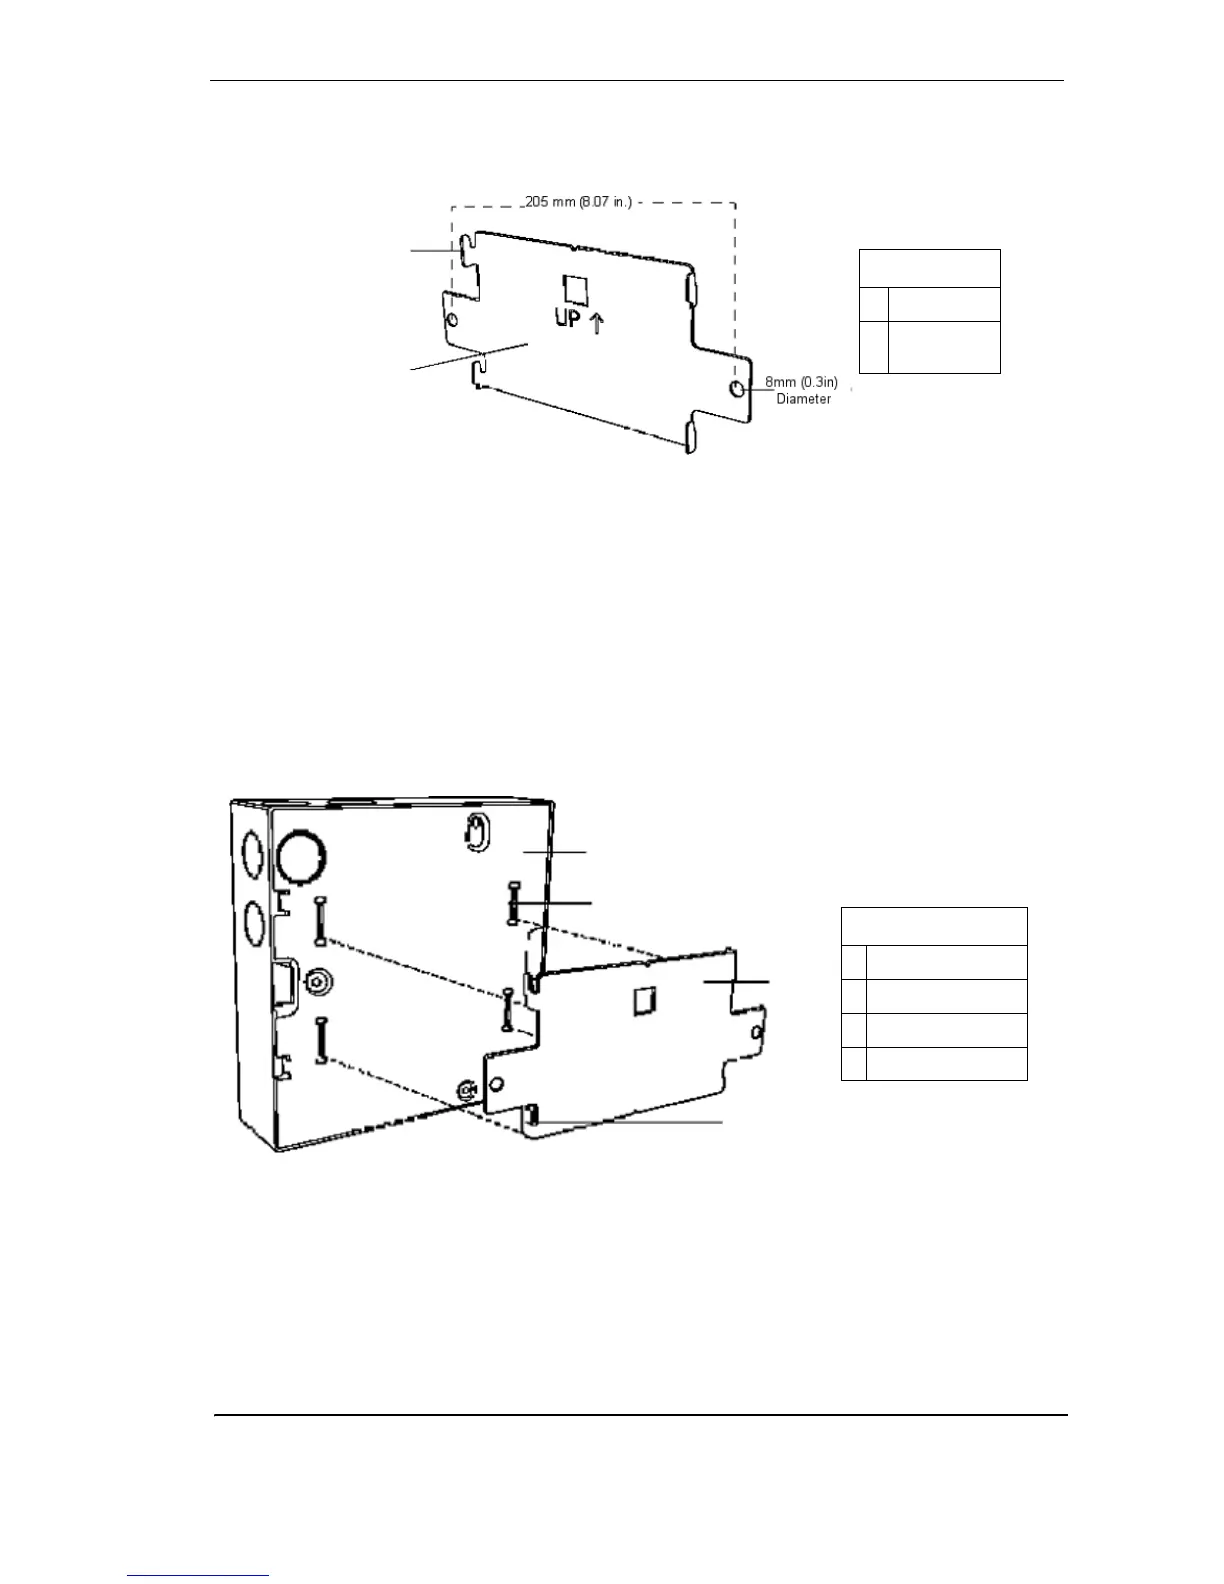
Determine the orientation for mounting the LaserCOMPACT detector. Remove the front cover
and if necessary separate it from the enclosure box. The back of the enclosure box is slotted
over the four mounting bracket tabs. Slide the detector downwards until it slides onto the tabs.
Screw in the anti-tamper screw. Check to confirm that the detector does not slide off the
mounting bracket.
Figure 11 - Mounting the LaserCOMPACT detector onto the mounting bracket
B
A
Legend
ATab
B This side to
detector
A
B
C
D
Legend
A Back of Detector
B Rectangle Slots
C Mounting Bracket
D Bracket Tab