~ 47 ~5. Embroidery
LED Indicator
• Green light indicates machine is ready to start.
• Red light indicates machine is operating.
• Flashing red light indicates a problem or an error.
• Flashing for 2 - 3 seconds shows that an incorrect operation
was made.
• Continuous Á ashing indicates that machine malfunctions.
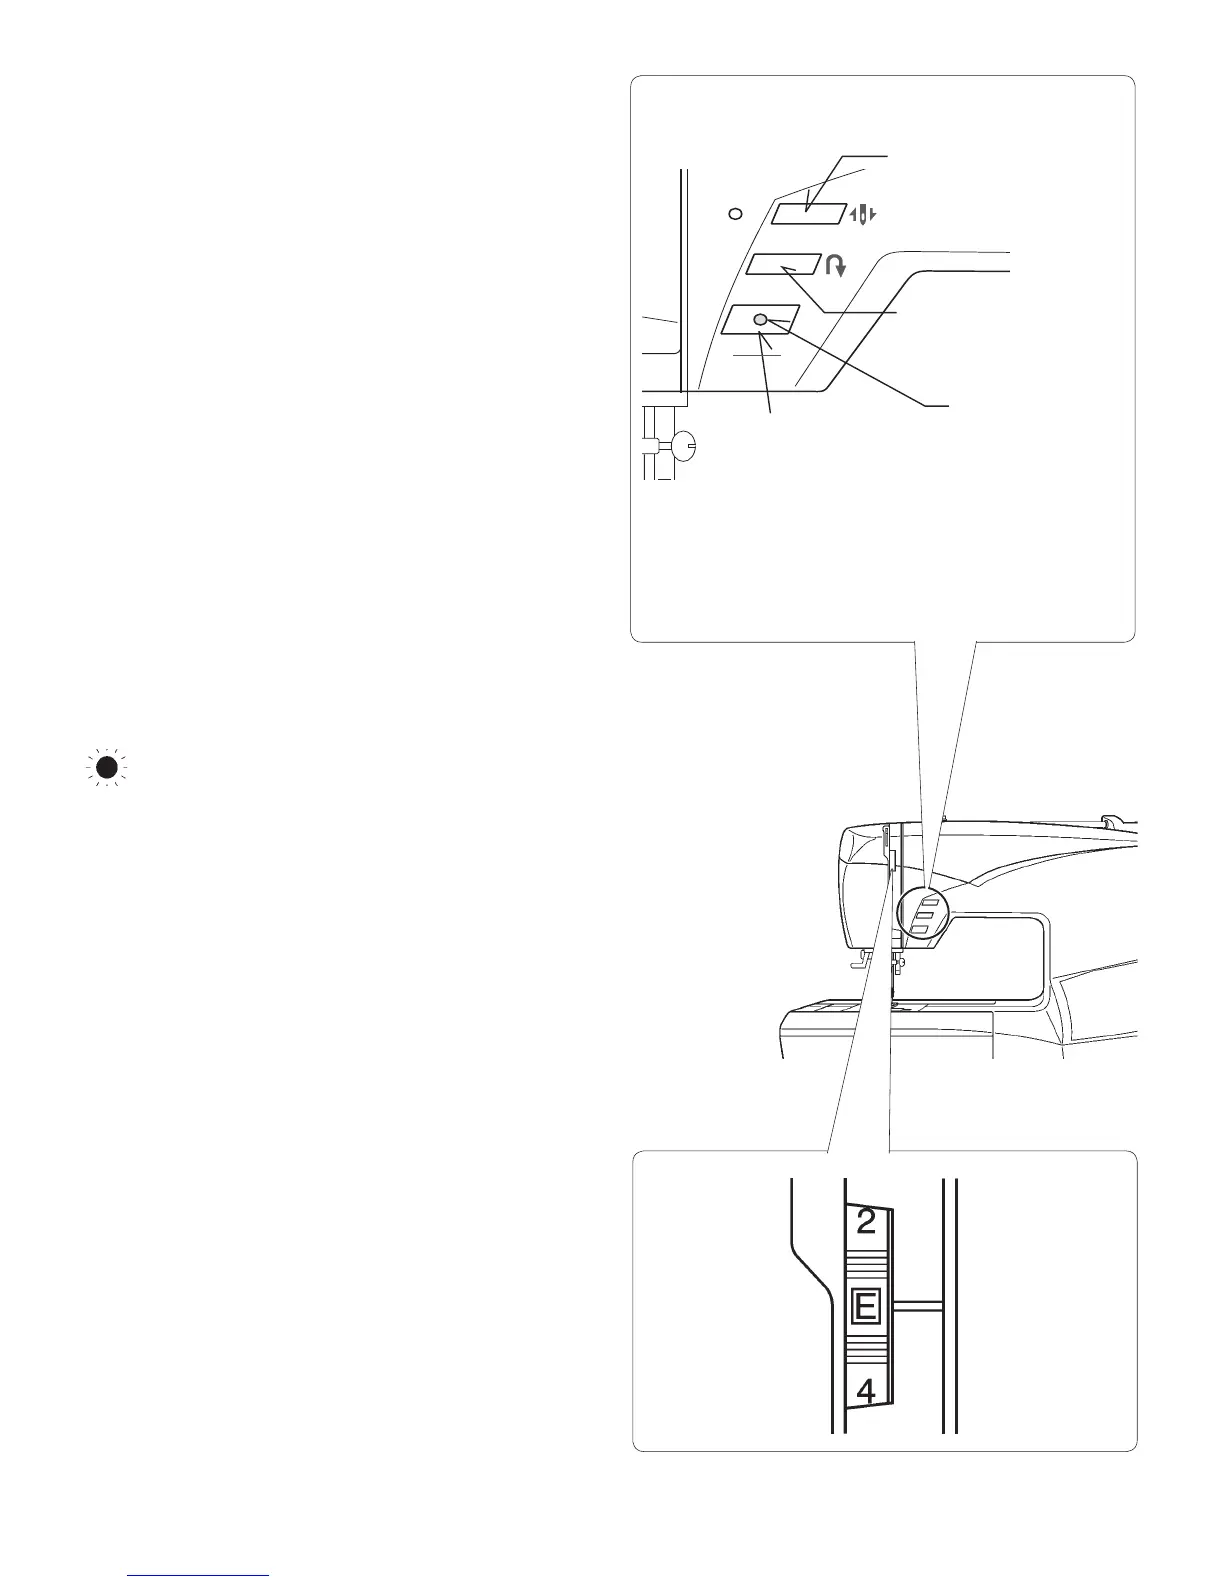
Thread Tension Dial
Set it at “E” for embroidery to loosen thread tension.
You may wish to re-adjust thread tension according to the
type of fabric and thread being used.
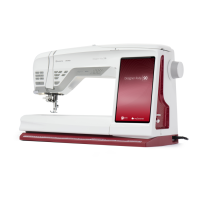
Reverse Button
Needle Stop Up/Down
Start/Stop button
(for embroidery only)
LED indicator
FUNCTION BUTTONS WHEN EMBROIDERING
Start/Stop Button
When start/stop button is pushed, the machine starts
embroidering. When pushed once more, the needle moves
and to its highest position and the machine stops.
Needle Up/Down (Forward Stitch Button)
By pressing this button the embroidery can be advanced
one stitch at a time (the hoop moves), after the embroidery
data has been transferred.
To advance continuously, press and hold this button.
Reverse Button
Embroidering can be reversed one stitch at a time
(the hoop moves), after the embroidery data has been
transferred.
To reverse continuously, press and hold this switch.
Embroidering can be reversed until the start of the
embroidery data.
Note: When sewing designs created by the software for Photo
Stitch (optional) it is recommended to decrease the thread tension
toward “0” and activate the “Speed limiter”, by checking the box
in Machine navigator, before sending the design to the machine.
This will give a more stable stitching condition.