Calibration
Storing Calibration Data
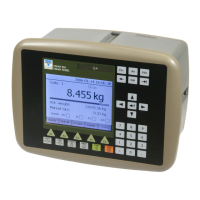
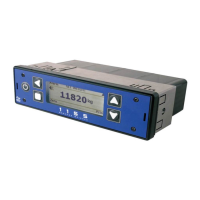
VT400 Technical Manual, Rev. A5 36 Doc # UM-VT400-EN
4.2.3 Span (Max. Capacity) Calibration
To set the span calibration value electronically:
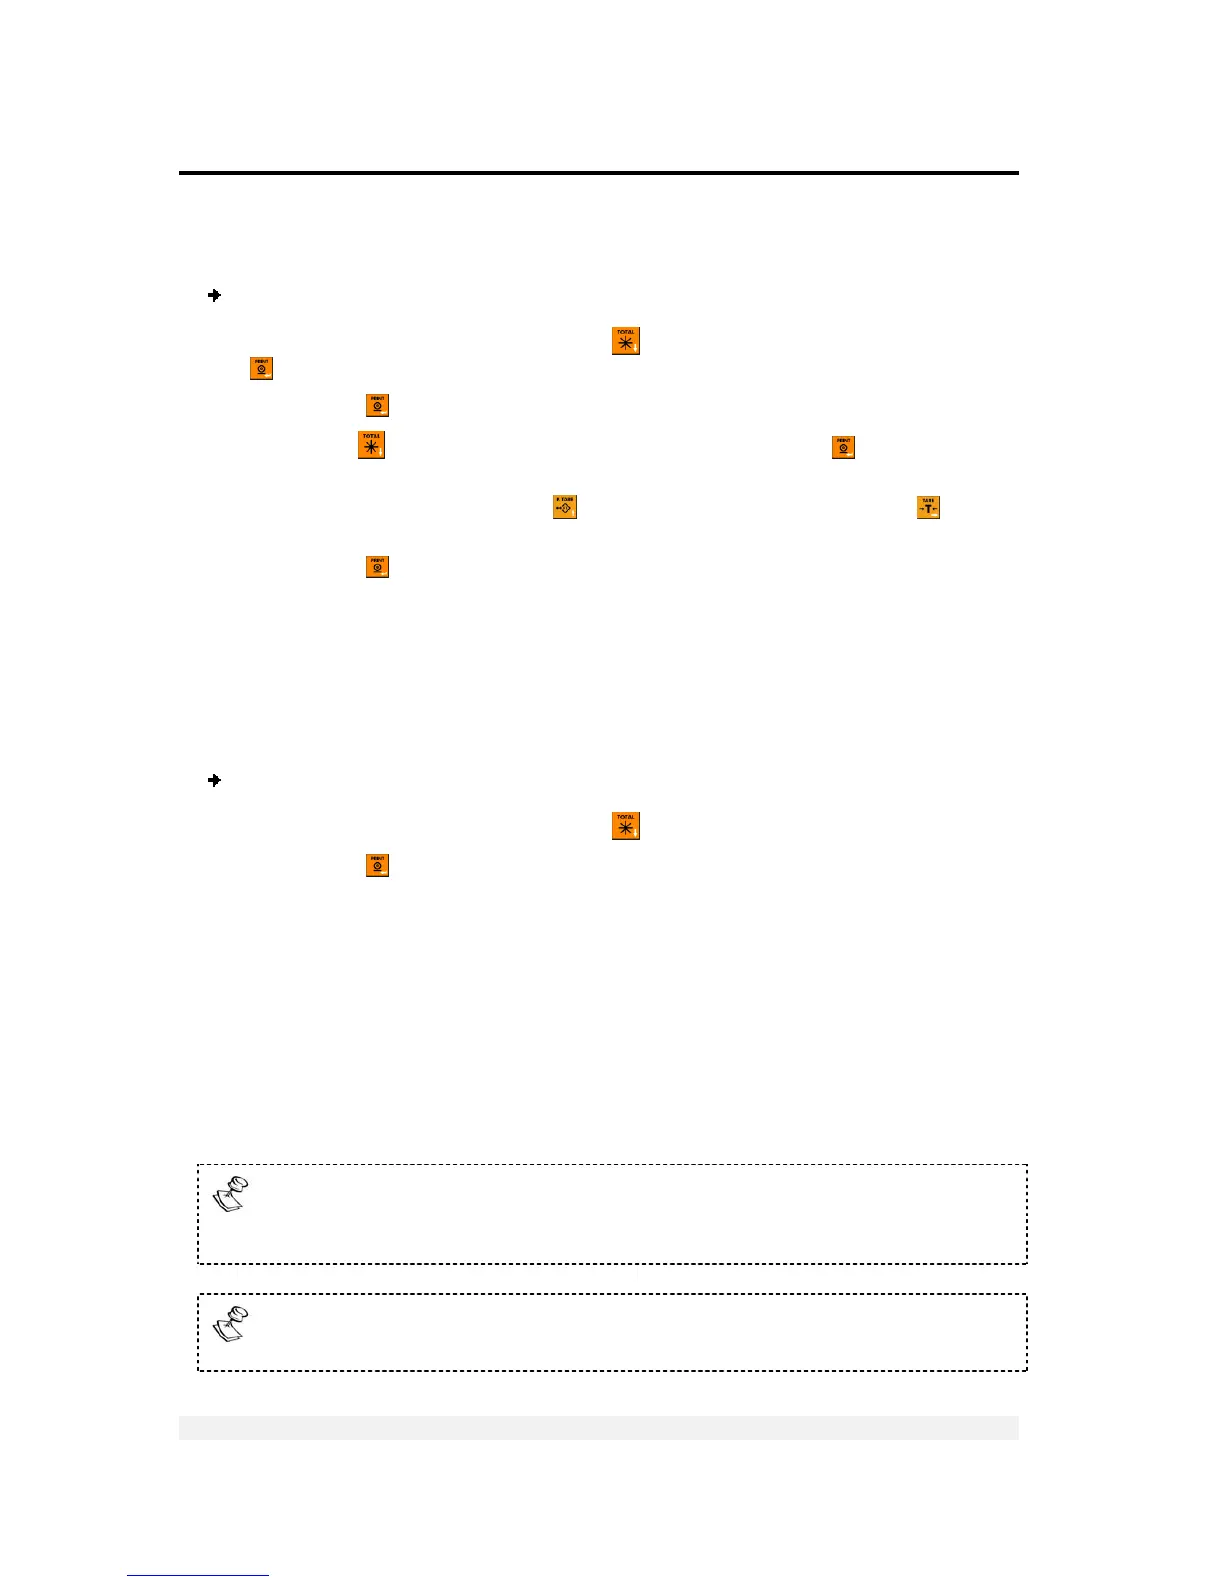
1. Enter the setup menus and use TOTAL (
) to scroll to the CAL menu. Press PRINT
(
) to enter the menu.
2. Press PRINT (
) to enter the E-CAL menu.
3. Use TOTAL (
) to scroll to the SPAN option, and press PRINT ( ) to select it.
4. Enter the overall mV of the scale’s maximum capacity (see section 4.2.1) to learn
how to calculate it). Use P.TARE (
) to edit the current digit and TARE ( ) to
move to the next digit.
5. Press PRINT (
) to confirm the maximum capacity calibration value. The display
shows the corresponding weight.
4.3 Storing Calibration Data
After calibrating the scale (using either method) or the analog output, calibration data
is stored in volatile memory only, and so it is lost when the indicator powers down. To
store the calibration data permanently, follow the procedure below.
To perform span calibration:
1. Enter the setup menus and use TOTAL (
) to scroll to the STORE option.
2. Press PRINT (
). The indicator exits the setup menus and re-initializes.
4.4 Locking and Unlocking Calibration
An internal jumper (JP1, located on the main printed circuit board next to the analog
circuit) must be removed to allow access to configuration and calibration parameters.
One way to seal the indicator is to prevent access to this jumper. This is done by
placing a brittle plastic sticker over one of the screws that keeps the cabinet closed.
The indicator also has an Audit Trail Counter, which is incremented every time weight
parameters or calibration are changed, regardless of whether the change was saved
in EEPROM or not. This counter allows the authorities to check if any calibration
attempt has been made since the last inspection.
A label with an inscribed count (all digits permanently printed and suffixed by a
hyphen) is placed on the rear side of the instrument. The label is designated
CAL-Nr and may not be removed without destroying it.
Seals bear the verification mark of a notified body or alternative mark of the
manufacturer according to Annex II, section 2.3 of the Directive 90/384/EEC.