EVENT REPORTING & CONTROL BY TELEPHONE AND SMS
D-307502 PowerMaster-10/30 G2 User's Guide 31
the keyfob sticker and then press to confirm. To complete the
enrollment procedure, see Note 9 in the Additional Information table below.
If a valid ID was entered, a "Success Tune" ☺ sounds and the display
reads [ID ACCEPTED] for a short duration and then changes to read the
keyfob's details. Continue to step 5.
The display shows the allocated keyfob serial No (user No.), which is always
the first free number, and the keyfob's ID number; for example:
[F01:Keyfob] alternating with [ID No. 300-5786].
To assign the keyfob to another user, for example, "User No. 5", key in [05] or
alternatively click the or button until the display reads
[F05:Keyfob] and then press to confirm.
The display reads [
DEVICE ENROLLED
] or [
ID accepted
] if the keyfob was
enrolled manually by entering the ID number, a "Success Tune" ☺ sounds
and the display will then change to [
F01:Keyfob
].
5 6
B. To Set Partitions Authorization
The display will read [F05:PARTITIONS]. To enter the menu, press .
10
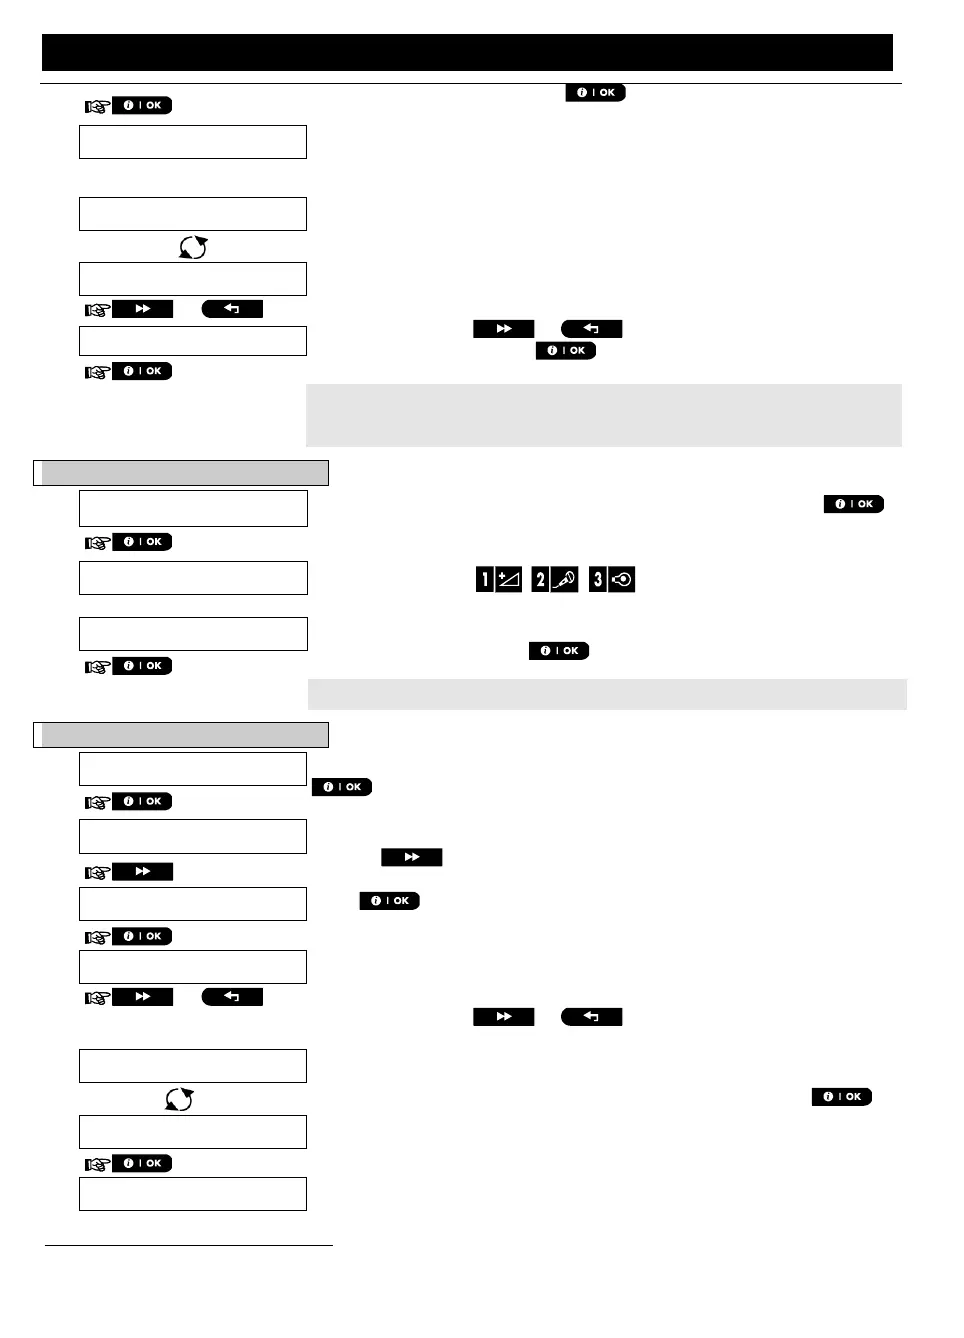
Use the keypad keys , , to change the status of the
partitions P1, P2 & P3, respectively.
11
When you are satisfied with the setting, for example, User 5 is authorized with
Partition 1 and 3 only, press to confirm.
A "Success Tune" ☺ sounds. The display confirms the Partition setting.
12
Enter the [USER SETTINGS] menu, select the [KEYFOBS] option and press
.
1
The display will read [ADD NEW KEYFOB].
Click the button until the display reads [DELETE KEYFOB].
The display will read [F01:Keyfob] alternating with the ID number of the keyfob.
3
Key in the keyfob number you wish to delete, for example, [06] or
alternatively click the or button until the display reads the
keyfob number, for example, "F06:Keyfob" and "ID No. 300-5799".
When the keyfob you wish to delete appears on the display, press .
7
The display now reads [<OFF> TO DELETE].
8
When PARTITIONING is enabled.
 Loading...