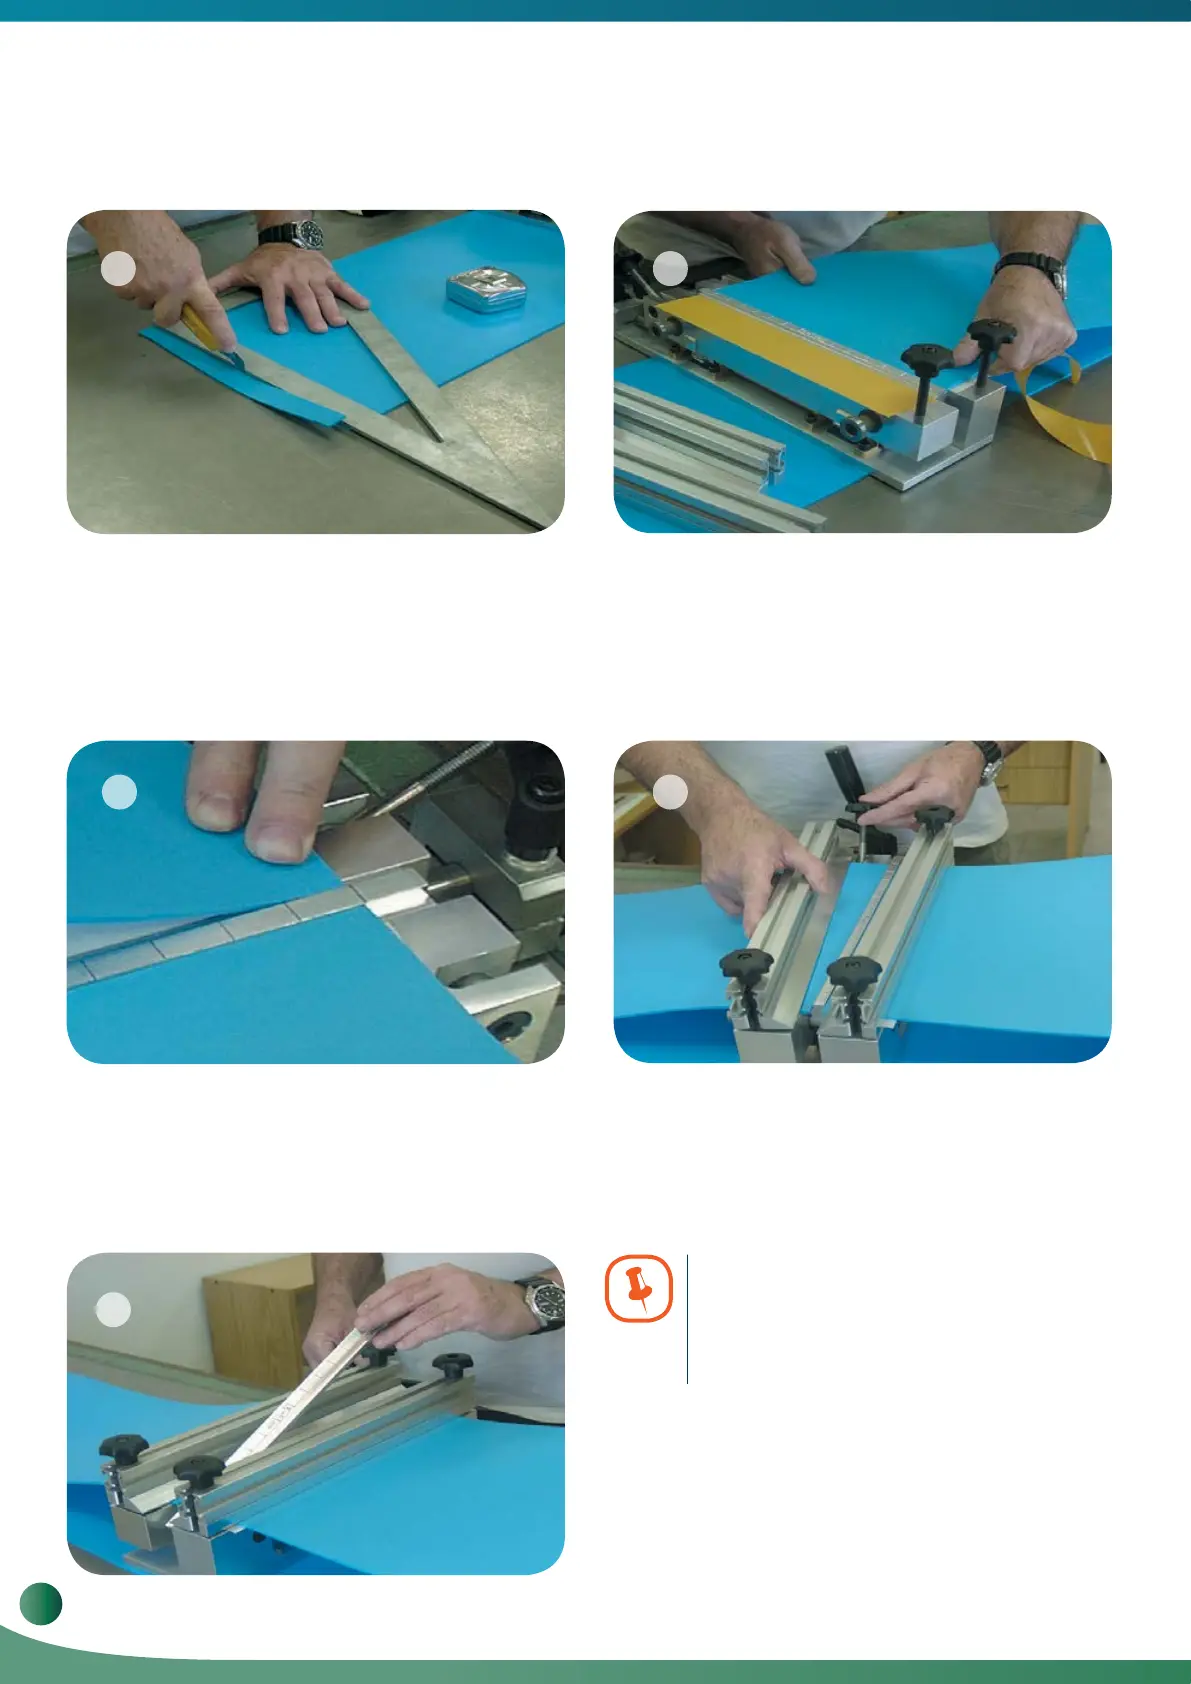
a.
Cut the two ends of the belt at 90°. Ensure that the
cut is accurate and straight.
b.
c.
d.
e.
f.
Open the Pliers and remove the Locator Bar. Leave the
Pliers open The system is now ready for welding.
3.3. Preparing the Belt
Clean the belt ends with denatured alcohol. The
belt ends must be free of dirt and grease in order to
ensure a consistent, high quality weld.
Remove the protective paper from one piece of the
doublesided tape and place one end of the belt against
the Locator Bar in line with a reference mark. Press the
belt onto the tape to ensure good adhesion. There
should be no gaps between the belt edge and the
Locator Bar. Gaps will produce an inconsistent weld
and lead to early failure of the weld.
Repeat this procedure for the opposite belt end. Make
sure you align the edge of the belt with the reference
mark on the Locator Bar, to ensure a straight edge
between the two ends of the belt.
Set the Crossbars in place and swing the Locking Bolt
into position. Finger tighten the nuts. Be careful to
apply even pressure on Crossbars. Uneven pressure
will allow the belt to shift during welding and too much
pressure will cause the Crossbars to bend.
Note: If the belt is narrow in comparison
to the tool, add belt pieces to each side
of the belt to fill the gap. This will prevent
bending of the crossbar.
7
6
9
8
10
10
Volta Belting Technology Ltd.
Welding & Fabrication Tools FBW-Flat Butt Welding System Model II
 Loading...