21
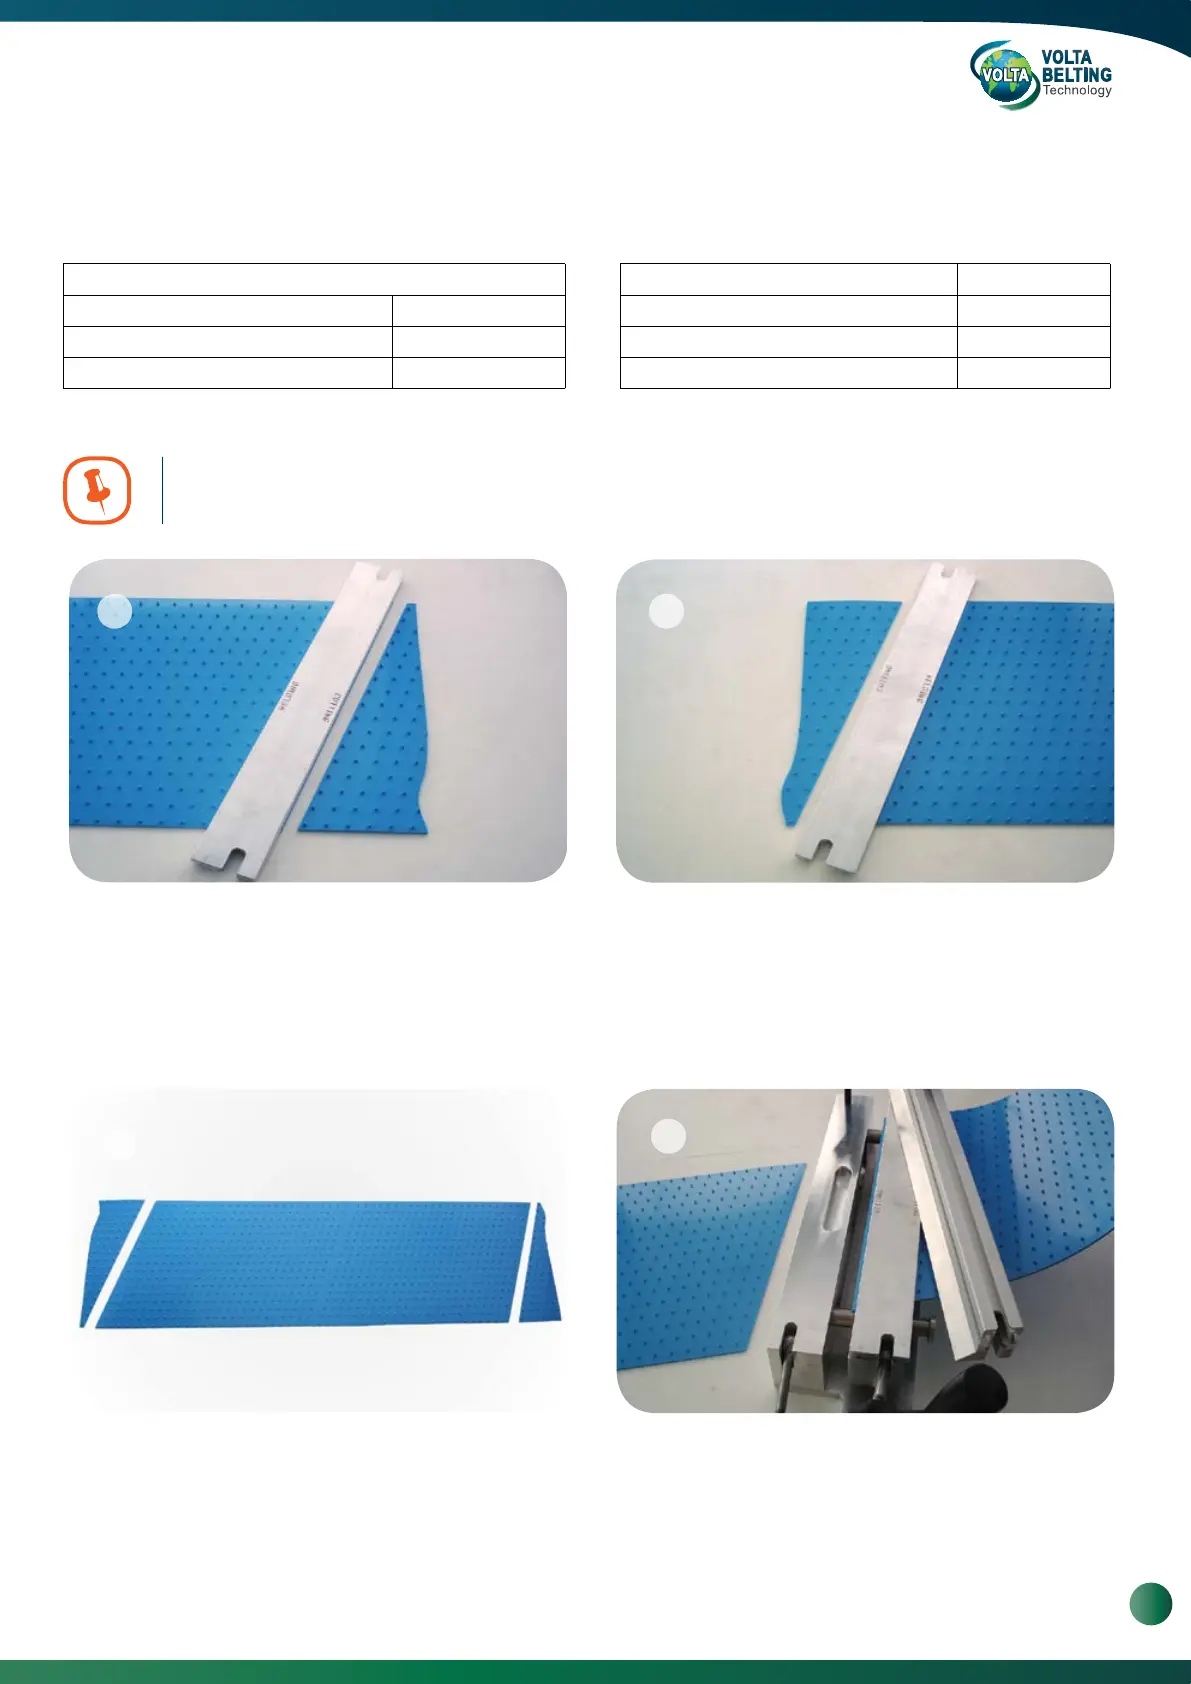
Insert the Cutting Bar at an angle between the Patterns
when the “Cutting” engraving (on the bar) and the belt
scrap is on the right-hand side. Push the cutting bar
toward the “Cutting” side and cut the first side with a
sharp knife. Measure the belt length and mark other end.
The weld is performed at an angle alongside the pattern.
There will be about 15 mm difference on the final length
of the belt according to the cutting line between the
patterns.
Position the adapter on top of the belt with the «Welding»
side facing outward, position the belt and the adapter on
the FBW.
Rotate the cutting bar 180 degree, and insert the Cutting
Bar as close to the required size. Make sure that the
scrap and the “Cutting” engraving (on the bar) are on
your right-hand side. Add or deduct from the length of the
belt according to the position of the pattern.
4.3. Welding Volta Spikes (SP)
Required Tools:
FBW Welding Kit
Spikes Adapter Set for FBW - 301 Cat. #813072535
Spikes Adapter Set for FBW - 721 Cat. #81307248
Spikes Adapter Set for FBW - 1061 Cat. #81310608
Spikes Adapter Set for FBW - 1301* Cat. #81313011
V Trim Knife Narrow Cat. #8153108
Utility Knife
Positioner for welder** Cat. #81626342
You must be familiar with the instructions for welding with FBW before continuing
with this procedure.
1 2
4
3
* Non-standard
** Positioner for welder FBW - 1301 and FBW - 1701 only.
Instructions on Page 22.
15
www.voltabelting.com
 Loading...