Transfer Cut Files to WAZER Pro
We are finally ready to setup our first cut. To do so the next step is to
transfer a Cut File to WAZER Pro. A Cut File is a type of .gcode file with some
WAZER-specific commands. This file includes all the parameters required to
cut your Design. Follow control panel prompts.
Select a Cut File
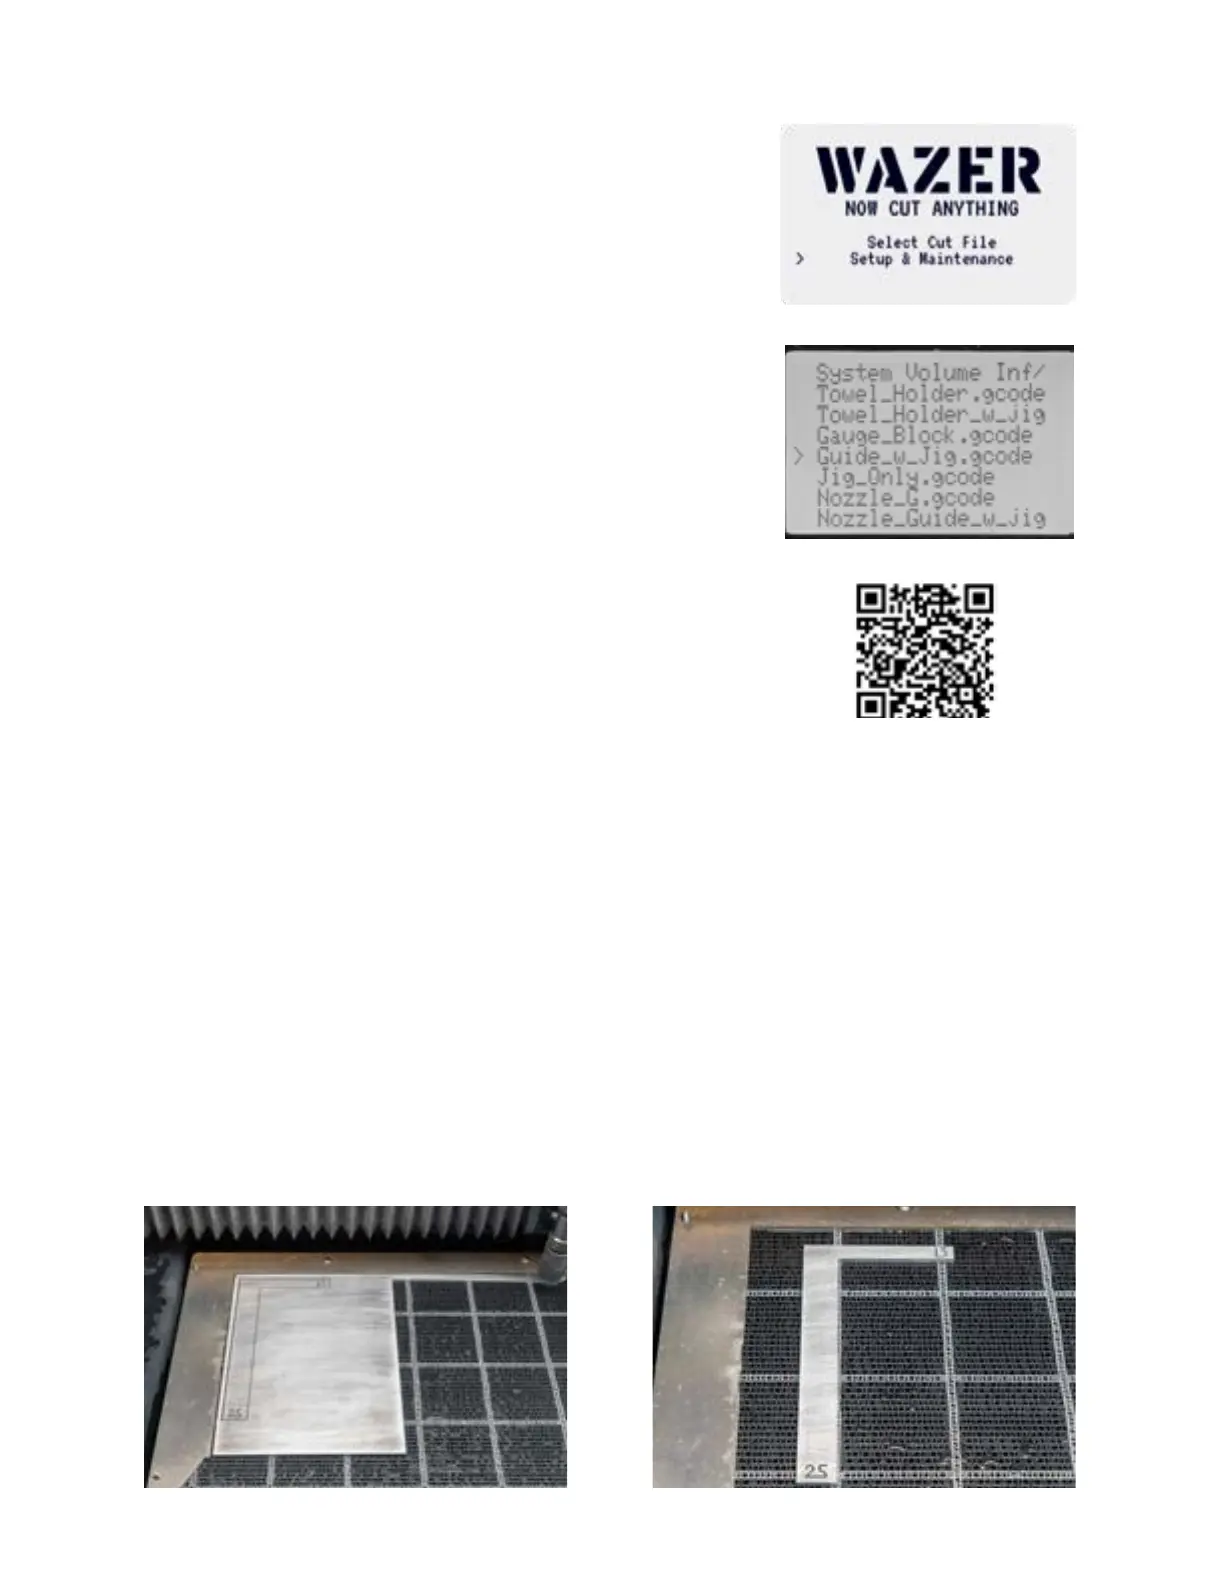
"Select Cut File" on the Control Panel’s Main Menu brings up a file selection
menu that lists all the .gcode Cut Files on the SD Card. Select the Cut File
that you would like to cut.
Selecting a Cut File will not immediately start a Cut. The Control Panel will
walk you through a series of prompts before cutting your file. WAZER Pro
will never start cutting without your explicit consent.
Initiate a Cut
If this is your first time using a new WAZER Pro, there are several Welcome
Cuts loaded on the SD Card that is provided in the Setup Kit. Running
one or more of these cut files will familiarize you with basic WAZER Pro
functionality before learning the Wam software. We recommend starting
with the “Jig_Only.gcode” file. The final results are depicted below. The left
over piece is a absolute locating jig with corner point at (20,20). "Gauge_
Block" will cut out a "L" shaped block with 25mm on one side and 13mm on
the other
Another option is the "hanger.gcode". This cut file has three parts and can
be assembeld into paper towel hanger. For more information about both
welcome cut, scan the QR code and visit out website for "welcome cuts. "
Lift the Nozzle
After selecting a Cut File, you will be prompted to lift the Nozzle. Lift the
nozzle all the way up. This is to ensure that the Nozzle does not crash into
anything in its next automated action. To lift the Nozzle, loosen the Nozzle
Lock Knob, lift the Nozzle by pushing it up and then tighten the Nozzle
Lock Knob. Confirm this action has been performed by pressing “OK” on
the Control Panel. This will initiate a homing routine. NOTE: The Nozzle will
start moving after you press “OK”.
Home WAZER Pro
Upon confirmation, WAZER Pro will automatically home the Nozzle to the
top-left corner of the Cut Bed. Once completed, the Nozzle will move to
the top-left corner of your Cut File’s Cut Extents (the Bounding Box around
the Cut). This is the visual locater you will use to reference your Material’s
position when placing it on the Cut Bed. WAZER Pro will also Analyze the Cut
File while it is homing. This should only take a couple seconds, depending
on the size of the cut file.
48